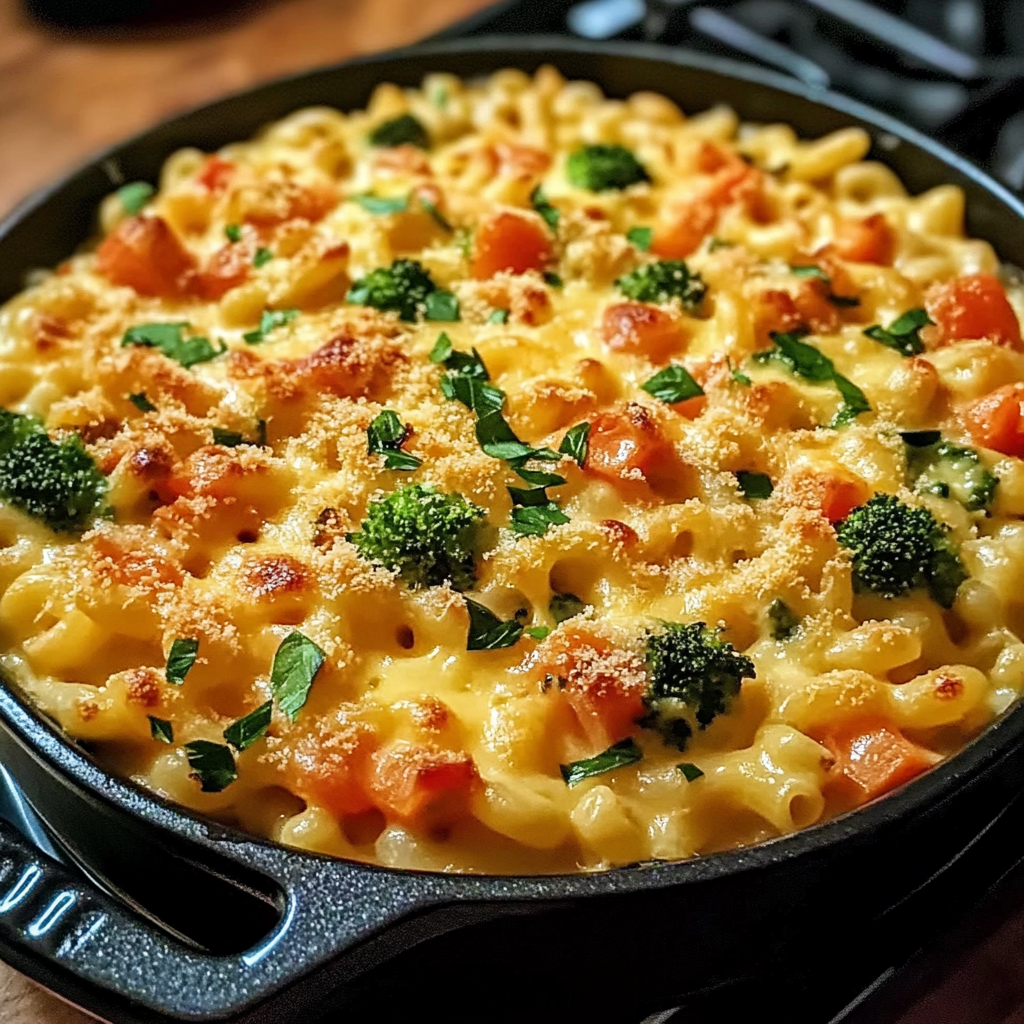
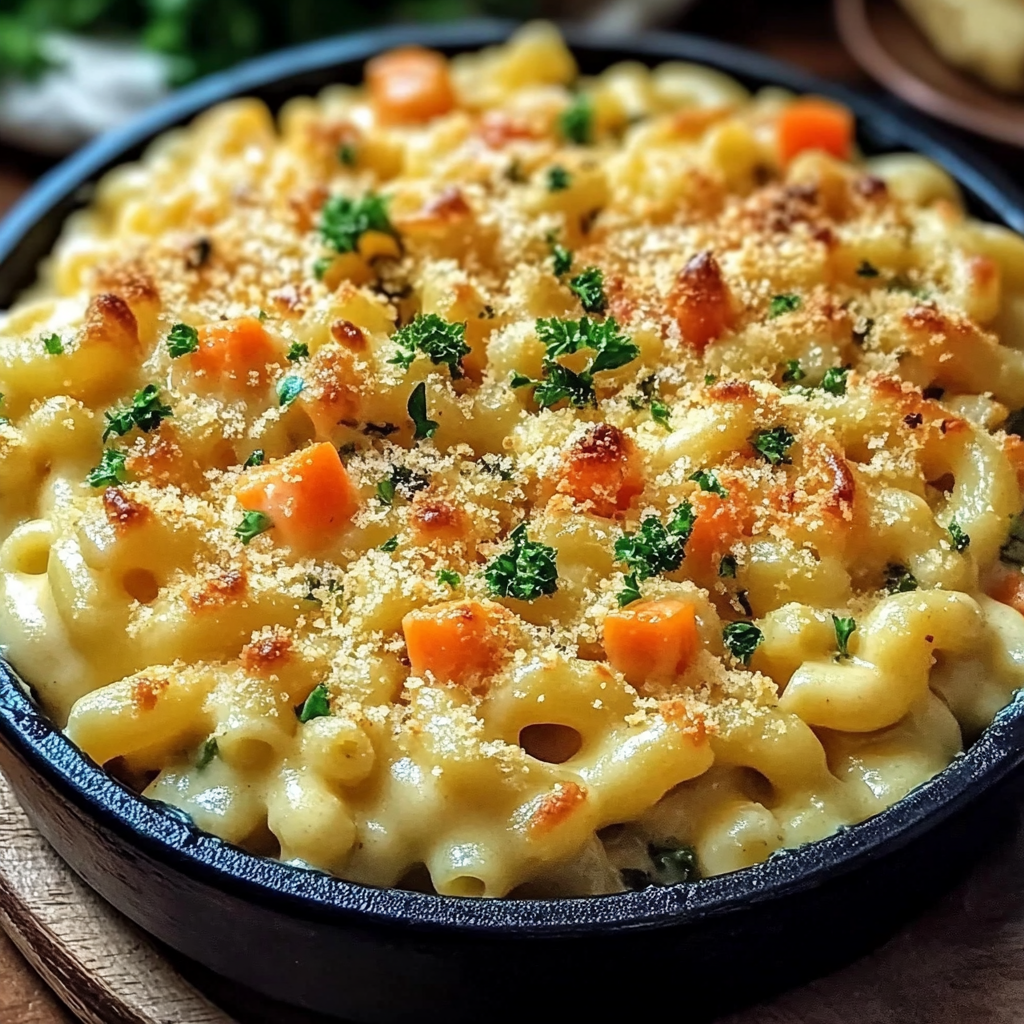
What the heck is this?
Okay, so this is basically my answer to “I want comfort food but also don’t want to feel like I need a nap afterward.” It’s a super creamy, cheesy mac and cheese that’s LOADED with veggies, and the best part? You make the whole dang thing in ONE POT. That’s right – no separate pot for boiling pasta, no colander, no extra pan for sautéing veggies. Just one pot and a wooden spoon, and about 30 minutes between you and cheesy veggie heaven. It’s my go-to for those nights when I want something that feels indulgent but also has actual nutritional value. Plus, cleanup is a breeze, which is honestly half the battle on a weeknight.
Why You’ll Love This Recipe
Listen, I’m not saying this will change your life, but… it might:
- It’s the ultimate lazy cook’s dream – literally everything goes in one pot.
- The pasta cooks IN the sauce, which means it soaks up all that flavor instead of just water.
- You can clean out your veggie drawer – almost any veggies work here.
- It’s creamy and cheesy but doesn’t make you feel like you need to hibernate afterward.
- Kids will actually eat their vegetables (my nephew who “hates broccoli” had THREE servings).
- Leftovers taste even better the next day (if they last that long).
- It’s customizable to whatever you have on hand – no emergency grocery runs needed.
- Ready in about 30 minutes, which is faster than delivery and WAY more satisfying.
The Good Stuff You’ll Need
- 2 tablespoons butter or olive oil (butter = more flavor, olive oil = slightly healthier, you decide)
- 1 medium onion, diced (yellow, white, whatever you’ve got)
- 2-3 cloves garlic, minced (or more if you’re a garlic fiend like me)
- 3 cups mixed vegetables, chopped small (I usually use bell peppers, broccoli, carrots, and zucchini, but use what you have!)
- 2 cups uncooked elbow macaroni (or other short pasta – rotini, shells, cavatappi all work great)
- 2 cups vegetable or chicken broth (I’ve even used water with bouillon in a pinch)
- 1 cup milk (any kind – I’ve used everything from skim to whole to oat milk)
- 1/2 teaspoon mustard powder (secret ingredient that makes the cheese flavor pop)
- 1/4 teaspoon smoked paprika (regular works too, but smoked adds amazing depth)
- Salt and pepper to taste
- 2 cups shredded cheese (I like a mix of sharp cheddar and monterey jack, but use what you love)
- Optional handful of spinach or kale (for when you’re feeling extra virtuous)
- Optional handful of breadcrumbs mixed with a bit of butter (for a crispy top if you’re feeling fancy)
Let’s Do This
The One-Pot Wonder Method (about 30 minutes total):
- Grab your favorite pot – I use a Dutch oven but any medium to large pot with a heavy-ish bottom works. Heat it over medium heat and add your butter or oil.
- Toss in the diced onion and let it get soft and translucent (about 3-4 minutes). Add the garlic and stir for another 30 seconds until it smells amazing but doesn’t burn (burnt garlic is THE WORST).
- Add all your chopped veggies (except leafy greens if using) and cook for about 5 minutes until they start to soften a bit. Don’t fully cook them – they’ll continue cooking with the pasta.
- Now for the cool part: Add the uncooked pasta, broth, milk, mustard powder, paprika, and a good pinch of salt and pepper right into the pot with the veggies. Stir it all together.
- Bring the mixture to a gentle boil, then reduce the heat to medium-low and cover the pot. Let it simmer for about 10-12 minutes, stirring occasionally to prevent sticking. The pasta will cook IN the liquid and absorb all those flavors. If it seems too dry, add a splash more milk or broth.
- When the pasta is almost tender (taste test!), remove the lid and stir in your shredded cheese a handful at a time. Keep stirring until it’s all melty and amazing.
- If using spinach or kale, toss it in now and stir until it wilts into the mix.
- Taste and adjust seasonings – it might need more salt, pepper, or even a dash of hot sauce if you like heat.
- If you’re doing the breadcrumb topping, mix a handful of breadcrumbs with a tablespoon of melted butter, sprinkle over the top, and either broil for 2-3 minutes or cover and let the residual heat make them a little toasty.
- Let it sit for about 5 minutes before serving – it thickens up a bit as it cools slightly.
Serving Suggestions
- This is honestly a complete meal on its own, but a simple green salad on the side never hurt anybody.
- If you’re feeding meat-lovers, you could top it with some crispy bacon bits or shredded rotisserie chicken.
- A bit of fresh parsley or chives sprinkled on top makes it look like you really have your life together.
- Crusty bread on the side for sauce-mopping is always a good idea.
- A glass of white wine for you (the cook) is practically mandatory. You earned it.
Switch It Up
This recipe is super adaptable. Here are some of my favorite twists:
- Mediterranean Style: Use bell peppers, zucchini, artichoke hearts, and olives; swap some of the cheddar for feta; add a sprinkle of oregano.
- Southwest: Add a can of drained black beans, corn, and diced bell peppers; use pepper jack cheese; top with crushed tortilla chips, avocado, and a dollop of sour cream.
- Fall Harvest: Use butternut squash, kale, and caramelized onions; add a pinch of nutmeg and sage; use Gruyère cheese.
- Broccoli Cheddar: Go simple with just broccoli as your veggie; use extra sharp cheddar; top with a sprinkle of red pepper flakes.
- Greek-ish: Spinach, tomatoes, and olives; mix in some crumbled feta at the end; finish with a squeeze of lemon.
- Fancy Pants Version: Add mushrooms sautéed in sherry, frozen peas, and a dollop of crème fraîche; finish with truffle oil if you’re really showing off.
Storage Solutions
- This keeps well in the fridge for about 3-4 days in an airtight container.
- To reheat, add a splash of milk before microwaving to bring back the creaminess.
- I don’t recommend freezing – the pasta gets mushy and the sauce can separate.
- If you somehow have leftovers, try forming cold mac and cheese into patties and pan-frying them for amazing mac and cheese fritters the next day.
Questions People Actually Ask
Q: My sauce looks too runny when the pasta is done cooking. Help!
A: No worries! Just take the lid off, turn the heat up slightly, and let it simmer for a few more minutes. The sauce will reduce and thicken. Remember it also thickens as it cools a bit.
Q: Can I use gluten-free pasta?
A: Yep! Just watch the cooking time – gluten-free pastas often cook faster and can get mushy. Check it earlier than you would regular pasta.
Q: My kids hate vegetables. How can I sneak them in?
A: I get it. Try grating or very finely dicing firmer veggies like carrots and zucchini so they practically disappear. Butternut squash practically melts into the sauce, adding nutrition and a subtle sweetness kids love. Or puree cooked cauliflower and mix it into the sauce.
Q: I accidentally added too much liquid and now it’s soup. Can I fix it?
A: Absolutely! Either simmer uncovered longer to reduce the liquid, or add a bit more pasta to absorb the excess. Worst case, thicken with a bit of cornstarch slurry (1 tsp cornstarch mixed with 1 tbsp cold water).
Q: What’s the best cheese to use?
A: Sharp cheddar gives the most “classic” mac and cheese flavor, but a mix is always better. I like sharp cheddar plus something meltier like monterey jack, fontina, or even American for creaminess. Avoid pre-shredded if possible – it has anti-caking agents that can make your sauce grainy.
Q: Can I make this ahead for a potluck?
A: Sure! Make it a bit saucier than you normally would (add an extra 1/4 cup milk) since it will thicken as it sits. Reheat gently with a splash of milk, stirring frequently. The breadcrumb topping is best added just before serving if you want it crispy.
One Pot Veggie Mac and Cheese
Description
Okay, so this is basically my answer to “I want comfort food but also don’t want to feel like I need a nap afterward.” It’s a super creamy, cheesy mac and cheese that’s LOADED with veggies, and the best part? You make the whole dang thing in ONE POT. That’s right – no separate pot for boiling pasta, no colander, no extra pan for sautéing veggies. Just one pot and a wooden spoon, and about 30 minutes between you and cheesy veggie heaven. It’s my go-to for those nights when I want something that feels indulgent but also has actual nutritional value. Plus, cleanup is a breeze, which is honestly half the battle on a weeknight.
Ingredients
- 2 tablespoons butter or olive oil (butter = more flavor, olive oil = slightly healthier, you decide)
- 1 medium onion, diced (yellow, white, whatever you’ve got)
- 2–3 cloves garlic, minced (or more if you’re a garlic fiend like me)
- 3 cups mixed vegetables, chopped small (I usually use bell peppers, broccoli, carrots, and zucchini, but use what you have!)
- 2 cups uncooked elbow macaroni (or other short pasta – rotini, shells, cavatappi all work great)
- 2 cups vegetable or chicken broth (I’ve even used water with bouillon in a pinch)
- 1 cup milk (any kind – I’ve used everything from skim to whole to oat milk)
- 1/2 teaspoon mustard powder (secret ingredient that makes the cheese flavor pop)
- 1/4 teaspoon smoked paprika (regular works too, but smoked adds amazing depth)
- Salt and pepper to taste
- 2 cups shredded cheese (I like a mix of sharp cheddar and monterey jack, but use what you love)
- Optional handful of spinach or kale (for when you’re feeling extra virtuous)
- Optional handful of breadcrumbs mixed with a bit of butter (for a crispy top if you’re feeling fancy)


