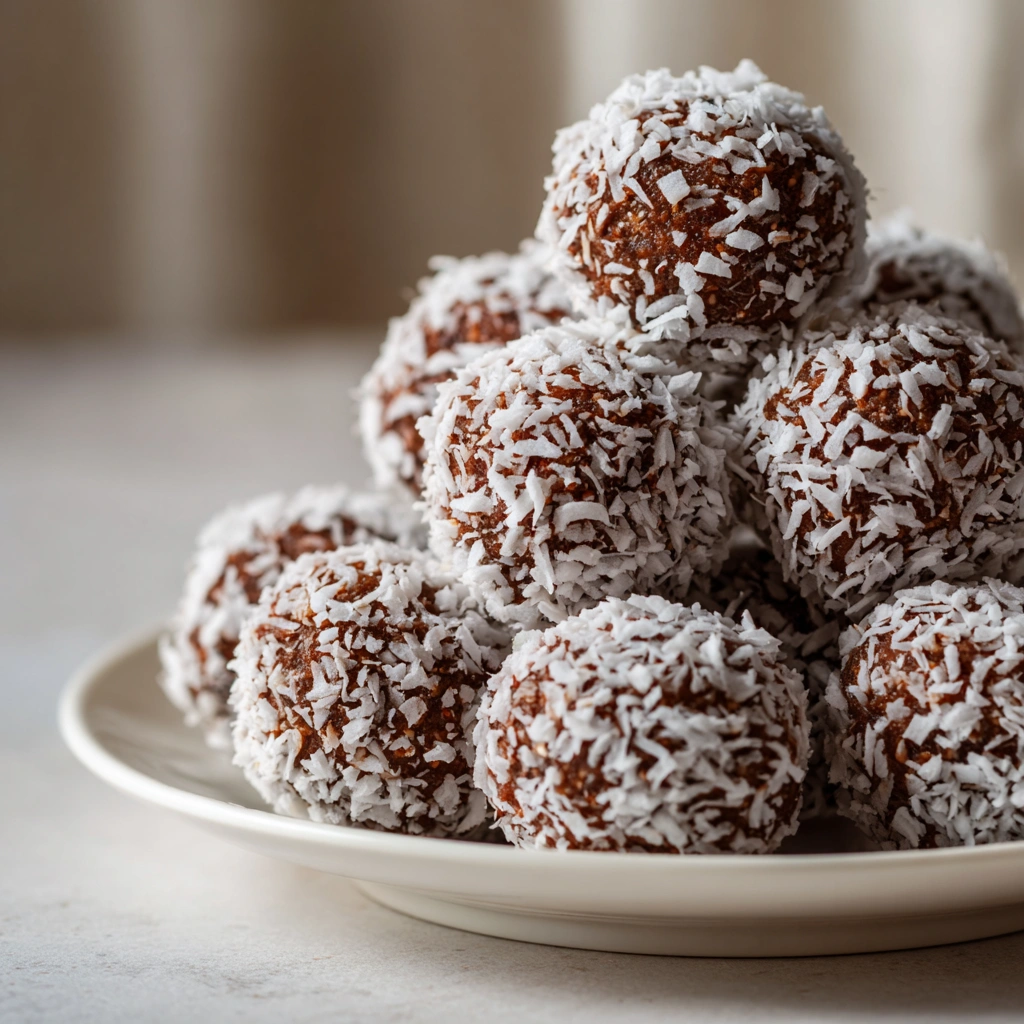
Craving something sweet but want to keep it light and simple? These Healthy No-Bake Truffles are the answer. Rich, chocolatey balls made with wholesome ingredients, they require no oven and come together in minutes. Whether you’re looking for a snack, dessert, or something to gift, they’re delicious, elegant—and healthier.
Why You’ll Love This Recipe
- No baking required → super quick prep and cleanup.
- Uses wholesome ingredients: natural sweeteners, nuts or yogurt base, minimal refined sugar.
- Customizable coatings and fillings for flavor variety.
- Great for make-ahead, storing in fridge/freezer and grabbing when you need a treat.
- Perfect giftable dessert or a sweet snack that doesn’t leave you feeling weighed down.
Recipe Details
- Prep Time: ~10 minutes (plus chill time)
- Total Time: ~20-30 minutes (including setting)
- Yield: ~12-16 truffles (depending on size)
- Category: Dessert / Snack
- Method: No-Bake
- Cuisine: Modern / Health-Friendly
- Diet: Vegetarian (can adapt to vegan / gluten-free)
- Keywords: no-bake truffles, healthy dessert, chocolate energy balls
Ingredients You’ll Need
For the Truffle Base
- 1 cup smooth yogurt (or blended cottage cheese) or ⅔-1 cup nut or seed butter (almond, peanut, cashew)
- ¾ cup cocoa powder (or cacao powder)
- 3 Tbsp liquid sweetener (maple syrup or honey; or agave for vegan)
- Optional: ¼-cup almond flour or coconut flour (for thicker texture)
- Pinch of salt
- Optional mix-ins: chopped nuts, mini chocolate chips, shredded coconut
For the Coating (Optional)
- ½-cup dark chocolate chips (or dairy-free chocolate for vegan)
- 1 tsp coconut oil (to smooth the melt)
- Optional toppings: sea salt flakes, chopped nuts, cocoa powder, shredded coconut
Instructions
1. Prepare the Base Mixture
In a bowl, combine your chosen base (yogurt/blended cottage cheese or nut-butter) with cocoa powder, liquid sweetener, and salt. If adding almond or coconut flour (for thickness) or mix-ins (nuts/chocolate chips), fold them in now.
Stir until the mixture is smooth and holds together when pressed.
2. Chill & Shape
Cover the mixture and refrigerate for about 10-15 minutes (or until firm enough to roll). Then scoop out portions (using a small cookie scoop or tablespoon), roll into balls with clean, slightly dampened hands and place on a parchment-lined tray.
If you like, freeze the balls for 10 minutes to firm up before coating.
3. Prepare the Coating
In a microwave-safe bowl (or using a double-boiler), melt the dark chocolate chips together with coconut oil in short bursts, stirring between each until smooth and glossy.
Dip each chilled truffle ball into the melted chocolate, allowing excess to drip off, and place back on the parchment sheet. Immediately sprinkle toppings (sea salt, nuts, coconut) if desired.
4. Set & Serve
Refrigerate the coated truffles for another 10-15 minutes or until the chocolate shell is firm. Then they’re ready to serve!
Store extras in an airtight container in the fridge for up to 1 week, or freeze for longer storage.
You Must Know
- Using smooth-textured base ingredients helps things roll easily and give a nice bite.
- Chilling before coating is key to avoid the base melting through the chocolate.
- Keep the melted chocolate warm but not hot — too hot and it might cause the truffles to melt or the coating to seize.
- Be mindful of size: smaller truffles chill and set faster; larger ones take longer and may be more indulgent.
Storage Tips
- Store refrigerated in an airtight container for up to 1 week.
- Can freeze for up to 2-3 months; thaw in fridge a few minutes before enjoying.
- If coating starts to soften in the fridge, chill a bit longer before serving to snap the shell.
Ingredient Substitutions
- Vegan: Use plant-based yogurt or nut-butter base + dairy-free chocolate for coating.
- Gluten-Free: Use almond or coconut flour in place of any wheat flour; ensure chocolate is GF.
- Lower-sugar: Use minimal sweetener, or substitute with mashed dates + vanilla extract for binding.
- Flavor variations: Add a dash of espresso powder for mocha flavor, orange zest for citrus twist, or cinnamon and cayenne for a spicy kick.
Serving Suggestions
- Arrange on a dessert platter with fresh berries and mint for a beautiful spread.
- Pack in small gift boxes or mason jars for homemade edible gifts.
- Serve alongside a cup of herbal tea or iced coffee for an afternoon treat.
- Use as a topping: place one truffle atop a scoop of frozen yogurt or ice cream for decadent dessert.
Pro Tips
- Wet your hands slightly when rolling the mixture to avoid sticking.
- If the base feels too soft to roll, pop it in freezer for another 5-10 minutes.
- For a smooth chocolate coating, stir in just a tiny swirl of coconut oil to the melted chocolate.
- Clean a small toothpick or fork can help dipping and managing round truffles easily.
Frequently Asked Questions
→ Can I skip the chocolate coating?
Yes — you can roll the base balls in cocoa powder, shredded coconut, chopped nuts or crushed freeze-dried berries instead of coating.
→ Why did my truffles fall apart?
Likely the base was too soft or not chilled enough before shaping/coating. Increase refrigerate time or add approx. 1-2 Tbsp more almond/coconut flour to firm up.
→ Are these really “healthy”?
They’re healthier alternatives: less refined sugar, more natural bindings, and optional boost of protein/fiber — but still treat-worthy, so enjoy mindfully.
→ Can I make them ahead for an event?
Definitely. Prepare the base and coating ahead, store in fridge and assemble shortly before serving for best texture and presentation.
✨ These Healthy No-Bake Truffles bring indulgent flavor into a wholesome format—chocolatey, satisfying, and made with better-for-you ingredients. Treat yourself without the stress.
Print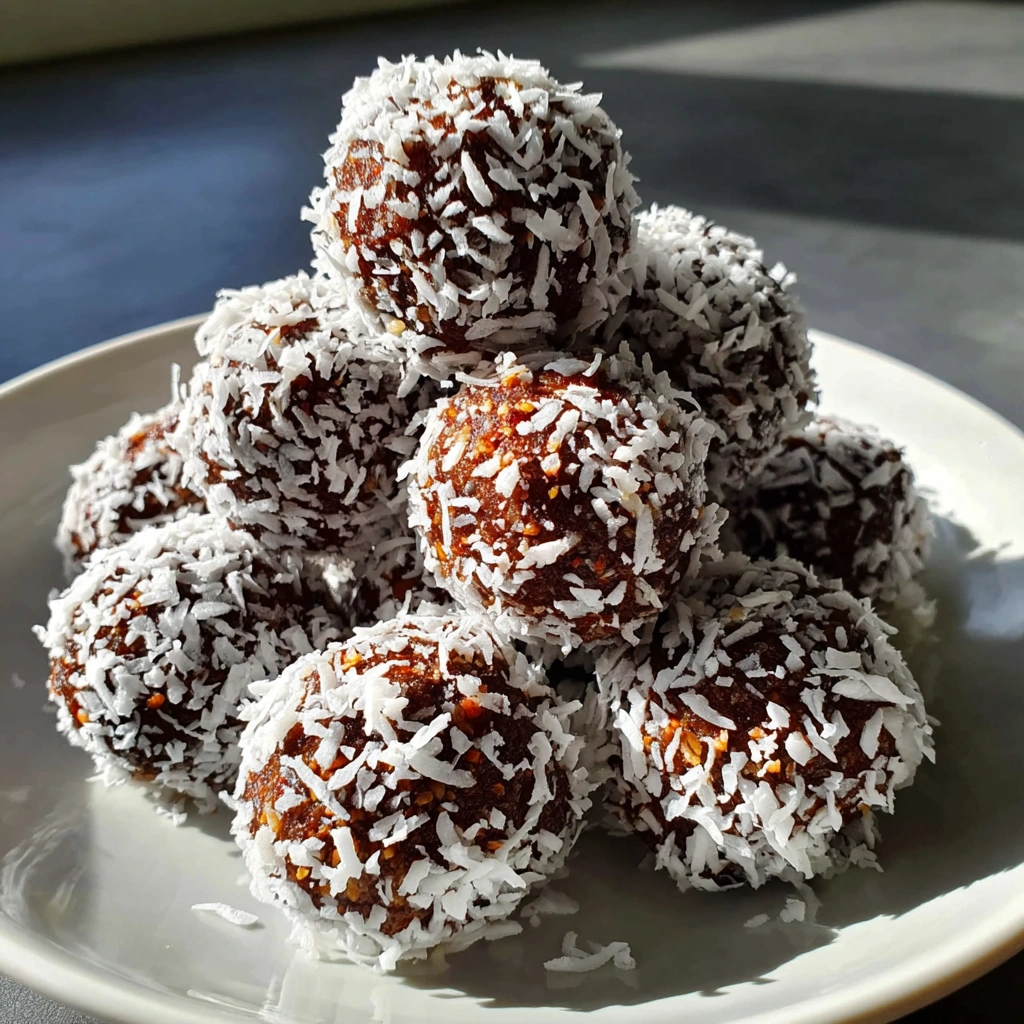
Healthy No-Bake Truffles
- Total Time: 20–30 minutes
- Yield: 12–16 truffles 1x
Description
Craving something sweet but want to keep it light and simple? These Healthy No-Bake Truffles are the answer. Rich, chocolatey balls made with wholesome ingredients, they require no oven and come together in minutes. Whether you’re looking for a snack, dessert, or something to gift, they’re delicious, elegant—and healthier.
Ingredients
For the Truffle Base
-
1 cup smooth yogurt (or blended cottage cheese) or ⅔–1 cup nut or seed butter (almond, peanut, cashew)
-
¾ cup cocoa powder (or cacao powder)
-
3 Tbsp liquid sweetener (maple syrup or honey; or agave for vegan)
-
Optional: ¼ cup almond flour or coconut flour (for thicker texture)
-
Pinch of salt
-
Optional mix-ins: chopped nuts, mini chocolate chips, shredded coconut
For the Coating (Optional)
-
½ cup dark chocolate chips (or dairy-free chocolate for vegan)
-
1 tsp coconut oil (to smooth the melt)
-
Optional toppings: sea salt flakes, chopped nuts, cocoa powder, shredded coconut
Instructions
1. Prepare the Base Mixture
In a bowl, combine your chosen base (yogurt/blended cottage cheese or nut butter) with cocoa powder, liquid sweetener, and salt. If adding almond or coconut flour (for thickness) or mix-ins (nuts/chocolate chips), fold them in now.
Stir until the mixture is smooth and holds together when pressed.
2. Chill & Shape
Cover the mixture and refrigerate for about 10–15 minutes (or until firm enough to roll). Then scoop out portions (using a small cookie scoop or tablespoon), roll into balls with clean, slightly dampened hands and place on a parchment-lined tray.
If you like, freeze the balls for 10 minutes to firm up before coating.
3. Prepare the Coating
In a microwave-safe bowl (or using a double-boiler), melt the dark chocolate chips together with coconut oil in short bursts, stirring between each until smooth and glossy.
Dip each chilled truffle ball into the melted chocolate, allowing excess to drip off, and place back on the parchment sheet. Immediately sprinkle toppings (sea salt, nuts, coconut) if desired.
4. Set & Serve
Refrigerate the coated truffles for another 10–15 minutes or until the chocolate shell is firm. Then they’re ready to serve!
Store extras in an airtight container in the fridge for up to 1 week, or freeze for longer storage.
Notes
-
Using smooth-textured base ingredients helps things roll easily and give a nice bite.
-
Chilling before coating is key to avoid the base melting through the chocolate.
-
Keep the melted chocolate warm but not hot — too hot and it might cause the truffles to melt or the coating to seize.
-
Be mindful of size: smaller truffles chill and set faster; larger ones take longer and may be more indulgent.
- Prep Time: 10 minutes
- Category: Desserts
- Cuisine: American
Nutrition
- Calories: 95kcal
- Sugar: 6g
- Sodium: 40mg
- Protein: 3g