
Fun, festive, and delicious Halloween cookies — soft, chewy, and perfect for decorating with spooky designs. Ideal for parties, trick-or-treaters, or just celebrating the season with a sweet treat.
Why You’ll Love This Recipe
- Soft, chewy cookies with perfect texture — not too hard, not too soft
- Easy to decorate with icing, sprinkles, or edible markers
- Great for Halloween parties or gifts
- Fun activity to involve kids in baking and decorating
- Makes a batch large enough to share with friends or family
Ingredients
For the Cookies
- 2 ½ cups (≈ 315 g) all-purpose flour
- 1 tsp baking soda
- ½ tsp salt
- 1 cup (≈ 225 g) unsalted butter, softened
- 1 cup (≈ 200 g) granulated sugar
- ½ cup (≈ 100 g) brown sugar, packed
- 2 large eggs
- 2 tsp vanilla extract
For Decorating
- Assorted colored icing or frosting
- Sprinkles, edible eyes, chocolate chips, or candy decorations
- Food coloring as needed
Instructions
- Preheat Oven & Prep
- Preheat oven to 350°F (175°C).
- Line baking sheets with parchment paper or silicone baking mats.
- Make the Cookie Dough
- In a bowl, whisk together flour, baking soda, and salt. Set aside.
- In a large bowl, cream together butter, granulated sugar, and brown sugar until light and fluffy.
- Beat in eggs one at a time, then stir in vanilla extract.
- Gradually mix in the flour mixture until just combined.
- Shape & Bake
- Scoop dough into 1–2 tablespoon-sized balls and place 2 inches apart on baking sheets.
- Flatten slightly if desired.
- Bake for 10–12 minutes or until edges are lightly golden but centers remain soft.
- Let cookies cool on the baking sheet for 5 minutes, then transfer to wire racks to cool completely.
- Decorate
- Once cookies are cooled, decorate with icing, sprinkles, or candy as desired.
- Use different colors to create pumpkins, ghosts, bats, or other Halloween designs.
You Must Know
- Don’t overbake — cookies will firm up as they cool, keeping a soft center.
- Softened butter is key for proper texture — not melted.
- Chill dough briefly if too sticky to handle for easier shaping.
Pro Tips
- For extra flavor, add ½ tsp cinnamon or pumpkin spice to the dough.
- Use piping bags or squeeze bottles for more precise icing designs.
- Store undecorated cookies in an airtight container for 2–3 days before decorating.
Ingredient Substitutions
- Butter: Use margarine or coconut oil, but texture may vary slightly.
- Flour: Gluten-free flour blend can be used for a gluten-free version.
- Decorations: Use any edible decorations you have on hand — chocolate chips, candies, or crushed cookies.
Serving Suggestions
- Serve with milk, hot cocoa, or cider for a seasonal treat.
- Package in small bags for party favors or trick-or-treat giveaways.
- Pair with other Halloween-themed desserts for a spooky dessert table.
Storage Tips
- Store cooled, decorated cookies in an airtight container at room temperature for 3–5 days.
- For longer storage, freeze unbaked dough for up to 1 month, then bake fresh.
Frequently Asked Questions
→ Can I make these cookies ahead of time?
Yes — bake and store cookies or freeze unbaked dough to bake fresh later.
→ How do I keep cookies soft?
Don’t overbake and store in an airtight container once cooled. Adding brown sugar helps maintain softness.
→ Can kids decorate these cookies?
Absolutely — fun and safe activity with supervision, perfect for Halloween.
Enjoy your Halloween Cookies — spooky, fun, and delicious treats for the season! 🎃👻
Print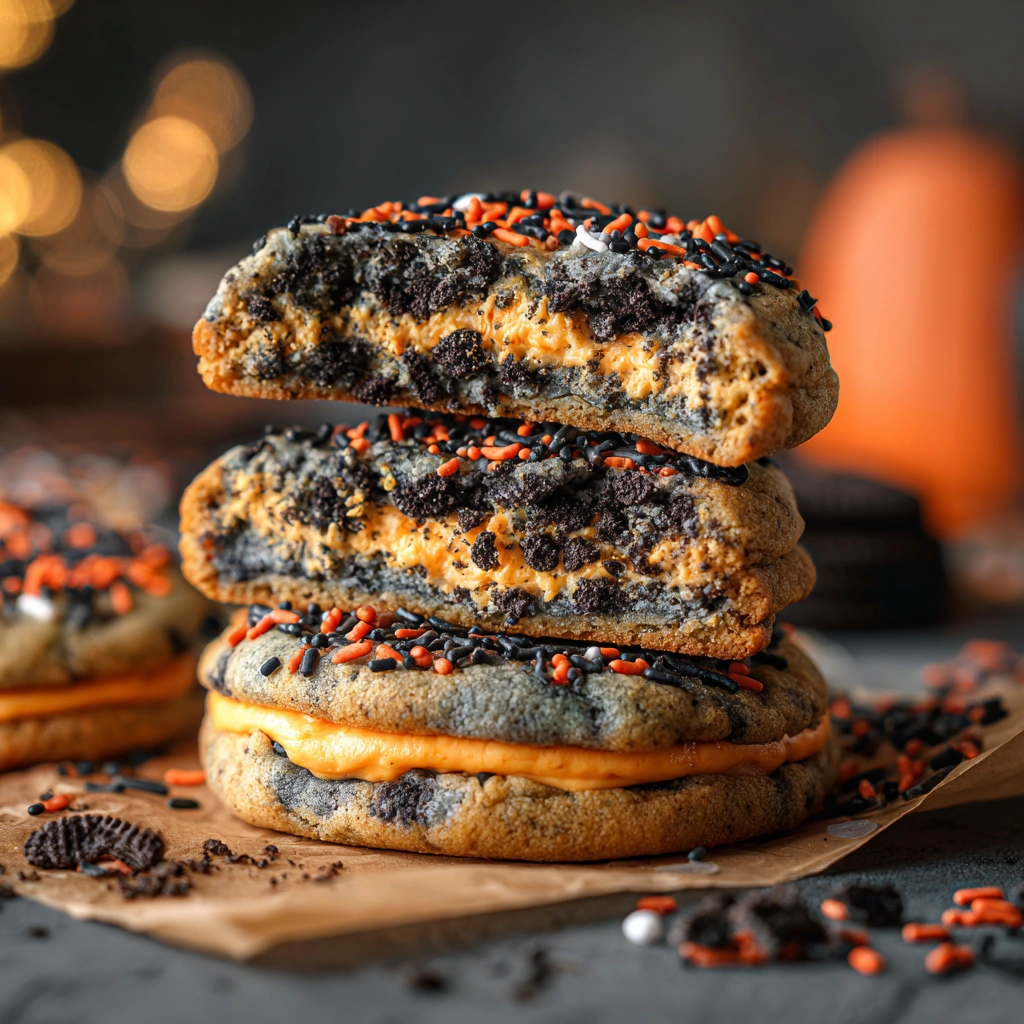
Halloween Cookies
Description
Fun, festive, and delicious Halloween cookies — soft, chewy, and perfect for decorating with spooky designs. Ideal for parties, trick-or-treaters, or just celebrating the season with a sweet treat.
Ingredients
For the Cookies
-
2 ½ cups (≈ 315 g) all-purpose flour
-
1 tsp baking soda
-
½ tsp salt
-
1 cup (≈ 225 g) unsalted butter, softened
-
1 cup (≈ 200 g) granulated sugar
-
½ cup (≈ 100 g) brown sugar, packed
-
2 large eggs
-
2 tsp vanilla extract
For Decorating
-
Assorted colored icing or frosting
-
Sprinkles, edible eyes, chocolate chips, or candy decorations
-
Food coloring as needed
Instructions
-
Preheat Oven & Prep
-
Preheat oven to 350°F (175°C).
-
Line baking sheets with parchment paper or silicone baking mats.
-
-
Make the Cookie Dough
-
In a bowl, whisk together flour, baking soda, and salt. Set aside.
-
In a large bowl, cream together butter, granulated sugar, and brown sugar until light and fluffy.
-
Beat in eggs one at a time, then stir in vanilla extract.
-
Gradually mix in the flour mixture until just combined.
-
-
Shape & Bake
-
Scoop dough into 1–2 tablespoon-sized balls and place 2 inches apart on baking sheets.
-
Flatten slightly if desired.
-
Bake for 10–12 minutes or until edges are lightly golden but centers remain soft.
-
Let cookies cool on the baking sheet for 5 minutes, then transfer to wire racks to cool completely.
-
-
Decorate
-
Once cookies are cooled, decorate with icing, sprinkles, or candy as desired.
-
Use different colors to create pumpkins, ghosts, bats, or other Halloween designs.
-
Notes
-
Don’t overbake — cookies will firm up as they cool, keeping a soft center.
-
Softened butter is key for proper texture — not melted.
-
Chill dough briefly if too sticky to handle for easier shaping.