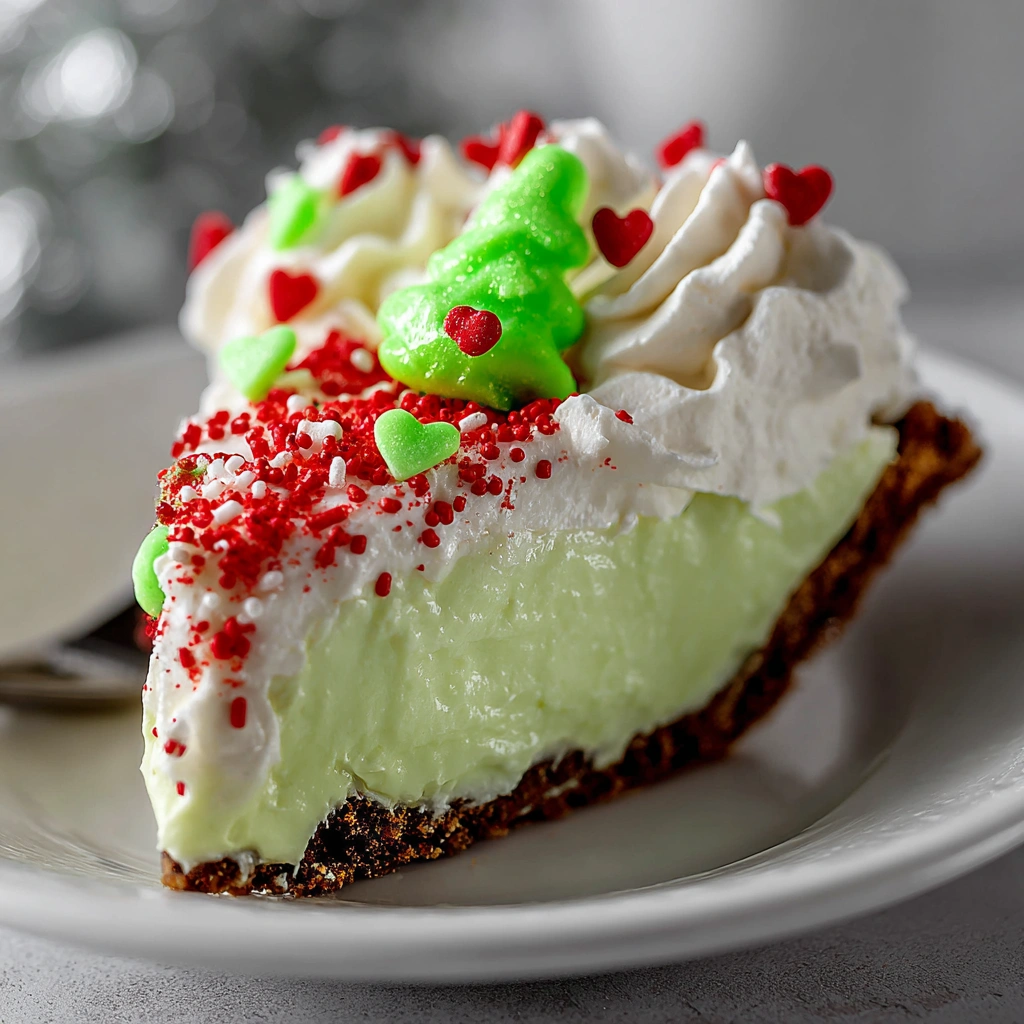
A bright, festive no-bake pie with a creamy green pudding filling, chocolatey crust, and fluffy whipped topping — perfect for holiday parties, kids’ treat nights, or anytime you want a fun, easy dessert that feels seasonal and special.
Why You’ll Love This Recipe
- No baking required — just mix, chill, and decorate
- Quick prep — only about 10 minutes of hands-on time
- Festive and fun — vibrant green filling with red heart sprinkles for a holiday vibe
- Great for kids or parties — easy enough for little hands to help
- Make-ahead friendly — chilling ahead gives time to prep while you enjoy other dishes
Ingredients
Base / Crust
- 1 pre-made Oreo pie crust (store-bought)
Filling
- 1 box white chocolate pudding mix (about 3.9 oz)
- 2 cups cold milk (2% works well)
- 2–3 drops neon green gel food coloring
- 1–2 drops regular green food coloring
Topping & Decoration
- ½ container whipped topping (e.g. Cool-Whip)
- ½ cup green sanding sugar (optional — for sparkle)
- ½ cup mini red heart sprinkles
- ½ cup large red heart sprinkles (or drop one large heart on each slice)
Instructions
- Prepare the filling
In a large bowl, whisk together the pudding mix and cold milk until smooth and slightly thickened. Add the neon green gel food coloring (and a drop or two of regular green, if desired) and stir until fully combined and evenly colored. - Fill the crust
Pour the green pudding mixture into the Oreo pie crust. Smooth the surface with a spatula so it’s even. - Chill to set
Place the pie in the refrigerator and chill for at least 3 hours (or until the filling is firm and set). - Add whipped topping
Once chilled, spread the whipped topping evenly over the green pudding layer. - Decorate
Sprinkle the green sanding sugar and mini red heart sprinkles across the top. Optionally — place one large red heart sprinkle in the center of the pie, or one on each slice when serving. - Serve
Use a warm knife for clean slices, serve chilled, and enjoy the festive dessert!
Pro Tips & Notes
- Use cold milk so the pudding sets properly.
- Gel food coloring gives the brightest “Grinch-green” without thinning the pudding.
- Chill the pie thoroughly before adding topping — helps everything stay firm.
- For cleaner slices, run the knife under hot water, wipe dry, then slice.
- Feel free to get creative: swap sprinkles, use flavored pudding, or make mini pies in dessert cups for easier serving.
Variations & Substitutions
- Use a graham-cracker crust instead of Oreo if you prefer a milder base
- Swap white chocolate pudding for mint pudding for a minty twist
- For a dairy-free or lighter version: use non-dairy milk and a dairy-free whipped topping
- Skip food coloring and use matcha powder or pistachio pudding for a natural green hue
Serving Ideas & Storage
- Serve as-is for a cheerful holiday dessert.
- Great alongside hot cocoa, coffee, or a simple fruit salad for contrast.
- Store covered in the refrigerator for up to 3–4 days.
- For best texture, avoid freezing — freezing can change the pudding’s texture.
Frequently Asked Questions
→ Can I make this pie ahead of time?
Yes — it’s ideal for preparing a few hours or even a day in advance. Just cover and refrigerate until you’re ready to serve.
→ What if the filling is too runny?
Make sure the milk is cold, and chill long enough. If still soft, try reducing the milk slightly or adding a little whipped topping to the pudding before chilling.
→ Can kids help make this?
Absolutely! Kids can mix the pudding, add food coloring, and decorate with sprinkles — just handle the chilling and slicing for them.
Enjoy your cheerful, no-bake Grinch Pie — fun to make, fun to eat, and a festive treat for any holiday table! 🎄🥧
Print
No-Bake “Grinch Pie”
Description
A bright, festive no-bake pie with a creamy green pudding filling, chocolatey crust, and fluffy whipped topping — perfect for holiday parties, kids’ treat nights, or anytime you want a fun, easy dessert that feels seasonal and special.
Ingredients
Base / Crust
-
1 pre-made Oreo pie crust (store-bought)
Filling
-
1 box white chocolate pudding mix (about 3.9 oz)
-
2 cups cold milk (2% works well)
-
2–3 drops neon green gel food coloring
-
1–2 drops regular green food coloring
Topping & Decoration
-
½ container whipped topping (e.g. Cool-Whip)
-
½ cup green sanding sugar (optional — for sparkle)
-
½ cup mini red heart sprinkles
-
½ cup large red heart sprinkles (or drop one large heart on each slice)
Instructions
-
Prepare the filling
In a large bowl, whisk together the pudding mix and cold milk until smooth and slightly thickened. Add the neon green gel food coloring (and a drop or two of regular green, if desired) and stir until fully combined and evenly colored. -
Fill the crust
Pour the green pudding mixture into the Oreo pie crust. Smooth the surface with a spatula so it’s even. -
Chill to set
Place the pie in the refrigerator and chill for at least 3 hours (or until the filling is firm and set). -
Add whipped topping
Once chilled, spread the whipped topping evenly over the green pudding layer. -
Decorate
Sprinkle the green sanding sugar and mini red heart sprinkles across the top. Optionally — place one large red heart sprinkle in the center of the pie, or one on each slice when serving. -
Serve
Use a warm knife for clean slices, serve chilled, and enjoy the festive dessert!
Notes
-
Use cold milk so the pudding sets properly.
-
Gel food coloring gives the brightest “Grinch-green” without thinning the pudding.
-
Chill the pie thoroughly before adding topping — helps everything stay firm.
-
For cleaner slices, run the knife under hot water, wipe dry, then slice.
-
Feel free to get creative: swap sprinkles, use flavored pudding, or make mini pies in dessert cups for easier serving.