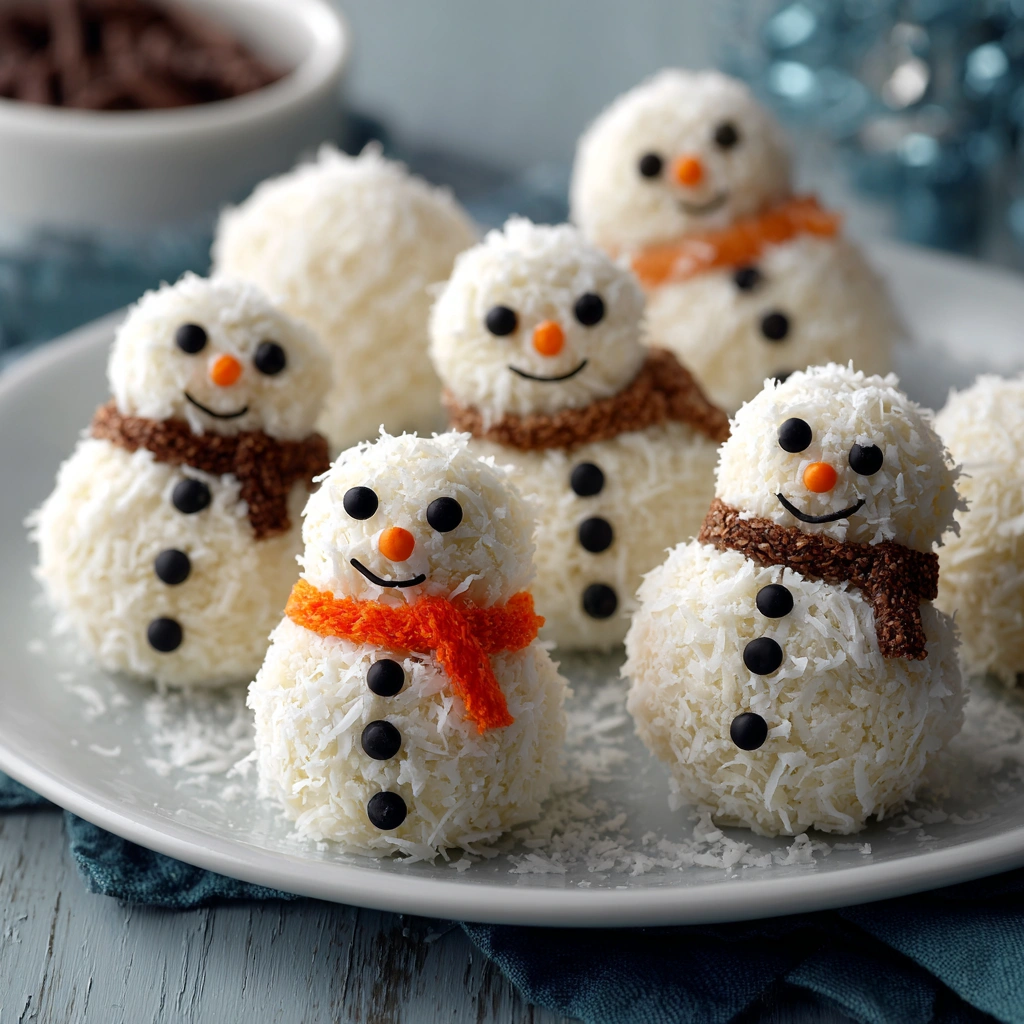
These No-Bake Snowman Truffles are cute, festive, and fun — a wintery treat made without oven time, perfect for holiday parties, gifting, or a cozy family baking session.
Why You’ll Love This Recipe
- Totally no-bake — easy and quick to assemble
- Fun, festive snowman shape — great for holiday tables or gifts
- Kid-friendly — hands-on work: rolling, stacking, decorating
- Very customizable — coconut, chocolate, cookies, vegan or dairy options
- Can be made ahead and stored for easy holiday prep
Ingredients
Base / Truffle Mixture (choose one version)
Option A — Coconut-Condensed Milk Version
- ~320 g sweetened condensed milk
- ~320 g shredded coconut (desiccated coconut) — plus extra for rolling
Option B — Cookie-Cream Cheese or Vegan Base Version
- ~150 g golden cookies (or plain / gluten-free biscuits), crushed finely
- ~60 g cream cheese (or dairy-free alternative) — sticky enough to hold shape
- Optional: A handful of shredded coconut for texture
Coating & Decoration
- ~200 g white chocolate (or dairy-free / vegan white chocolate / candy melts) for coating
- Black icing (or melted dark/black chocolate) for eyes, mouth, and buttons
- Orange icing or small orange candy/fondant (or sprinkles) for carrot-style nose
- Thin pretzel sticks or candy sticks (for arms)
- Candy straps, fruit-roll strips, or fondant strips for scarves (optional)
Instructions
- Prepare the truffle mixture
- If using coconut version: mix condensed milk and shredded coconut until fully combined.
- If using cookie-based version: crush the cookies finely (food processor or a rolling pin) and mix with softened cream cheese until sticky and moldable.
- Form snowman shapes
- Roll the mixture into small balls: one larger ball for the body, one smaller for the head.
- Place the smaller “head” ball on top of the larger “body” ball. Use a dab of melted white chocolate (or a bit of your mixture) as “glue” if needed. Chill (in the fridge or freezer) for 20–30 min or until firm.
- Coat with chocolate
- Melt the white chocolate (or vegan white chocolate / candy melts) gently (double boiler or microwave in short intervals).
- Dip each chilled snowman truffle into the melted chocolate, coating evenly. Tap off excess and place on parchment paper. Freezing/chilling helps set the shell quickly.
- Decorate
- Use black icing (or melted chocolate) to draw eyes, mouth, and buttons.
- Use orange icing or a small orange candy / sprinkle piece to make a carrot-style nose.
- Insert thin pretzel sticks (or candy sticks) as arms.
- Optionally wrap a candy strap or fruit-roll strip around the neck as a scarf. Use a tiny dab of melted chocolate to help it stick.
- Chill & Serve
- Chill again for 5–10 min to fully set the chocolate and decorations. Then serve chilled or at room temperature.
Pro Tips & Notes
- Chilling between steps (after shaping, before coating, after coating) helps truffles hold their shape and makes coating easier.
- If the truffle mixture is too sticky to roll, chill it a bit before shaping.
- For a “snowy” look: roll the coconut-based balls in extra shredded coconut before coating.
- Use parchment paper or a silicone mat to prevent sticking.
- Let children help with rolling, decorating, or adding scarves — it’s fun and messy in the best way!
Variations & Substitutions
- Use vegan / dairy-free white chocolate and cream cheese for a plant-based version.
- Swap pretzel arms for candy sticks or even small licorice pieces.
- Add a bit of cinnamon or a few drops of flavor extract (mint, orange, vanilla) to the coconut or cookie base for flavor variations.
- Instead of white-chocolate coating, try a thin milk or dark chocolate shell — though it changes the “snowman” look.
Serving Ideas & Storage
- Serve on a holiday dessert platter, alongside cookies and candies.
- Pack individually in small clear bags for gifts, party favors, or holiday treat boxes.
- Store in an airtight container in the fridge — best enjoyed within 3–5 days.
- If using coconut version: allow to warm a little before serving for softer texture; cookie-cream versions often stay soft even chilled.
Frequently Asked Questions
→ Can I make these ahead of time?
Yes — you can assemble, coat, decorate, and store them in fridge a day or two before serving.
→ My mixture is too soft to shape — what now?
Chill it for 15–30 min so it firms up before rolling.
→ Can I skip the scarf or arms?
Absolutely — they’re optional fun embellishments. Snowmen will still look cute without them.
→ Can I make them vegan or dairy-free?
Yes — use dairy-free cream cheese (or a substitute), vegan white chocolate or candy melts, and they work great.
Enjoy your festive, no-bake Snowman Truffles — adorable, delicious, and perfect for sharing or gifting during the holidays! ☃️🍬
Print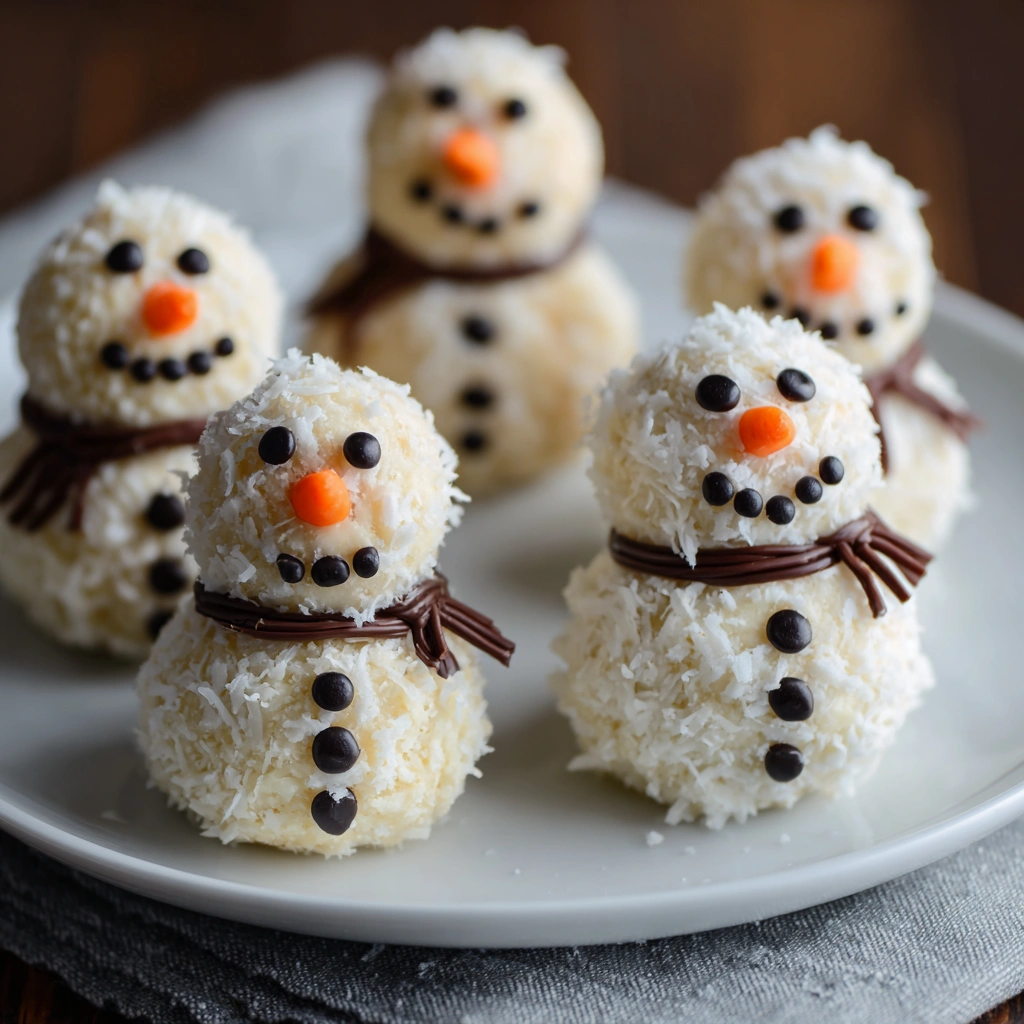
No-Bake Snowman Truffles
Description
These No-Bake Snowman Truffles are cute, festive, and fun — a wintery treat made without oven time, perfect for holiday parties, gifting, or a cozy family baking session.
Ingredients
Base / Truffle Mixture (choose one version)
Option A — Coconut-Condensed Milk Version
-
~320 g sweetened condensed milk
-
~320 g shredded coconut (desiccated coconut) — plus extra for rolling
Option B — Cookie-Cream Cheese or Vegan Base Version
-
~150 g golden cookies (or plain / gluten-free biscuits), crushed finely
-
~60 g cream cheese (or dairy-free alternative) — sticky enough to hold shape
-
Optional: A handful of shredded coconut for texture
Coating & Decoration
-
~200 g white chocolate (or dairy-free / vegan white chocolate / candy melts) for coating
-
Black icing (or melted dark/black chocolate) for eyes, mouth, and buttons
-
Orange icing or small orange candy/fondant (or sprinkles) for carrot-style nose
-
Thin pretzel sticks or candy sticks (for arms)
-
Candy straps, fruit-roll strips, or fondant strips for scarves (optional)
Instructions
-
- Prepare the truffle mixture
-
- If using coconut version: mix condensed milk and shredded coconut until fully combined.
-
- If using cookie-based version: crush the cookies finely (food processor or a rolling pin) and mix with softened cream cheese until sticky and moldable.
-
- Prepare the truffle mixture
-
- Form snowman shapes
-
- Roll the mixture into small balls: one larger ball for the body, one smaller for the head.
-
- Place the smaller “head” ball on top of the larger “body” ball. Use a dab of melted white chocolate (or a bit of your mixture) as “glue” if needed. Chill (in the fridge or freezer) for 20–30 min or until firm.
-
- Form snowman shapes
-
- Coat with chocolate
-
- Melt the white chocolate (or vegan white chocolate / candy melts) gently (double boiler or microwave in short intervals).
-
- Dip each chilled snowman truffle into the melted chocolate, coating evenly. Tap off excess and place on parchment paper. Freezing/chilling helps set the shell quickly.
-
- Coat with chocolate
-
- Decorate
-
- Use black icing (or melted chocolate) to draw eyes, mouth, and buttons.
-
- Use orange icing or a small orange candy / sprinkle piece to make a carrot-style nose.
-
- Insert thin pretzel sticks (or candy sticks) as arms.
-
- Optionally wrap a candy strap or fruit-roll strip around the neck as a scarf. Use a tiny dab of melted chocolate to help it stick.
-
- Decorate
-
- Chill & Serve
-
- Chill again for 5–10 min to fully set the chocolate and decorations. Then serve chilled or at room temperature.
-
- Chill & Serve
Notes
-
Chilling between steps (after shaping, before coating, after coating) helps truffles hold their shape and makes coating easier.
-
If the truffle mixture is too sticky to roll, chill it a bit before shaping.
-
For a “snowy” look: roll the coconut-based balls in extra shredded coconut before coating.
-
Use parchment paper or a silicone mat to prevent sticking.
-
Let children help with rolling, decorating, or adding scarves — it’s fun and messy in the best way!