
Quick Overview
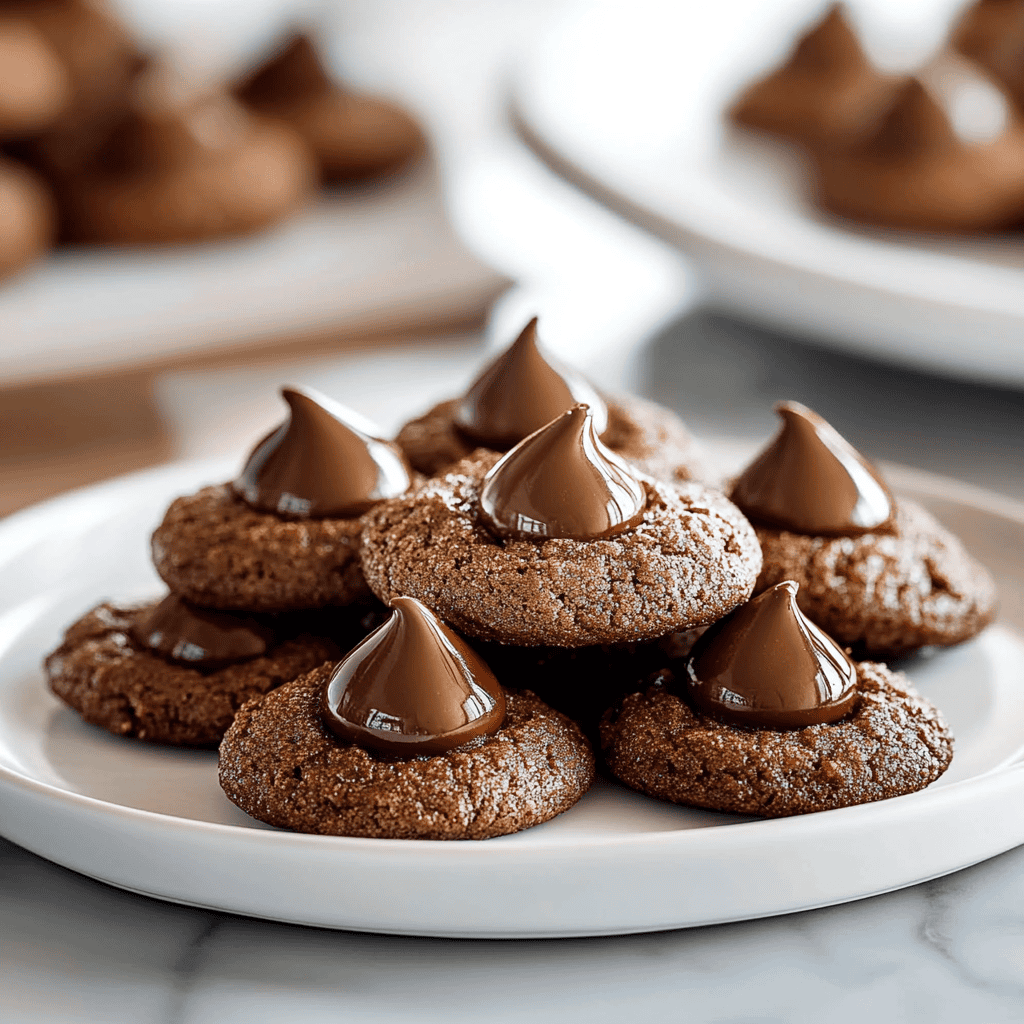
If you are looking for a sweet treat that combines rich chocolate flavor with a delightful surprise, Chocolate Hershey Kiss Cookies are the perfect choice. These cookies bring together soft, chewy dough and the iconic Hershey’s kiss on top. Ideal for any occasion or just as an everyday snack, these cookies will surely win over the hearts of your family and friends. Follow this easy recipe to create a batch that will disappear in no time!
Ingredient Breakdown
Flour
For the base of our cookies, you’ll need 2 cups of all-purpose flour. This gives the cookies structure while ensuring they stay soft and chewy.
Cocoa Powder
Add ½ cup of unsweetened cocoa powder for that rich chocolate flavor. It balances the sweetness and adds depth to each bite.
Sugar
You’ll need 1 cup of granulated sugar to sweeten the dough. This ingredient also helps create a nice texture and browning when baked.
Brown Sugar
Use ½ cup of packed brown sugar to add moisture and a hint of caramel flavor. It enhances the chewiness of the cookies.
Baking Soda
Incorporate 1 teaspoon of baking soda as a leavening agent. This helps the cookies rise and become fluffy while baking.
Salt
A pinch of salt (about ¼ teaspoon) is essential. It enhances the sweetness and balances flavors in your cookie dough.
Eggs
Add 2 large eggs to bind everything together. Eggs provide moisture and contribute to the overall texture of the cookies.
Butter
Use ¾ cup (1 ½ sticks) of unsalted butter at room temperature. Butter gives richness and helps achieve a tender crumb in your cookies.
Vanilla Extract
1 teaspoon of pure vanilla extract adds warmth and flavor depth. It’s an important ingredient for enhancing sweetness in baked goods.
Hershey’s Kisses
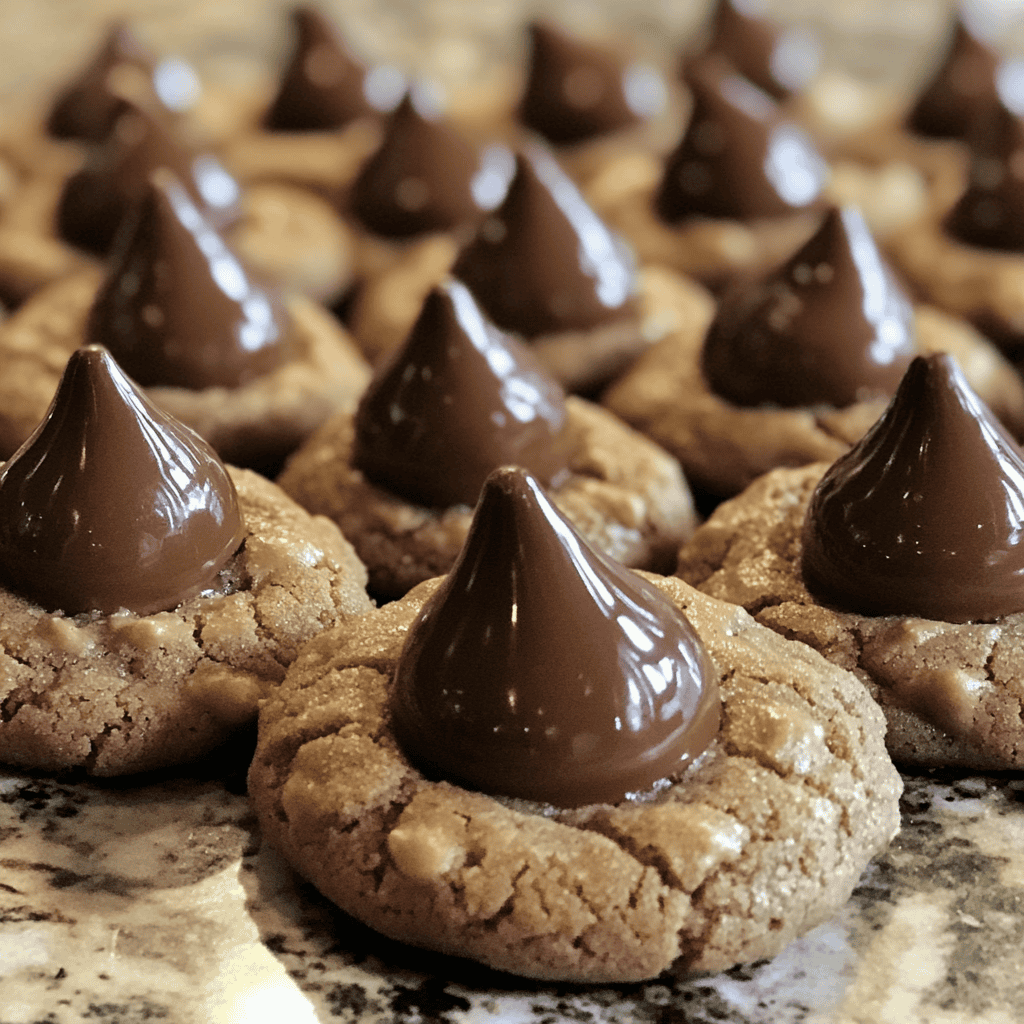
For topping, use about 24 regular-sized Hershey’s kisses. These candies provide a sweet surprise at the center of each cookie once baked!
Step By Step Recipe: Chocolate Hershey Kiss Cookies
Step 1: Preheat Your Oven
Begin by preheating your oven to 350°F (175°C). This ensures that your cookies bake evenly from start to finish. While your oven heats up, prepare your baking sheets by lining them with parchment paper or silicone mats for easy cleanup later.
Step 2: Mix Dry Ingredients
In a medium bowl, whisk together the flour, cocoa powder, baking soda, and salt until well combined. This step ensures that all dry ingredients are evenly distributed throughout the mixture which is crucial for consistent flavor in every cookie.
Step 3: Cream Butter and Sugars
In a large mixing bowl, cream together the unsalted butter, granulated sugar, and brown sugar until light and fluffy—about 3-4 minutes using an electric mixer on medium speed. This process incorporates air into the mixture which results in lighter cookies.
Step 4: Add Eggs and Vanilla
Next, beat in the eggs one at a time until fully incorporated into the butter-sugar mixture. Then stir in the vanilla extract until everything is smooth. This step contributes moisture while adding richness to your dough.
Step 5: Combine Wet and Dry Ingredients
Gradually mix in the dry ingredients from step two into your wet mixture using a spatula or wooden spoon until just combined; avoid overmixing as this can lead to tough cookies. You want to see some flour streaks remaining before proceeding.
Step 6: Form Cookie Dough Balls
Using a cookie scoop or tablespoon measure, portion out small balls (about 1 inch in diameter) onto your prepared baking sheets spaced about two inches apart. This allows room for spreading during baking without merging into one another.
Step 7: Bake Cookies
Place each sheet into your preheated oven for about 10-12 minutes or until edges look set but centers remain slightly soft. The residual heat will continue cooking them after removal from oven so be cautious not to overbake!
Step 8: Add Hershey’s Kisses
Remove your baking sheets from the oven and immediately press one unwrapped Hershey’s kiss into each cookie center while still hot; this way it will melt slightly creating an irresistible topping! Allow them cool on sheets for several minutes before transferring onto wire racks.

Serving and Storing Tips
Serving Suggestion
These Chocolate Hershey Kiss Cookies are best served warm right out of the oven when their centers are still gooey! Pair them with cold milk or coffee for an indulgent treat that everyone will love at gatherings or parties!
Storage Instructions
To store leftover cookies, allow them to cool completely before placing them in an airtight container at room temperature; they can last up to five days! For longer storage options freeze baked cookies between layers of parchment paper inside freezer bags which can keep them fresh for up to three months!
By following this detailed guide on making Chocolate Hershey Kiss Cookies, you’re set up for success! Enjoy sharing these delicious treats with family or friends—or keep them all for yourself!
Mistakes to avoid
One common mistake when making Chocolate Hershey Kiss Cookies is overmixing the dough. When you combine the ingredients, mix just until they are blended. Overmixing can lead to tough cookies instead of soft and chewy ones.
Another mistake is not chilling the dough before baking. Chilling helps the cookies maintain their shape and prevents spreading too much during baking. If you skip this step, you might end up with flat cookies that lack the desired texture.
Using stale or expired ingredients can ruin your cookies. Always check the freshness of your baking powder, flour, and chocolate kisses. Fresh ingredients yield better flavor and texture in your Chocolate Hershey Kiss Cookies.
Not preheating the oven is another pitfall to avoid. Make sure your oven reaches the right temperature before placing the cookies inside. Baking at an incorrect temperature can cause uneven baking and affect how they turn out.
Lastly, neglecting to let the cookies cool on a wire rack is a mistake. Cooling allows them to firm up and develop their full flavor. If you leave them on the baking sheet too long, they may become soggy.
Tips and tricks
To make perfect Chocolate Hershey Kiss Cookies, consider measuring your ingredients accurately. Use a kitchen scale for precision, especially with flour and sugar. This will help ensure consistent results every time you bake.
Experiment with different types of chocolate kisses for variety in flavor. From classic milk chocolate to peanut butter or even caramel-filled kisses, these variations can add a fun twist to your cookie recipe. Each type brings its unique taste that can surprise your family and friends.
When shaping your cookies, use a cookie scoop for uniformity in size. This ensures even baking and makes it easier to achieve that perfect chewy texture throughout each batch of Chocolate Hershey Kiss Cookies.
For an added touch, sprinkle a little sea salt on top just before baking. The salt enhances the sweetness of the cookies and adds a delightful contrast that elevates each bite.
Don’t be afraid to add mix-ins like chopped nuts or coconut flakes if you enjoy extra texture in your cookies. These additions can complement the chocolate flavor beautifully while providing an interesting crunch.
Suggestions for Chocolate Hershey Kiss Cookies
If you’re looking for ways to enhance your Chocolate Hershey Kiss Cookies experience, try pairing them with a glass of cold milk or hot chocolate for a comforting treat after school or work.
For festive occasions, consider decorating your cookies with themed sprinkles or colored sugar before adding the chocolate kiss on top. This way, they become visually appealing and perfect for parties or holiday gatherings.
If you want a richer cocoa flavor in your cookies, substitute some of the all-purpose flour with cocoa powder. This will give them a deeper chocolate taste while still keeping that classic cookie texture intact.
Make sure to store any leftover cookies in an airtight container at room temperature. This keeps them fresh for days while allowing you to enjoy them later without sacrificing quality.
Consider gifting these delicious cookies during holidays or special occasions by packaging them creatively in mason jars or decorative boxes. It’s a thoughtful gesture that everyone will appreciate!
FAQs
What are Chocolate Hershey Kiss Cookies?
Chocolate Hershey Kiss Cookies are delightful treats made from cookie dough topped with a melted Hershey’s chocolate kiss after baking. They are known for their soft texture and rich chocolate flavor, making them popular among both children and adults alike.
Can I use different kinds of chocolate kisses?
Absolutely! While traditional recipes often call for milk chocolate kisses, feel free to experiment with other varieties such as dark chocolate or almond kisses. Each type adds its unique flavor profile to the cookie!
How do I prevent my cookies from spreading too much?
To prevent your Chocolate Hershey Kiss Cookies from spreading excessively during baking, chill the dough for at least 30 minutes before scooping onto baking sheets. This helps maintain their shape and results in thicker cookies.
Can I freeze Chocolate Hershey Kiss Cookies?
Yes! You can freeze both unbaked dough balls and baked cookies. For unbaked dough, scoop individual portions onto a tray, freeze until solid, then transfer to zip-top bags for storage up to three months.
What should I do if my cookies are too hard?
If your Chocolate Hershey Kiss Cookies turn out too hard, try adjusting your baking time next time around by reducing it slightly. Also, be mindful of overmixing; gentle mixing helps keep them tender and chewy.
How long do these cookies stay fresh?
When stored properly in an airtight container at room temperature, Chocolate Hershey Kiss Cookies stay fresh for about five days. If you want them to last longer, consider freezing them!
Summary
In summary, making delicious Chocolate Hershey Kiss Cookies requires careful attention to detail from ingredient selection to baking techniques. Avoid common mistakes like overmixing or skipping chilling time for optimal results. Utilize tips like accurate measurements and experimenting with various types of kisses to enhance flavors further. Lastly, store properly so you can enjoy these delightful treats well beyond baking day!

Chocolate Hershey Kiss Cookies
Description
If you are looking for a sweet treat that combines rich chocolate flavor with a delightful surprise, Chocolate Hershey Kiss Cookies are the perfect choice. These cookies bring together soft, chewy dough and the iconic Hershey’s kiss on top. Ideal for any occasion or just as an everyday snack, these cookies will surely win over the hearts of your family and friends. Follow this easy recipe to create a batch that will disappear in no time!
Ingredients
Flour
For the base of our cookies, you’ll need 2 cups of all-purpose flour. This gives the cookies structure while ensuring they stay soft and chewy.
Cocoa Powder
Add ½ cup of unsweetened cocoa powder for that rich chocolate flavor. It balances the sweetness and adds depth to each bite.
Sugar
You’ll need 1 cup of granulated sugar to sweeten the dough. This ingredient also helps create a nice texture and browning when baked.
Brown Sugar
Use ½ cup of packed brown sugar to add moisture and a hint of caramel flavor. It enhances the chewiness of the cookies.
Baking Soda
Incorporate 1 teaspoon of baking soda as a leavening agent. This helps the cookies rise and become fluffy while baking.
Salt
A pinch of salt (about ¼ teaspoon) is essential. It enhances the sweetness and balances flavors in your cookie dough.
Eggs
Add 2 large eggs to bind everything together. Eggs provide moisture and contribute to the overall texture of the cookies.
Butter
Use ¾ cup (1 ½ sticks) of unsalted butter at room temperature. Butter gives richness and helps achieve a tender crumb in your cookies.
Vanilla Extract
1 teaspoon of pure vanilla extract adds warmth and flavor depth. It’s an important ingredient for enhancing sweetness in baked goods.
Hershey’s Kisses
For topping, use about 24 regular-sized Hershey’s kisses. These candies provide a sweet surprise at the center of each cookie once baked!