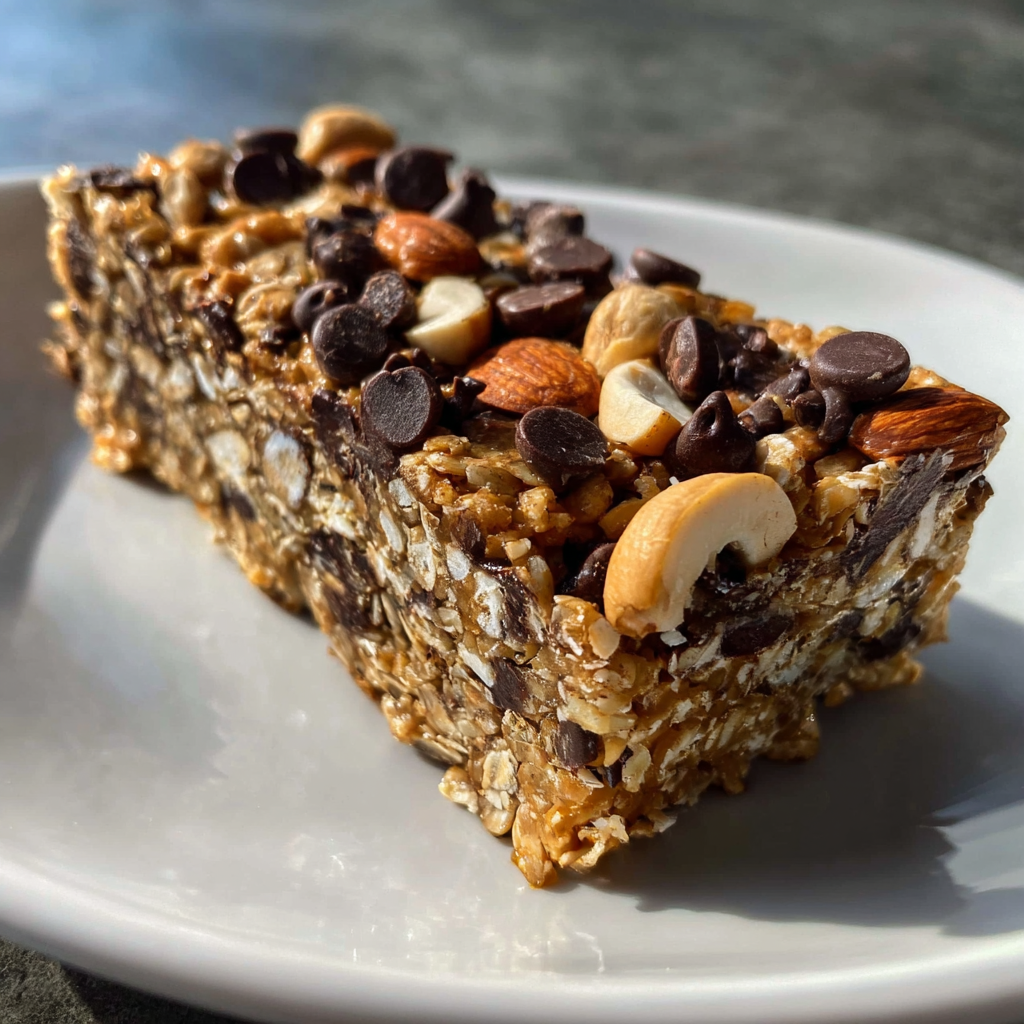
When you’re craving a sweet snack but want something a bit smarter, these Chocolate Protein Bars hit the balance: rich chocolate flavour, satisfying texture, and a boost of protein. Made mostly at home with simple ingredients, they’re perfect for post-workout snacks, lunchtime sweet fixes, or just a treat you can feel good about.
Why You’ll Love This Recipe
- Deep chocolate flavour that satisfies cravings without reaching for store-bought.
- Boosts your protein intake with minimal fuss—great for active days, recovery or snack time.
- No-bake (or minimal bake) format means faster prep and less heat in the kitchen.
- Made with ingredients you recognise and control — customise to your diet (vegan, gluten-free, nut-free).
- Batch-friendly: make ahead, slice, and stash for the week or freeze for longer.
Recipe Details
- Prep Time: ~15 minutes
- Chill / Set Time: ~30 minutes to 1 hour
- Total Time: ~45 minutes (active + chilling)
- Yield: ~12 bars (depending on size)
- Category: Snack / Protein Bar
- Method: Mix, press & chill (optional bake)
- Cuisine: Modern home-snack
- Diet: Omnivore (easily adapted to vegetarian/vegan)
- Keywords: chocolate protein bars, homemade snack bars, protein snack
Ingredients You’ll Need
Base Layer
- 1 cup nut or seed butter (e.g., peanut butter, almond butter, sunflower seed butter)
- ½ cup chocolate-flavoured protein powder
- ⅓ cup maple syrup or honey (or your preferred liquid sweetener)
- 2 Tbsp cocoa powder
- ¼ cup almond flour or oat flour (optional, for texture)
- Pinch of salt
- Optional mix-ins: ¼ cup chopped nuts, ¼ cup mini chocolate chips
Chocolate Coating (Optional)
- ½ cup dark chocolate chips
- 1-2 tsp coconut oil (to smooth the melt)
- Sea salt flakes (for topping)
Instructions
1. Prepare & Mix the Base
Line a square pan (≈8×8 in or similar) with parchment paper for easy removal.
In a bowl, combine the nut/seed butter, protein powder, maple syrup (or honey), cocoa powder, almond/oat flour (if using), and salt. Stir until a thick dough-like mixture forms. If you added optional nuts/chips, fold them in now.
2. Press Into Pan & Chill
Press the mixture firmly into the lined pan until even. Chill in the fridge for ~15-20 minutes to firm up before coating.
3. Add the Chocolate Coating
In a microwave-safe bowl or over a double boiler, melt the dark chocolate chips together with coconut oil until smooth. Pour the melted chocolate over the chilled base, spreading evenly. Sprinkle sea salt flakes on top if using. Return to fridge and chill until the coating is set—about 15-30 minutes.
4. Slice & Serve
Once firm, lift the parchment out of the pan. Use a sharp knife (wipe clean between cuts) to slice into ~12 bars. Store bars in an airtight container in the fridge. Serve chilled or at room temperature.
You Must Know
- Use a high-quality chocolate-flavoured protein powder — flavour of powder makes a difference.
- If your mixture is too soft to press, chill it briefly then try again, or add 1-2 Tbsp more flour (almond or oat) for structure.
- The chocolate coating is optional but adds a luxe touch and makes them feel like a treat.
- For smooth slices, warm your knife slightly under hot water and wipe dry between cuts.
- Store in fridge or freeze — helps maintain texture and prolongs freshness.
Storage Tips
- Store in an airtight container in the fridge for up to 1 week.
- You can also freeze bars for up to ~3 months—thaw in the fridge before eating.
- If frozen, let sit ~5 minutes at room temperature before serving for better texture.
Ingredient Substitutions
- Vegan version: use maple syrup (instead of honey), a vegan protein powder, and dairy-free chocolate chips.
- Gluten-free: ensure protein powder and mix-ins are gluten-free. Use oat flour or almond flour.
- Nut-free: use sunflower-seed butter instead of nut butter, and omit nut-mix-ins.
- For lighter version: reduce maple syrup slightly and add more protein powder or almond flour for structure.
Serving Suggestions
- Pair one bar with a glass of unsweetened almond milk or coffee for a midday snack.
- Use as a post-workout treat — with the protein you need and the flavour you want.
- Wrap individual bars and grab for lunchbox, hiking, or travel snack.
- A great addition to a snack-board with fresh fruit, yogurt and nuts for balanced nibble time.
Pro Tips
- Use parchment-lined pan so you can lift the whole block out easily.
- Press the dough evenly and compactly so bars hold together well.
- Chill the base before adding the chocolate coating so that the layers separate cleanly.
- If you notice the coating cracking when slicing, let the bars warm slightly for 2-3 minutes before slicing.
Frequently Asked Questions
→ Can I reduce the sweetener?
Yes — you can use less maple syrup/honey, but you may need to add extra flour or nut butter to maintain bar structure.
→ Can I bake these instead of chill?
These are designed to be no-bake for ease and texture, but you could bake a thicker format if you prefer a firmer bar—cook at low temp until just set.
→ How many grams of protein do they have?
This depends on your protein powder and add-ins — typically you can aim for ~10-15 g per bar by using a strong protein powder and minimal filler.
→ Can I add flavour variations?
Absolutely — try adding a teaspoon of instant coffee for mocha flavour, a swirl of peanut butter on top, or orange zest for a chocolate-orange twist.
✨ These Chocolate Protein Bars bring together flavour, function and convenience in bar form — delicious, homemade and ready to snack on whenever you need.
Print
Chocolate Protein Bars – Easy, Delicious & Homemade
- Total Time: 45 minutes
- Yield: 12 bars 1x
Description
When you’re craving a sweet snack but want something a bit smarter, these Chocolate Protein Bars hit the balance: rich chocolate flavour, satisfying texture, and a boost of protein. Made mostly at home with simple ingredients, they’re perfect for post-workout snacks, lunchtime sweet fixes, or just a treat you can feel good about.
Ingredients
Base Layer
-
1 cup nut or seed butter (e.g., peanut, almond, sunflower seed)
-
½ cup chocolate-flavoured protein powder
-
⅓ cup maple syrup or honey (or other liquid sweetener)
-
2 Tbsp cocoa powder
-
¼ cup almond flour or oat flour (optional, for texture)
-
Pinch of salt
-
(Optional) ¼ cup chopped nuts or mini chocolate chips
Chocolate Coating (Optional but Recommended)
-
½ cup dark chocolate chips
-
1–2 tsp coconut oil
-
Sea salt flakes, for topping
Instructions
1. Prepare & Mix the Base
Line an 8×8-inch pan with parchment paper. In a bowl, mix the nut/seed butter, protein powder, maple syrup or honey, cocoa powder, almond/oat flour, and salt until combined. Stir in any optional mix-ins.
2. Press Into Pan & Chill
Press mixture evenly into the pan. Chill for 15–20 minutes until firm.
3. Add the Chocolate Coating
Melt dark chocolate chips and coconut oil together (microwave or double boiler). Spread evenly over the chilled base, then sprinkle sea salt if desired. Chill again for 15–30 minutes until set.
4. Slice & Serve
Lift parchment to remove from pan. Slice into bars with a warm knife, wiping between cuts. Store in the fridge (or freezer for long-term).
Notes
-
The flavour of your protein powder makes a big difference — pick one you enjoy on its own.
-
Too soft? Add more almond/oat flour for structure.
-
The chocolate topping adds texture and makes them feel indulgent.
-
Chill thoroughly before cutting for clean slices.
-
Store in the fridge for up to 1 week, or freeze for up to 3 months.
- Prep Time: 15 minutes
- Category: Desserts
- Cuisine: American
Nutrition
- Calories: 220kcal
- Sodium: 85mg
- Fiber: 2g
- Protein: 9g