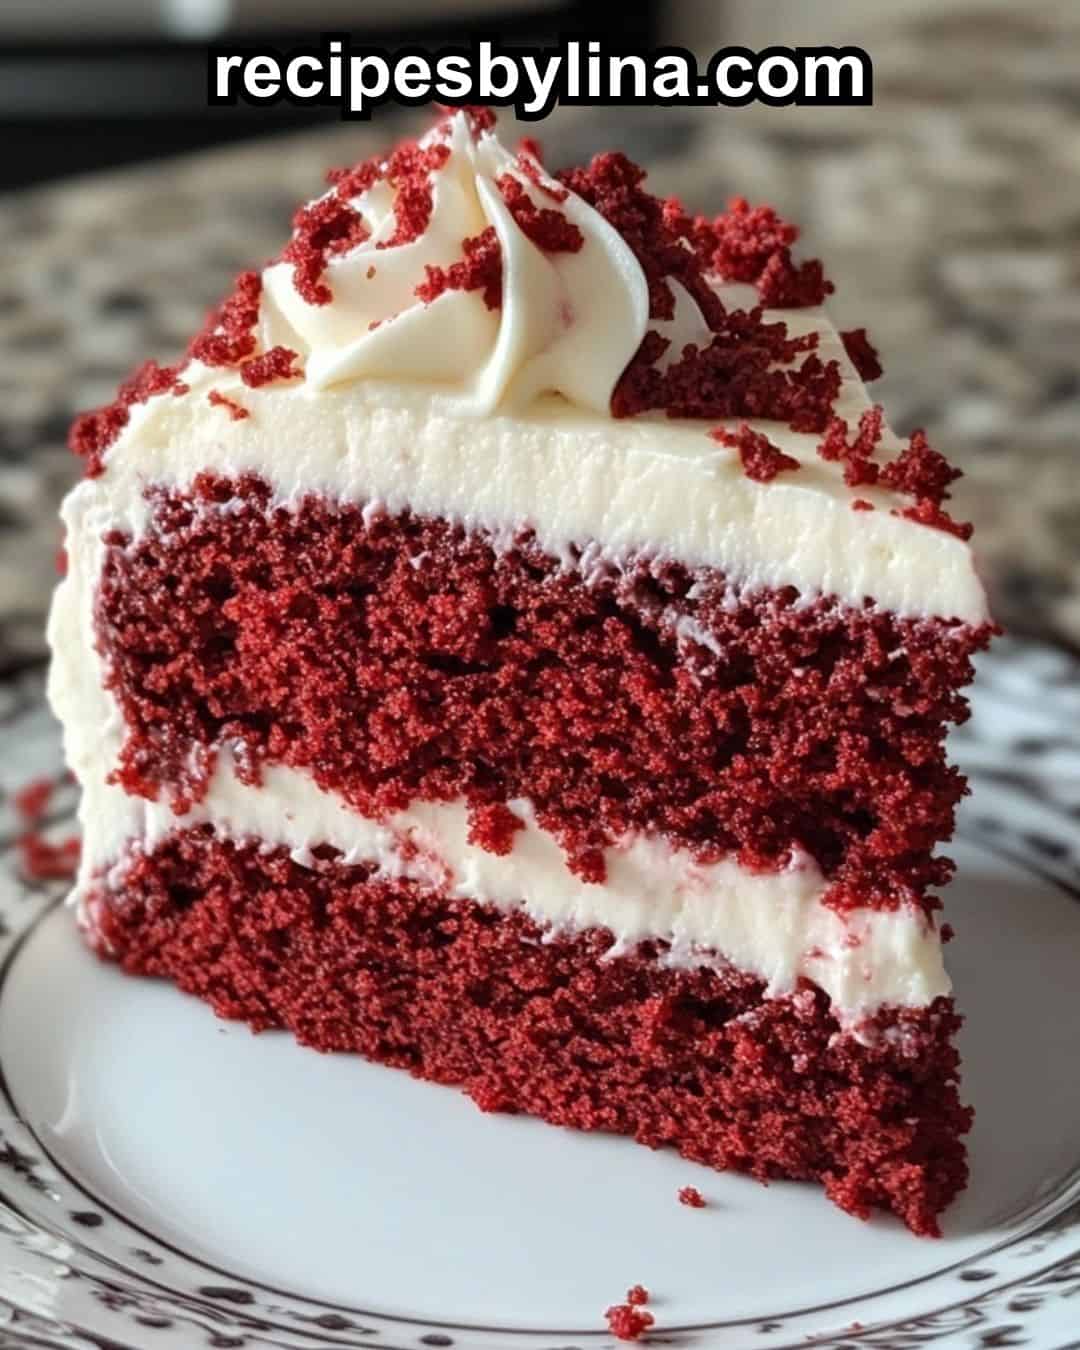
Red Velvet Cake is a timeless favorite with its distinct red color, soft texture, and subtle chocolate flavor. Paired with a creamy cream cheese frosting, it’s the perfect dessert for any special occasion!
Ingredients:
For the Cake:
- 2 ½ cups all-purpose flour
- 2 tbsp unsweetened cocoa powder
- 1 tsp baking soda
- 1 tsp baking powder
- ½ tsp salt
- 1 ½ cups granulated sugar
- 1 cup buttermilk
- 1 cup vegetable oil
- 2 large eggs
- 2 tsp vanilla extract
- 1 tbsp red food coloring (gel or liquid)
- 1 tsp distilled white vinegar
For the Cream Cheese Frosting:
- 8 oz cream cheese, softened
- ½ cup unsalted butter, softened
- 4 cups powdered sugar
- 1 tsp vanilla extract
- A pinch of salt
Step-by-Step Instructions:
- Preheat the Oven:
- Preheat your oven to 350°F (175°C).
- Grease and flour two 9-inch round cake pans, or line them with parchment paper.
- Mix the Dry Ingredients:
- In a medium bowl, whisk together the flour, cocoa powder, baking soda, baking powder, and salt. Set aside.
- Combine the Wet Ingredients:
- In a large bowl, whisk together the sugar and vegetable oil until well combined.
- Add in the eggs one at a time, mixing well after each addition.
- Stir in the vanilla extract and red food coloring, ensuring the mixture is evenly colored.
- Add Buttermilk and Dry Ingredients:
- Gradually add the dry ingredients to the wet mixture, alternating with the buttermilk. Begin and end with the dry ingredients, mixing just until combined.
- Add the white vinegar and stir until fully incorporated.
- Bake the Cakes:
- Divide the batter evenly between the two prepared cake pans.
- Bake for 25-30 minutes, or until a toothpick inserted into the center of the cakes comes out clean.
- Allow the cakes to cool in the pans for about 10 minutes, then transfer them to a wire rack to cool completely.
- Prepare the Cream Cheese Frosting:
- In a large bowl, beat the softened cream cheese and butter together until smooth and creamy.
- Gradually add the powdered sugar, 1 cup at a time, mixing well after each addition.
- Stir in the vanilla extract and a pinch of salt. Beat until the frosting is light and fluffy.
- Assemble the Cake:
- Once the cakes are completely cooled, level the tops if necessary.
- Place one cake layer on a serving plate and spread a generous amount of cream cheese frosting on top.
- Place the second cake layer on top and frost the top and sides of the cake with the remaining frosting.
- Garnish with cake crumbs or other decorations if desired.
Additional Tips for Serving and Storage:
- Serving: This cake pairs perfectly with a cup of coffee or tea, and can be garnished with extra cream cheese frosting swirls or red velvet crumbs for a classic look.
- Storage: Store the cake in an airtight container in the refrigerator for up to 5 days. Bring to room temperature before serving.
- Freezing: You can freeze the cake layers (without frosting) by wrapping them in plastic wrap and placing them in a ziplock bag. They will keep for up to 3 months.
FAQs About Classic Red Velvet Cake:
- Why does Red Velvet Cake have vinegar?
The vinegar reacts with the baking soda to help the cake rise and creates a lighter, fluffier texture. - Can I use gel food coloring?
Yes, gel food coloring works just as well and often provides a more vibrant red color without needing to use as much. - Can I make this cake gluten-free?
Yes, you can substitute the all-purpose flour with a 1-to-1 gluten-free flour blend. Ensure that all other ingredients are also gluten-free. - What’s the best way to get smooth frosting?
Make sure your cream cheese and butter are at room temperature before making the frosting. This ensures a smooth, lump-free consistency.
This Classic Red Velvet Cake is soft, moist, and full of rich flavor. With its signature red color and decadent cream cheese frosting, it’s a show-stopping dessert for any event!