Fluffy, sugary, and perfectly pink, these Cotton Candy Cookies are a delightful treat. With a melt-in-your-mouth texture and the nostalgic flavor of cotton candy, these cookies are sure to bring a touch of whimsy to any dessert table.
Ingredients:
- 1 1/2 cups all-purpose flour
- 1/2 teaspoon baking powder
- 1/4 teaspoon salt
- 1/2 cup unsalted butter, softened
- 3/4 cup granulated sugar
- 1 large egg
- 1/2 teaspoon vanilla extract
- 1/4 teaspoon cotton candy flavor extract
- Pink and blue food coloring (optional)
- Granulated sugar for rolling
Step-by-Step Instructions:
- Prepare the Dry Ingredients:
- In a medium bowl, whisk together the flour, baking powder, and salt. Set aside.
- Cream the Butter and Sugar:
- In a large mixing bowl, cream the softened butter and granulated sugar together until light and fluffy, about 2-3 minutes.
- Add Egg and Flavoring:
- Beat in the egg, vanilla extract, and cotton candy flavor extract until well combined.
- Mix in the Dry Ingredients:
- Gradually add the flour mixture to the wet ingredients, mixing just until combined. Avoid overmixing.
- Add Food Coloring (Optional):
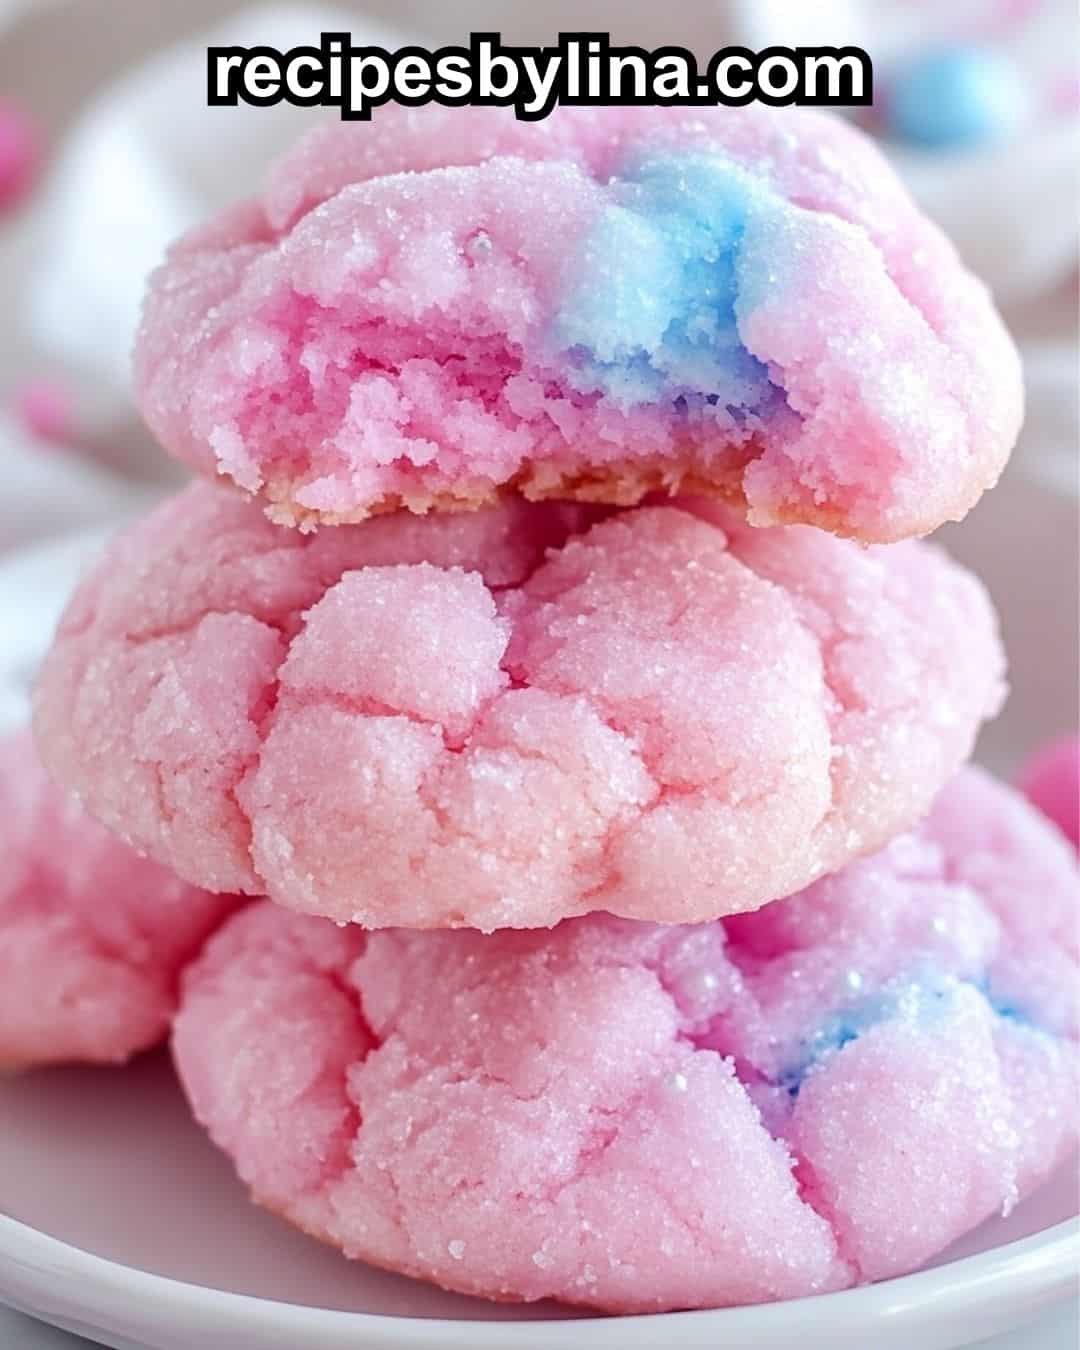
- Divide the dough in half. Tint one half with pink food coloring and the other with blue, if desired, for a cotton candy look. Gently fold the colors together to create a marbled effect without fully blending.
- Chill the Dough:
- Cover the dough and refrigerate for 30 minutes to 1 hour to make it easier to handle.
- Form the Cookies:
- Preheat your oven to 350°F (175°C). Line a baking sheet with parchment paper. Roll the dough into 1-inch balls and then roll each ball in granulated sugar.
- Bake:
- Place the cookie dough balls onto the prepared baking sheet, spacing them about 2 inches apart. Bake for 8-10 minutes or until the edges are set and the tops are slightly cracked but not browned.
- Cool and Enjoy:
- Allow the cookies to cool on the baking sheet for a few minutes before transferring them to a wire rack to cool completely. Enjoy the light, airy texture and cotton candy sweetness!
Additional Tips for Serving and Storage:
- Storage: Store these cookies in an airtight container at room temperature for up to 5 days. For longer storage, freeze the dough balls and bake them fresh whenever you’re ready.
- Serving Suggestions: Serve these cookies as part of a dessert table for birthday parties, baby showers, or any occasion where you want a bit of whimsy. They pair wonderfully with milk or a sweet tea.
- Variations: Try adding sprinkles or glittery sugar for extra sparkle. You can also experiment with different food coloring combinations to match the occasion.
FAQs About Cotton Candy Cookies:
- Can I use different flavor extracts?
Yes! If cotton candy flavoring is hard to find, you can use vanilla, almond, or even strawberry extracts as substitutes. - Can I freeze the cookie dough?
Absolutely. You can freeze the dough balls on a baking sheet and then transfer them to a freezer bag. Bake straight from frozen by adding an extra minute or two to the bake time. - Can I make these cookies without food coloring?
Yes, the food coloring is purely for aesthetic purposes. You can leave it out and still enjoy the delicious cotton candy flavor. - How do I ensure my cookies are soft and fluffy?
Be sure not to overbake! The cookies should be just set on the edges but not browned on top to maintain a soft, fluffy texture.
These Cotton Candy Cookies are the ultimate fun and colorful treat, perfect for any event where you want to add a touch of sweetness and nostalgia. They’re easy to make, delightful to eat, and sure to be a hit with both kids and adults!