
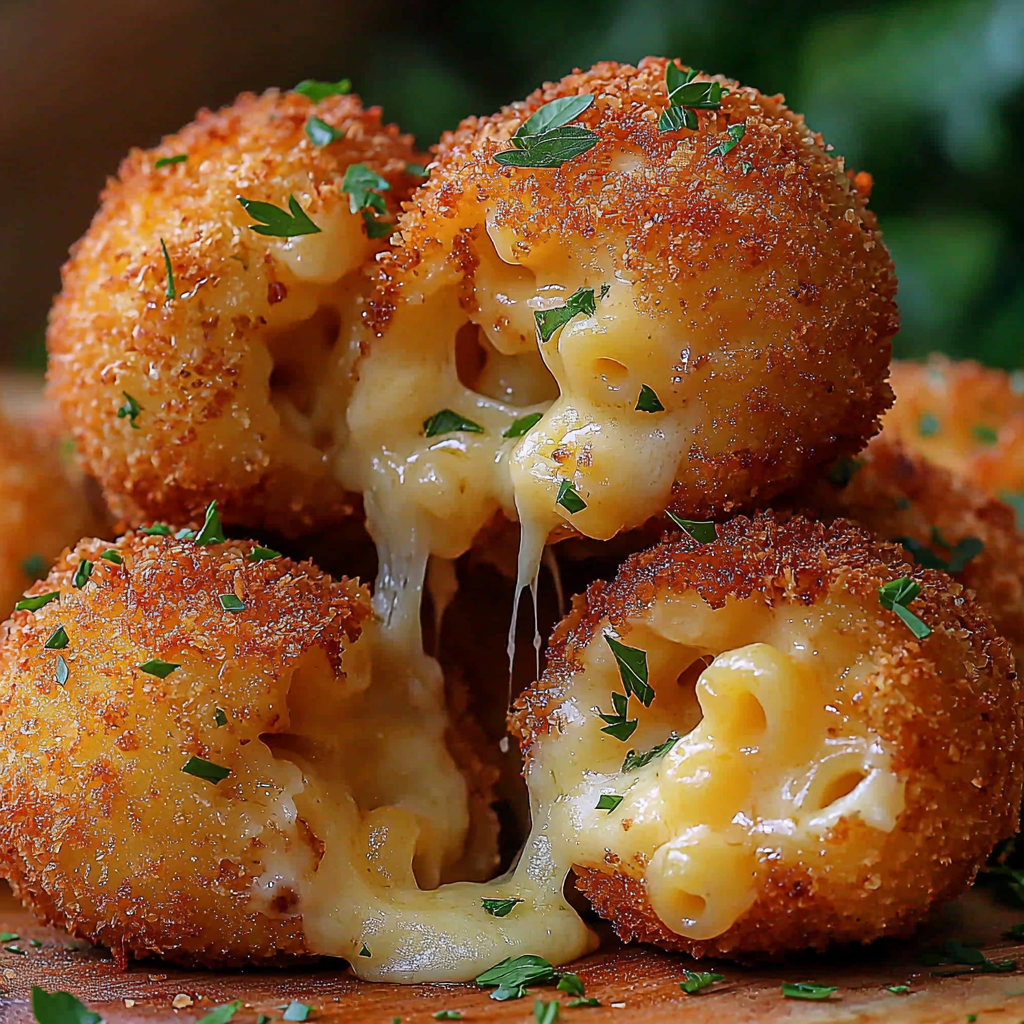
These crispy mac and cheese balls are party perfection! Golden and crunchy outside, creamy and cheesy inside – bite-sized comfort food that’s irresistible.
These mac and cheese balls came about when I was staring at a massive container of leftover mac and cheese from my son’s graduation party. I couldn’t stand the thought of tossing it in the trash, but nobody was willing to face cold mac and cheese for the fourth consecutive day. I vaguely remembered enjoying fried mac and cheese bites at some trendy restaurant and figured, how complicated could it be to recreate them in my own kitchen? As it turns out, transforming that creamy mac and cheese into perfectly shaped balls and frying them creates these amazing crispy shells filled with molten cheese centers that absolutely blow away any restaurant version I’ve ever tasted. Each bite delivers that magical contrast between the satisfying crunch of the coating and the rich, gooey cheese explosion inside.
My sister decided to bring these to her book club potluck, thinking they’d just be another decent appetizer option, but the ladies practically mobbed the serving platter when they discovered how incredible they were. The host immediately demanded the recipe and has since made them for every single gathering. Even my notoriously difficult teenage nephew, who usually survives on pizza and energy drinks, devoured eight of them and actually complimented my cooking for the first time ever.
Why You’ll Love These
- Perfect use for leftovers – Transforms boring leftover mac and cheese into something everyone gets excited about
- Ultimate party food – Bite-sized, handheld, and impossible to stop eating once you start
- Always disappears first – At every gathering, these are the first appetizer to completely vanish from the table
What You Need
- 4 cups prepared mac and cheese, chilled: Either homemade or really good leftover mac and cheese that’s thick and cheesy
- 1 cup sharp cheddar cheese, shredded: The combination gives you that perfect cheese flavor that stands up to frying
- 1/2 cup Parmesan cheese, grated: Adds depth and richness to the cheese blend
- 1 cup all-purpose flour: For the first coating layer
- 3 large eggs, beaten: Essential for the triple coating system
- 2 cups seasoned breadcrumbs: Creates maximum crispiness on the outside
- Vegetable oil for frying: You need it hot enough to get them golden without making them greasy
- Salt and pepper to taste: Season the mac and cheese base if needed
Step-by-Step Instructions
Mac and Cheese Base: If making fresh, create a thick cheese sauce by melting 4 tablespoons butter in a saucepan, whisking in 4 tablespoons flour, and cooking for a couple minutes until golden. Gradually add 2 cups milk while whisking constantly until it thickens, then stir in both cheddar and Parmesan cheeses until melted and smooth. Mix this with 3 cups cooked macaroni until everything is well coated.
Crucial Chilling Step: Transfer the mac and cheese to a baking dish and refrigerate for at least 2 hours, though overnight is even better. This chilling time is absolutely essential because warm mac and cheese will fall apart when you try to shape it. You want it firm enough to hold its shape when rolled.
Ball Formation: Once the mac and cheese is completely chilled and firm, scoop out portions and roll them into balls about the size of ping pong balls. Don’t make them too big or the outside will burn before the inside heats through. Keep them uniform so they cook evenly.
Triple Coating Process: Set up three stations: flour in one bowl, beaten eggs in another, and seasoned breadcrumbs in the third. Roll each ball in flour first, then dip in the beaten eggs, and finally coat thoroughly with breadcrumbs. This triple coating creates that perfect crispy shell.
Frying Technique: Heat your oil to exactly 350 degrees F – use a thermometer because guessing leads to disappointing results. Fry the balls in small batches for 2 to 3 minutes until they’re golden brown all over. Don’t overcrowd the oil or the temperature drops and they get greasy instead of crispy.
Draining and Serving: Remove them with a slotted spoon and drain on paper towels for just a minute before serving. They’re best eaten while still hot and the cheese inside is molten and stretchy.
You Must Know
- Chill thoroughly – Warm mac and cheese won’t hold together no matter how careful you are
- Don’t overfill the fryer – Too many at once drops the oil temperature and makes them soggy
- Serve immediately – These are at their absolute best when the outside is crispy and the inside is gooey
I discovered the chilling requirement the hard way after my first batch completely disintegrated in the oil, creating this cheesy disaster that was impossible to rescue. Now I always ensure the mac and cheese is rock-solid firm before I even think about shaping it. I also used to get impatient and try to fry too many simultaneously, which made them stick together or cook unevenly.
Perfect Pairings
These are incredible on their own, but they’re amazing with dipping sauces like marinara, ranch, or spicy mayo. For parties, I usually put out several different sauces so people can try different combinations. They work great as appetizers before dinner or as the star of a game day spread alongside wings and other finger foods.
Creative Variations
Try adding crispy bacon bits to the mac and cheese before chilling for extra flavor. Different cheeses like smoked gouda or pepper jack create interesting variations. Some people add jalapeños or herbs to the mac and cheese for extra kick. You could even stuff them with a small piece of extra cheese in the center for an even gooier surprise.
Storage Solutions
These are definitely best eaten fresh and hot, but you can prep them through the coating stage and refrigerate for a day before frying. You can also freeze the coated balls and fry them straight from frozen, just add an extra minute to the cooking time. Leftover fried balls can be reheated in the oven, though they’ll never be quite as good as fresh.
Kitchen Secrets
- Use a cookie scoop: Makes uniformly sized balls that cook evenly
- Double-coat if needed: If the coating seems thin, go through the egg and breadcrumb step twice
- Keep oil temperature steady: Adjust heat as needed to maintain 350 degrees throughout frying
These crispy fried mac and cheese balls have become my go-to appetizer for any gathering where I want to impress people without spending all day cooking. They take something familiar and comforting and turn it into this exciting finger food that gets everyone talking. The combination of crispy exterior and creamy, cheesy interior satisfies both texture and flavor cravings perfectly. Every time I make them, I’m amazed at how something so simple can create such a big reaction from people.
Frequently Asked Questions
→ Why Do I Need To Chill The Mac And Cheese? Chilling for at least 2 hours firms up the mac and cheese, making it much easier to shape into balls and preventing them from falling apart during frying.
→ What Oil Temperature Should I Use? Heat the oil to 350°F (175°C). If you don’t have a thermometer, test with a small piece of breadcrumb – it should sizzle immediately and float to the surface.
→ Can I Bake These Instead Of Frying? Yes! You can bake at 400°F for about 15-20 minutes, turning once. They won’t be quite as crispy but will still be delicious.
→ How Do I Prevent The Balls From Falling Apart? Make sure the mac and cheese is well-chilled and firm. Don’t overcrowd the fryer, and handle gently when coating and frying.
→ Can I Make These Ahead Of Time? You can shape and coat the balls up to a day ahead, then store covered in the fridge. Fry just before serving for best results.
Print
Crispy Fried Mac and Cheese Balls
Description
These crispy mac and cheese balls are party perfection! Golden and crunchy outside, creamy and cheesy inside – bite-sized comfort food that’s irresistible.
Ingredients
- 4 cups prepared mac and cheese, chilled: Either homemade or really good leftover mac and cheese that’s thick and cheesy
- 1 cup sharp cheddar cheese, shredded: The combination gives you that perfect cheese flavor that stands up to frying
- 1/2 cup Parmesan cheese, grated: Adds depth and richness to the cheese blend
- 1 cup all-purpose flour: For the first coating layer
- 3 large eggs, beaten: Essential for the triple coating system
- 2 cups seasoned breadcrumbs: Creates maximum crispiness on the outside
- Vegetable oil for frying: You need it hot enough to get them golden without making them greasy
- Salt and pepper to taste: Season the mac and cheese base if needed
Instructions
Mac and Cheese Base: If making fresh, create a thick cheese sauce by melting 4 tablespoons butter in a saucepan, whisking in 4 tablespoons flour, and cooking for a couple minutes until golden. Gradually add 2 cups milk while whisking constantly until it thickens, then stir in both cheddar and Parmesan cheeses until melted and smooth. Mix this with 3 cups cooked macaroni until everything is well coated.
Crucial Chilling Step: Transfer the mac and cheese to a baking dish and refrigerate for at least 2 hours, though overnight is even better. This chilling time is absolutely essential because warm mac and cheese will fall apart when you try to shape it. You want it firm enough to hold its shape when rolled.
Ball Formation: Once the mac and cheese is completely chilled and firm, scoop out portions and roll them into balls about the size of ping pong balls. Don’t make them too big or the outside will burn before the inside heats through. Keep them uniform so they cook evenly.
Triple Coating Process: Set up three stations: flour in one bowl, beaten eggs in another, and seasoned breadcrumbs in the third. Roll each ball in flour first, then dip in the beaten eggs, and finally coat thoroughly with breadcrumbs. This triple coating creates that perfect crispy shell.
Frying Technique: Heat your oil to exactly 350 degrees F – use a thermometer because guessing leads to disappointing results. Fry the balls in small batches for 2 to 3 minutes until they’re golden brown all over. Don’t overcrowd the oil or the temperature drops and they get greasy instead of crispy.
Draining and Serving: Remove them with a slotted spoon and drain on paper towels for just a minute before serving. They’re best eaten while still hot and the cheese inside is molten and stretchy.
Notes
- Chill thoroughly – Warm mac and cheese won’t hold together no matter how careful you are
- Don’t overfill the fryer – Too many at once drops the oil temperature and makes them soggy
- Serve immediately – These are at their absolute best when the outside is crispy and the inside is gooey