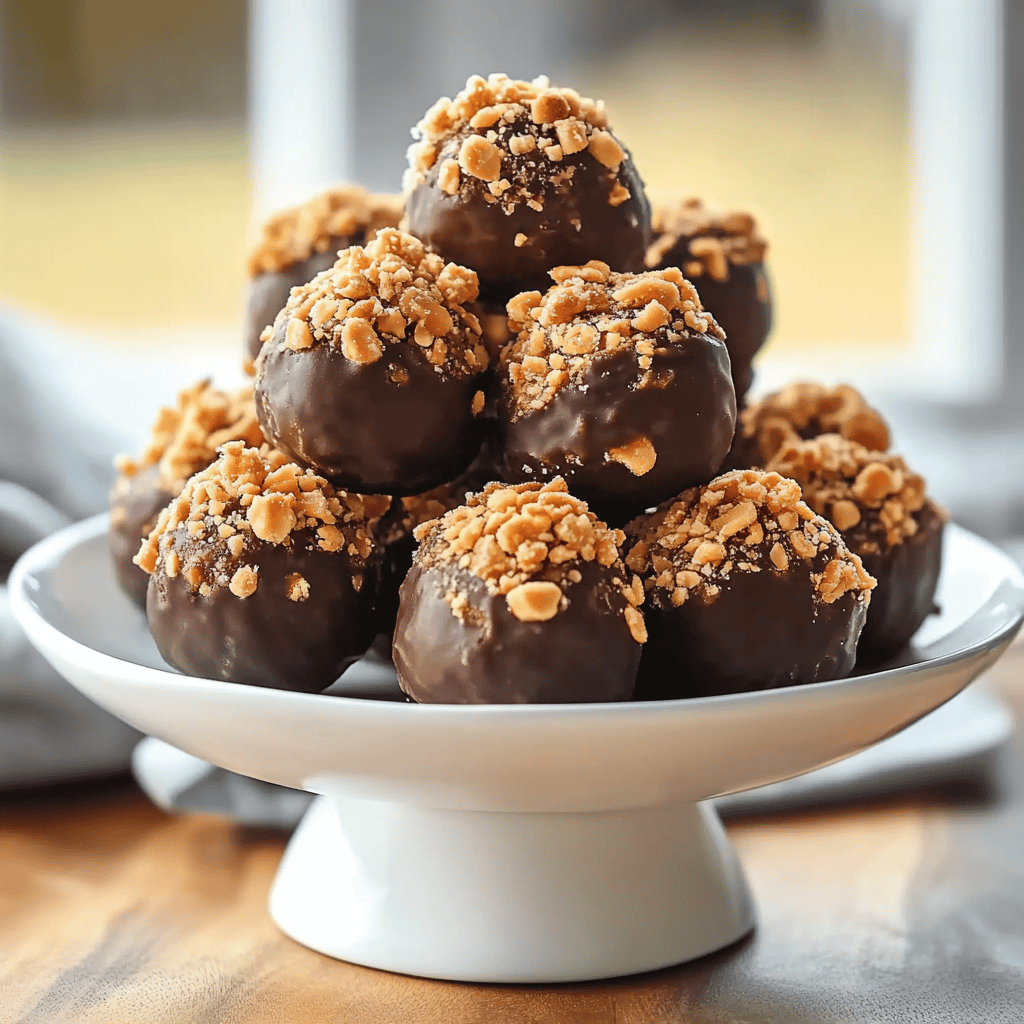
Quick Overview
If you’re searching for a delightful treat that combines chocolate and peanut butter, then look no further than easy Butterfinger balls. These sweet snacks are quick to make and require no baking, making them perfect for any occasion. Whether you’re hosting a party or just craving something sweet, these little bites will surely satisfy your sweet tooth.
Ingredient Breakdown
Peanut Butter
This creamy ingredient is the star of the show. You will need one cup of creamy peanut butter for this recipe. Peanut butter adds a rich flavor and helps bind all the ingredients together. Look for natural varieties without added sugar or oils for the best taste.
Powdered Sugar
To achieve the right sweetness and texture, you’ll need two cups of powdered sugar. This ingredient dissolves easily and gives the Butterfinger balls their signature sweetness without being overly grainy.
Graham Cracker Crumbs
You will need one cup of graham cracker crumbs to provide structure to your balls. These crumbs give a hint of crunch and help create that classic Butterfinger texture. You can crush store-bought graham crackers or blend them in a food processor.
Milk Chocolate Chips
For coating the balls, one cup of milk chocolate chips is required. Melting these chips creates a smooth outer layer that complements the sweet filling inside. Choose high-quality chocolate chips for the best results.
Cooking Oil
A tablespoon of cooking oil helps thin out the melted chocolate for easier dipping. It provides a glossy finish to your Butterfinger balls. Use neutral oils like vegetable oil or coconut oil.
Step By Step Recipe: Easy Butterfinger Balls
Step 1: Combine Ingredients
In a large mixing bowl, combine one cup of creamy peanut butter with two cups of powdered sugar and one cup of graham cracker crumbs. Use a spatula to mix everything together until it forms a thick dough-like consistency. This step ensures all dry ingredients are well incorporated into the peanut butter.
Step 2: Form Balls
Once combined, take small portions of the mixture (about one tablespoon each) and roll them into smooth balls using your hands. Place each ball on a parchment-lined baking sheet to prevent sticking later on. Make sure they are uniform in size for even coating.
Step 3: Freeze the Balls
After forming all the balls, place them in the freezer for about 30 minutes. This step helps firm up the mixture so that it holds its shape when you dip them in chocolate later on. Freezing also makes handling them easier during coating.
Step 4: Melt Chocolate
While waiting for the balls to freeze, melt one cup of milk chocolate chips along with one tablespoon of cooking oil in a microwave-safe bowl. Heat in short bursts at 30 seconds intervals, stirring between each interval until fully melted and smooth. The oil will help achieve that silky consistency needed for coating.
Step 5: Dip Each Ball
Remove the frozen balls from the freezer once firm. Using a fork or toothpick, dip each ball into the melted chocolate until fully coated. Allow any excess chocolate to drip off before placing them back on the parchment-lined sheet. Repeat this process until all balls are coated in chocolate.
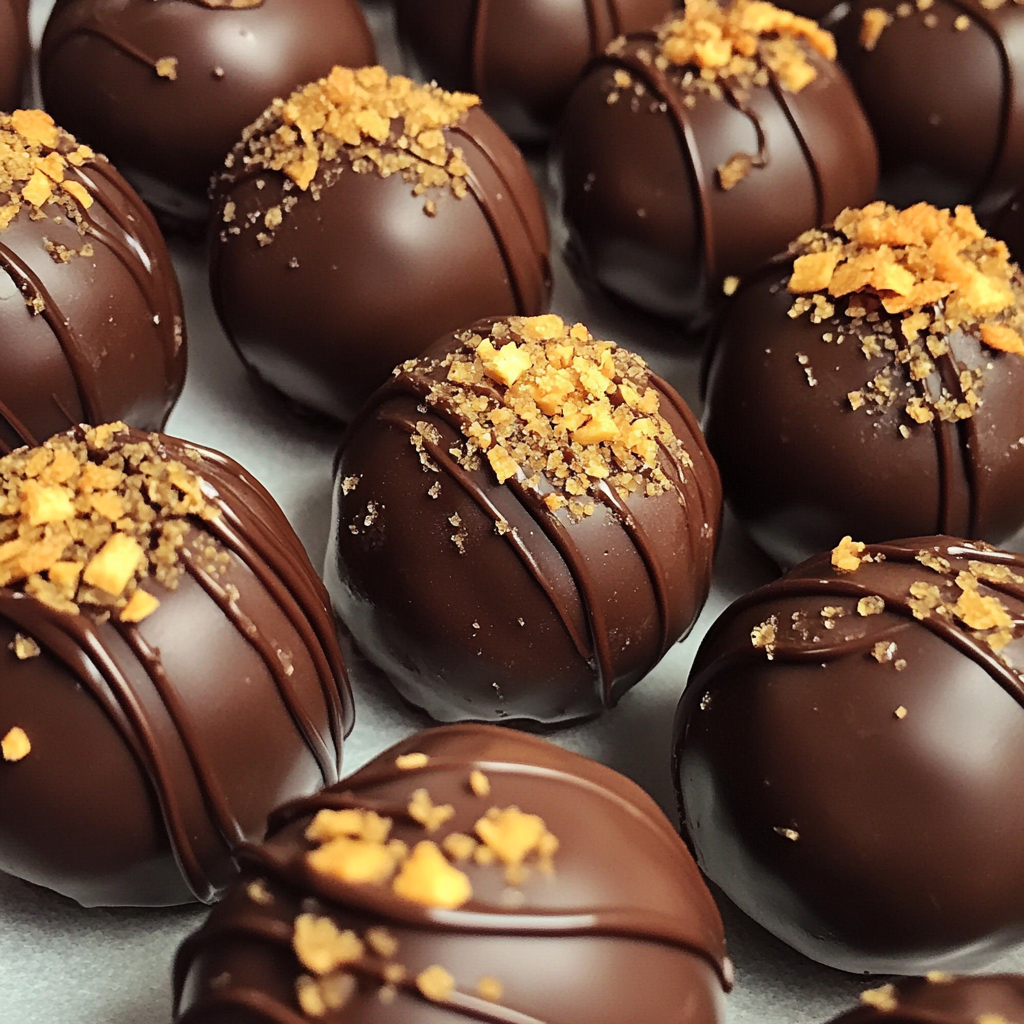
Step 6: Set and Serve
Let the coated Butterfinger balls sit at room temperature or refrigerate them until the chocolate hardens completely (approximately 20-30 minutes). Once set, they are ready to serve! Enjoy these delicious treats as an after-dinner snack or party dessert.
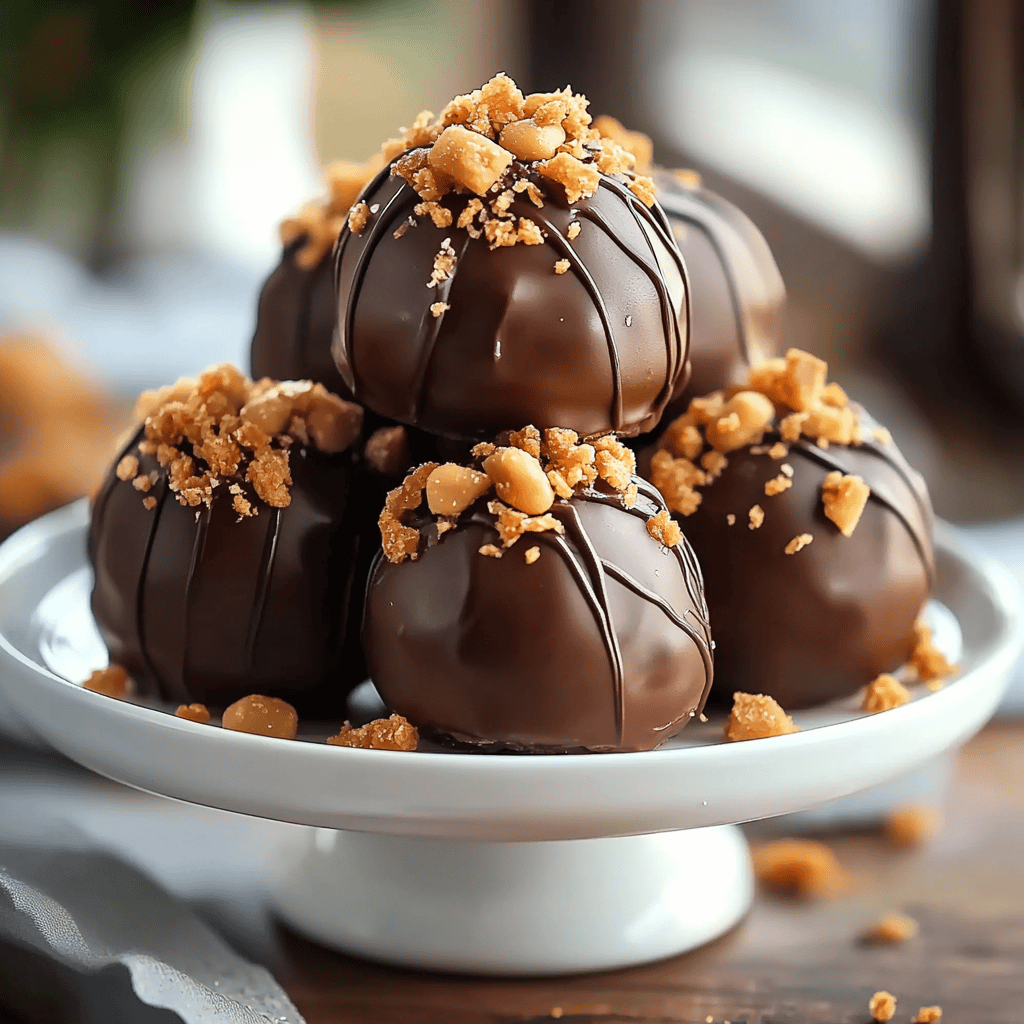
Serving and Storing Tips
Serving Suggestions
These easy Butterfinger balls can be served as bite-sized treats at parties or family gatherings. Place them on decorative platters and pair them with fruit or other sweets for an appealing dessert table arrangement. They can also be enjoyed alongside coffee or tea as an afternoon snack.
Storage Guidelines
Store any leftover Butterfinger balls in an airtight container at room temperature if consumed within two days; otherwise, keep them refrigerated for up to a week. If you want to keep them longer, consider freezing them in a single layer before transferring to a freezer-safe container where they can last up to three months without losing quality.
By following these steps carefully, you’ll create delicious easy Butterfinger balls that everyone will love!
Mistakes to avoid
One common mistake when making Easy Butterfinger Balls is not allowing the mixture to cool properly. If you don’t let the peanut butter and powdered sugar mixture cool, it can be too sticky, making it difficult to form perfect balls. Always allow it to reach room temperature before rolling.
Another mistake is not using enough chocolate for coating. A thin layer will not provide that delicious chocolatey crunch that complements the peanut butter filling. Ensure you have ample melted chocolate to dip each ball fully.
Additionally, many people forget to chill the formed balls before dipping them in chocolate. This step helps them hold their shape better during the coating process. Failing to chill can lead to messy results and uneven coats.
Not measuring your ingredients accurately can also affect the texture and taste of Easy Butterfinger Balls. Using too much or too little peanut butter or sugar can alter the final product significantly. Stick closely to the recipe for best results.
Finally, neglecting proper storage can spoil your Easy Butterfinger Balls quicker than expected. Store them in an airtight container in a cool place or refrigerate them if necessary to keep them fresh longer.
Tips and tricks
When preparing Easy Butterfinger Balls, start with room temperature ingredients for a smoother mixture. This ensures that your peanut butter blends well with powdered sugar, yielding a creamy consistency without lumps. If your peanut butter is straight from the fridge, microwave it for about 15 seconds until softened but not hot.
For an extra layer of flavor, consider adding a pinch of salt or vanilla extract to the mixture. This small addition can highlight the sweetness and enhance overall taste without overpowering it. Just a small amount goes a long way!
Chilling is essential; however, the timing matters as well. After rolling into balls, chill them for at least 30 minutes before dipping in chocolate. This allows them to firm up adequately, ensuring they maintain their shape during coating, leading to beautifully finished treats.
When melting chocolate for coating, use a double boiler or microwave in short bursts while stirring frequently. If using a microwave, heat in 20-second intervals until smooth and shiny. Overheating chocolate can lead to a burnt taste and texture issues.
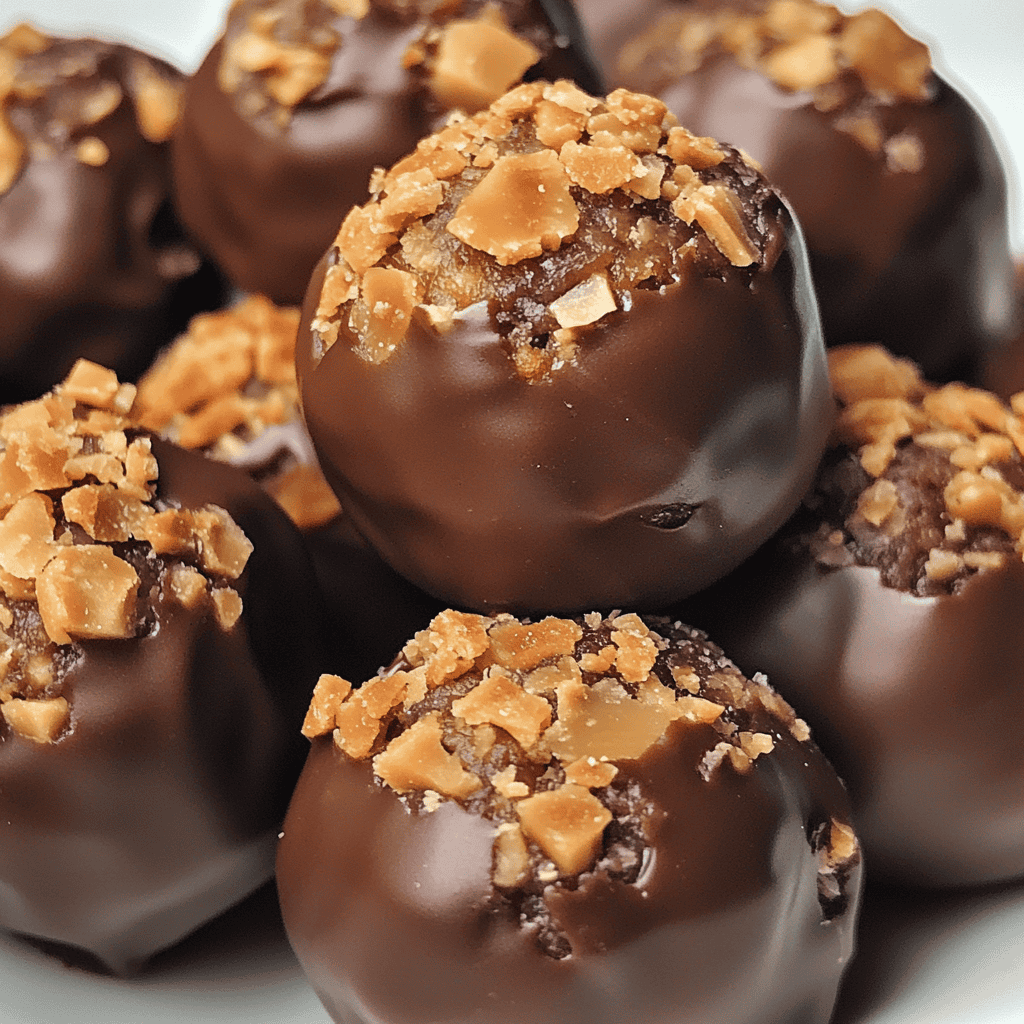
Lastly, don’t hesitate to experiment with toppings! You could sprinkle crushed nuts or drizzle additional melted chocolate on top of your Easy Butterfinger Balls for added visual appeal and flavor variety. These simple additions can transform your dessert into something truly special.
Suggestions for Easy Butterfinger Balls
For an interesting twist on traditional Easy Butterfinger Balls, try adding crushed graham crackers into the mixture. This gives them a unique texture reminiscent of cheesecake crusts while providing an unexpected crunch that pairs well with peanut butter.
If you’re looking for gluten-free options, double-check all your ingredients are certified gluten-free when preparing these treats. Many brands offer gluten-free powdered sugar and chocolate chips so everyone can enjoy this delightful dessert without worry.
Consider presenting your Easy Butterfinger Balls as gifts! Arrange them in decorative boxes or jars tied with ribbons for holidays or special occasions. Homemade treats make lovely personalized gifts that show care and effort towards friends and family.
For those who prefer dark chocolate over milk chocolate, feel free to substitute it in your coating process! Dark chocolate adds a rich depth of flavor that balances beautifully with sweet peanut butter filling while providing health benefits associated with cocoa consumption.
Experimenting with different nut butters can also yield delicious variations of this classic treat! Almond or cashew butter provides distinct flavors while keeping the same delightful texture as traditional recipes using peanut butter.
FAQs
What are Easy Butterfinger Balls made of?
Easy Butterfinger Balls primarily consist of creamy peanut butter, powdered sugar, and melted chocolate for coating. The combination creates a sweet treat that’s simple yet deliciously satisfying. You mix these ingredients together until they form a dough-like consistency before rolling into balls and dipping in melted chocolate for a scrumptious finish.
How long do Easy Butterfinger Balls last?
When stored correctly in an airtight container at room temperature, Easy Butterfinger Balls typically last about one week. However, if you want them to stay fresh longer, consider refrigerating them where they can last up to two weeks without losing quality or flavor.
Can I freeze Easy Butterfinger Balls?
Yes! Freezing is an excellent way to extend the shelf life of your Easy Butterfinger Balls. Simply place them in an airtight container separated by parchment paper so they don’t stick together. They can be frozen for up to three months; just allow them some time at room temperature before enjoying!
Can I make these Easy Butterfinger Balls vegan?
Absolutely! To make vegan versions of Easy Butterfinger Balls, simply replace regular dairy chocolate with vegan chocolate chips and ensure that your powdered sugar does not contain any animal products like bone char used during processing. You’ll still enjoy delicious flavors without compromising dietary preferences!
What should I do if my mixture is too sticky?
If you find that your mixture is too sticky when preparing Easy Butterfinger Balls, you may need to add more powdered sugar gradually until it reaches a workable consistency that allows you to roll balls easily without sticking excessively on your hands.
How do I store leftover melted chocolate?
Storing leftover melted chocolate is easy! Allow it to cool slightly before transferring it into an airtight container or resealable bag—keep it at room temperature if using within one week or refrigerate it for longer storage periods up to two weeks maximum; just reheat gently when ready for use again!
Summary
In conclusion, creating Easy Butterfinger Balls is straightforward but requires attention to detail regarding ingredients and techniques. Avoid common mistakes like improper cooling or not measuring accurately while incorporating helpful tips such as utilizing room temperature ingredients or experimenting with toppings enhances flavor profiles significantly! Remember these key points as well: proper storage extends freshness while variations keep things exciting—so enjoy making this delightful treat again and again!

Easy Butterfinger Balls
Description
If you’re searching for a delightful treat that combines chocolate and peanut butter, then look no further than easy Butterfinger balls. These sweet snacks are quick to make and require no baking, making them perfect for any occasion. Whether you’re hosting a party or just craving something sweet, these little bites will surely satisfy your sweet tooth.
Ingredients
Peanut Butter
This creamy ingredient is the star of the show. You will need one cup of creamy peanut butter for this recipe. Peanut butter adds a rich flavor and helps bind all the ingredients together. Look for natural varieties without added sugar or oils for the best taste.
Powdered Sugar
To achieve the right sweetness and texture, you’ll need two cups of powdered sugar. This ingredient dissolves easily and gives the Butterfinger balls their signature sweetness without being overly grainy.
Graham Cracker Crumbs
You will need one cup of graham cracker crumbs to provide structure to your balls. These crumbs give a hint of crunch and help create that classic Butterfinger texture. You can crush store-bought graham crackers or blend them in a food processor.
Milk Chocolate Chips
For coating the balls, one cup of milk chocolate chips is required. Melting these chips creates a smooth outer layer that complements the sweet filling inside. Choose high-quality chocolate chips for the best results.
Cooking Oil
A tablespoon of cooking oil helps thin out the melted chocolate for easier dipping. It provides a glossy finish to your Butterfinger balls. Use neutral oils like vegetable oil or coconut oil.