
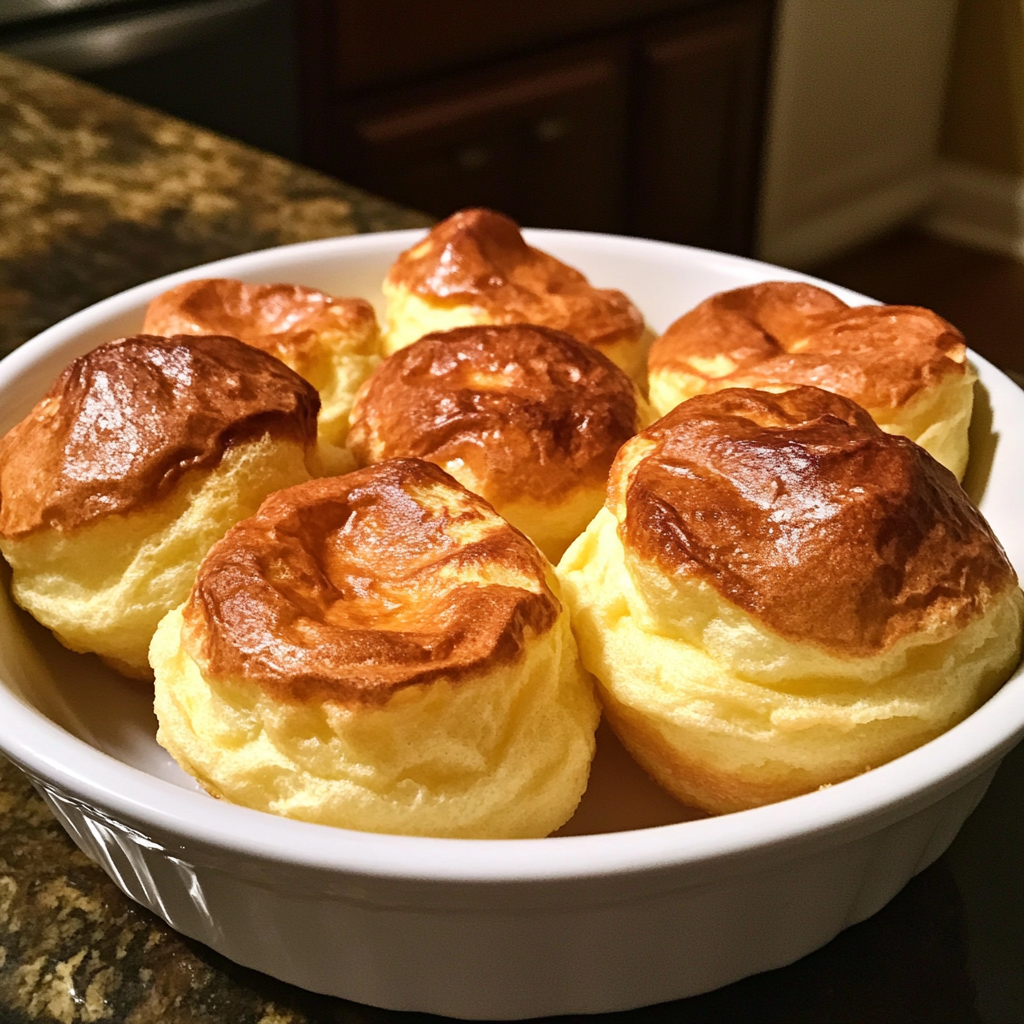
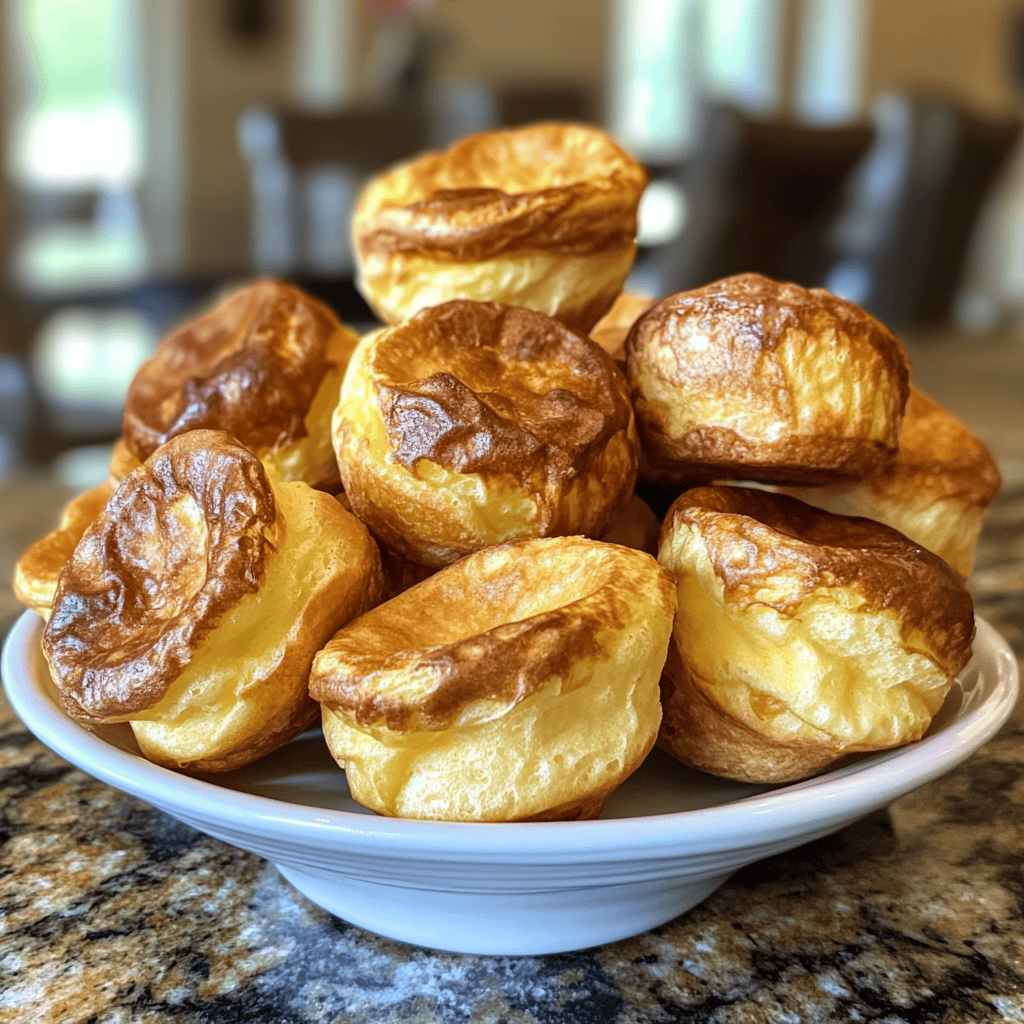
Quick Overview
If you’ve ever craved a warm, airy pastry that pairs well with both sweet and savory dishes, then our easy classic homemade popovers are just what you need. These delightful treats are perfect for breakfast or as a side during dinner. With only a few ingredients and straightforward steps, you can create these light and puffy wonders right in your kitchen. Let’s dive into the world of popovers!
Ingredient Breakdown
Flour
For this recipe, you’ll need 1 cup of all-purpose flour. This ingredient provides the structure needed for the popovers to rise beautifully. Make sure to sift it before measuring for best results.
Eggs
Use 3 large eggs at room temperature. Eggs are crucial for the rising process; they help create steam when baked, which contributes to the airy texture of the popovers.
Milk
You will require 1 cup of whole milk. The milk adds moisture and richness to the batter. It’s essential to use milk that is at room temperature to ensure proper mixing.
Salt
Add 1/2 teaspoon of salt to enhance flavor. Salt balances the sweetness and strengthens the overall structure of the popover.
Butter
Melted butter is key; use 2 tablespoons for greasing the pan and an additional tablespoon mixed into the batter. This fat helps achieve a golden crust while keeping them tender inside.
Step By Step Recipe: Easy Classic Homemade Popovers
Step 1: Preheat Your Oven
Begin by preheating your oven to 450°F (230°C). It’s critical to have your oven hot before you pour in your batter. High heat creates steam quickly, which causes the popovers to puff up beautifully.
Step 2: Prepare Your Muffin Tin
Grease a standard muffin tin with melted butter using a pastry brush or paper towel. Ensure each cup is well-coated because this prevents sticking and helps form a crispy outer layer on your popovers.
Step 3: Mix Dry Ingredients
In a mixing bowl, whisk together the flour and salt until evenly combined. This step ensures that there are no clumps in your dry ingredients and prepares them for better incorporation with wet ingredients.
Step 4: Combine Wet Ingredients
In another bowl, beat together the eggs and milk until smooth. Whisking these ingredients separately allows for better emulsification when combined with dry ingredients later on.
Step 5: Combine Mixtures
Slowly pour the wet mixture into the dry ingredients while whisking continuously until smooth and lump-free. Avoid over-mixing; you want just enough blending so that everything is combined without developing too much gluten.
Step 6: Fill Muffin Cups
Pour the batter into each muffin cup until they are about halfway full. This allows enough room for rising without overflowing as they bake in the oven.
Step 7: Bake
Place the muffin tin in your preheated oven and bake for about 20-25 minutes. Do not open the oven door during baking; this could cause them to collapse before they set properly.
Step 8: Cool Down
Once done baking, remove from oven and let cool in pan for about five minutes before transferring them to a wire rack. Cooling slightly helps maintain their shape while preventing sogginess on the bottom.
Serving and Storing Tips
Serving Suggestion
Serve your easy classic homemade popovers warm right out of the oven with butter or jam for breakfast or as a side dish with dinner. They pair wonderfully with soups and salads too!
Storing Leftovers
Store any leftover popovers in an airtight container at room temperature for up to two days. To refresh them before serving again, simply reheat them in a warm oven for about five minutes.
Freezing Options
You can freeze baked popovers after cooling completely by placing them in a freezer-safe bag or container. They should keep well for up to three months; just reheat directly from frozen in an oven until warmed through before serving.
Creating these easy classic homemade popovers is not only rewarding but also incredibly simple! Enjoy making them as part of your next meal or special occasion!
Mistakes to avoid
One common mistake when making Easy Classic Homemade Popovers is not preheating your oven properly. A hot oven is crucial for achieving that perfect rise. If you place the batter in a cold oven, the popovers will not puff up as desired. Always ensure your oven reaches the correct temperature before baking.
Another mistake is overfilling the popover cups. The batter should fill each cup only halfway. Overfilling can cause the popovers to spill over and lose their shape, resulting in flat, misshapen treats. Stick to half-full for best results.
Using cold ingredients is also a frequent error. For optimal texture and rise, ensure your eggs and milk are at room temperature. Cold ingredients slow down the reaction needed for rising, preventing those beautiful airy pockets from forming.
Not allowing enough time for the batter to rest can hinder your popovers’ success. Letting the batter sit for 30 minutes allows gluten to relax, leading to a lighter texture. Skipping this step can result in denser popovers than you want.
Lastly, opening the oven door too soon during baking can deflate your popovers. Avoid peeking before they are fully cooked, typically around 20-25 minutes. A sudden drop in temperature can ruin their rise and create dense, disappointing results.
Tips and tricks
To master Easy Classic Homemade Popovers, start with a well-preheated oven at 425°F (220°C). This high heat initiates steam production quickly, which helps the popovers rise beautifully. An excellent tip is to preheat your muffin or popover pan inside the oven for about ten minutes before adding the batter. This ensures that when you pour in the mixture, it starts cooking immediately, contributing to that perfect puff.
Use a good-quality non-stick baking pan or grease your pan sufficiently with butter or oil. This prevents sticking and helps achieve a golden-brown finish on all sides of the popover. When whisking your batter, mix just until combined; overmixing leads to tough popovers due to gluten development. A few lumps are perfectly fine!
Consider experimenting with flavors by adding grated cheese or fresh herbs into the batter for a savory twist on Easy Classic Homemade Popovers. You can also try sweet variations by incorporating vanilla extract or sugar for dessert-style popovers that pair beautifully with jam or whipped cream.
Finally, serve your popovers immediately after baking for maximum fluffiness and flavor. They taste best fresh out of the oven while still warm and airy. If you need to hold them briefly before serving, turn off the oven but leave them inside with the door ajar to keep them warm without continuing to cook them further.
Suggestions for Easy Classic Homemade Popovers
For truly delightful Easy Classic Homemade Popovers, consider using whole milk instead of low-fat options. Whole milk provides fat content that contributes to a richer flavor and better texture in each bite. Additionally, using large eggs at room temperature gives you more volume and stability in your batter.
If you’re looking for an alternative flour option, try incorporating some whole wheat flour alongside all-purpose flour for added nutrition without sacrificing too much texture. This addition can enhance flavor while still allowing you to enjoy light and fluffy results.
When it comes to serving suggestions, consider pairing your popovers with soups or salads as an accompaniment during meals; they make excellent vessels for soaking up broths or sauces. Alternatively, serve them alongside breakfast dishes such as scrambled eggs or smoked salmon for a delightful brunch experience.
If you’re preparing these delicious treats ahead of time, store any leftovers in an airtight container at room temperature for no more than two days; however, reheating them briefly in an oven can restore their original fluffiness before serving again.
FAQs
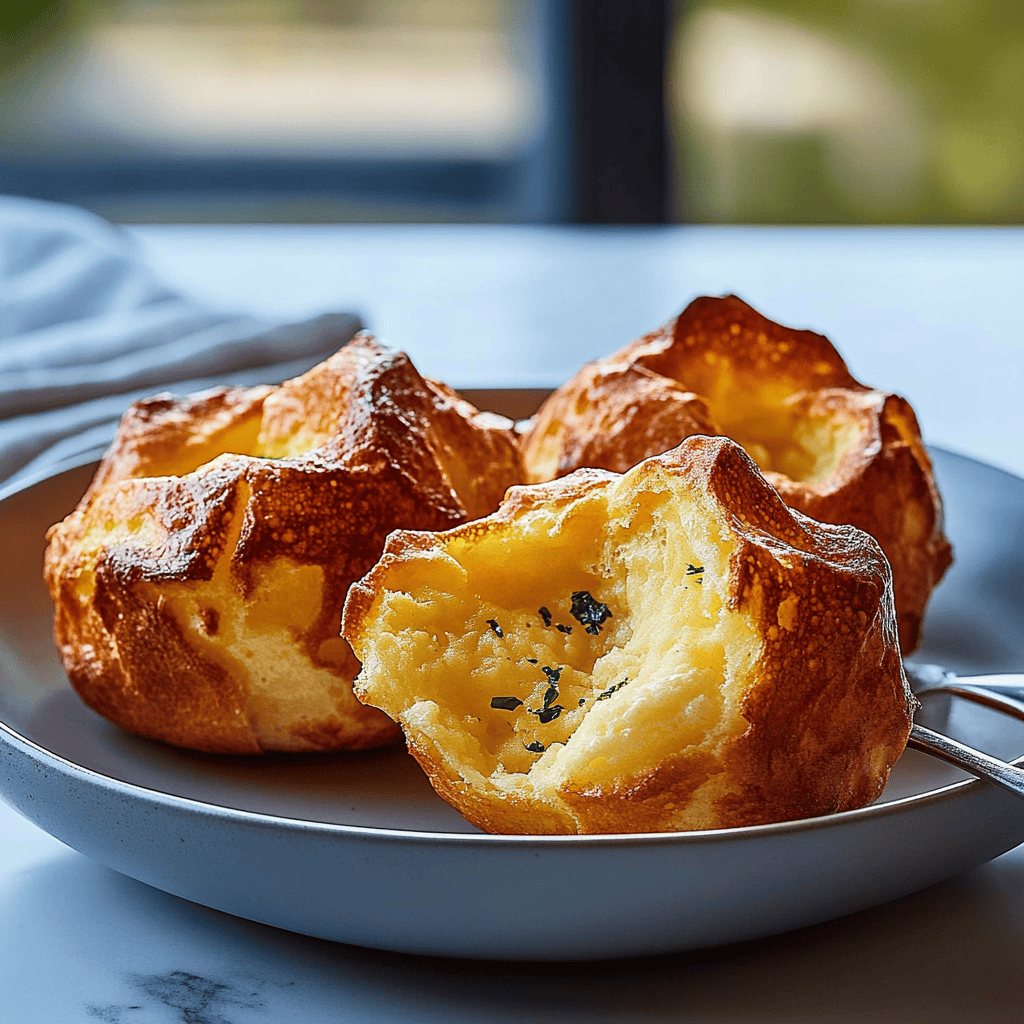
What makes Easy Classic Homemade Popovers puff up?
The key ingredient responsible for puffing up Easy Classic Homemade Popovers is steam produced from high heat during baking. The combination of eggs and liquid creates steam that expands within the batter as it cooks, resulting in airy pockets inside each popover.
Can I make Easy Classic Homemade Popovers ahead of time?
While it’s best to enjoy Easy Classic Homemade Popovers fresh out of the oven, you can prepare the batter ahead of time and refrigerate it overnight in an airtight container. Just remember to bring it back to room temperature before pouring it into preheated pans for baking.
What type of pan is best for Easy Classic Homemade Popovers?
A traditional popover pan is ideal because its deep cups allow for maximum height and structure of each popover. However, if you don’t have one on hand, a standard muffin tin works well too; just be sure not to overfill each cup with batter.
Can I add flavors to my Easy Classic Homemade Popovers?
Absolutely! You can customize Easy Classic Homemade Popovers by adding grated cheese or herbs directly into the batter before baking for savory varieties. For sweeter versions, consider including vanilla extract or chocolate chips mixed into the batter before cooking.
Why did my Easy Classic Homemade Popovers come out flat?
Flat popovers often result from one or more mistakes: not preheating enough or opening the oven door too early during baking are common culprits. Ensure all ingredients are at room temperature as well; cold ingredients hinder proper rising capabilities during cooking.
How should I store leftover Easy Classic Homemade Popovers?
Store any leftover Easy Classic Homemade Popovers in an airtight container at room temperature for up to two days; avoid refrigerating them as this may make them soggy rather than keeping their delightful texture intact when enjoyed later on!
Summary
In summary, mastering Easy Classic Homemade Popovers involves avoiding common mistakes like using cold ingredients or overcrowding pans while implementing effective tips such as preheating pans beforehand and allowing batters sufficient resting time between mixing sessions. Don’t hesitate to experiment with flavors while enjoying these delightful treats immediately after baking! With careful attention paid throughout preparation stages—from mixing through storage—you’ll create deliciously fluffy results every time!

Easy Classic Homemade Popovers
Description
If you’ve ever craved a warm, airy pastry that pairs well with both sweet and savory dishes, then our easy classic homemade popovers are just what you need. These delightful treats are perfect for breakfast or as a side during dinner. With only a few ingredients and straightforward steps, you can create these light and puffy wonders right in your kitchen. Let’s dive into the world of popovers!
Ingredients
Flour
For this recipe, you’ll need 1 cup of all-purpose flour. This ingredient provides the structure needed for the popovers to rise beautifully. Make sure to sift it before measuring for best results.
Eggs
Use 3 large eggs at room temperature. Eggs are crucial for the rising process; they help create steam when baked, which contributes to the airy texture of the popovers.
Milk
You will require 1 cup of whole milk. The milk adds moisture and richness to the batter. It’s essential to use milk that is at room temperature to ensure proper mixing.
Salt
Add 1/2 teaspoon of salt to enhance flavor. Salt balances the sweetness and strengthens the overall structure of the popover.
Butter
Melted butter is key; use 2 tablespoons for greasing the pan and an additional tablespoon mixed into the batter. This fat helps achieve a golden crust while keeping them tender inside.