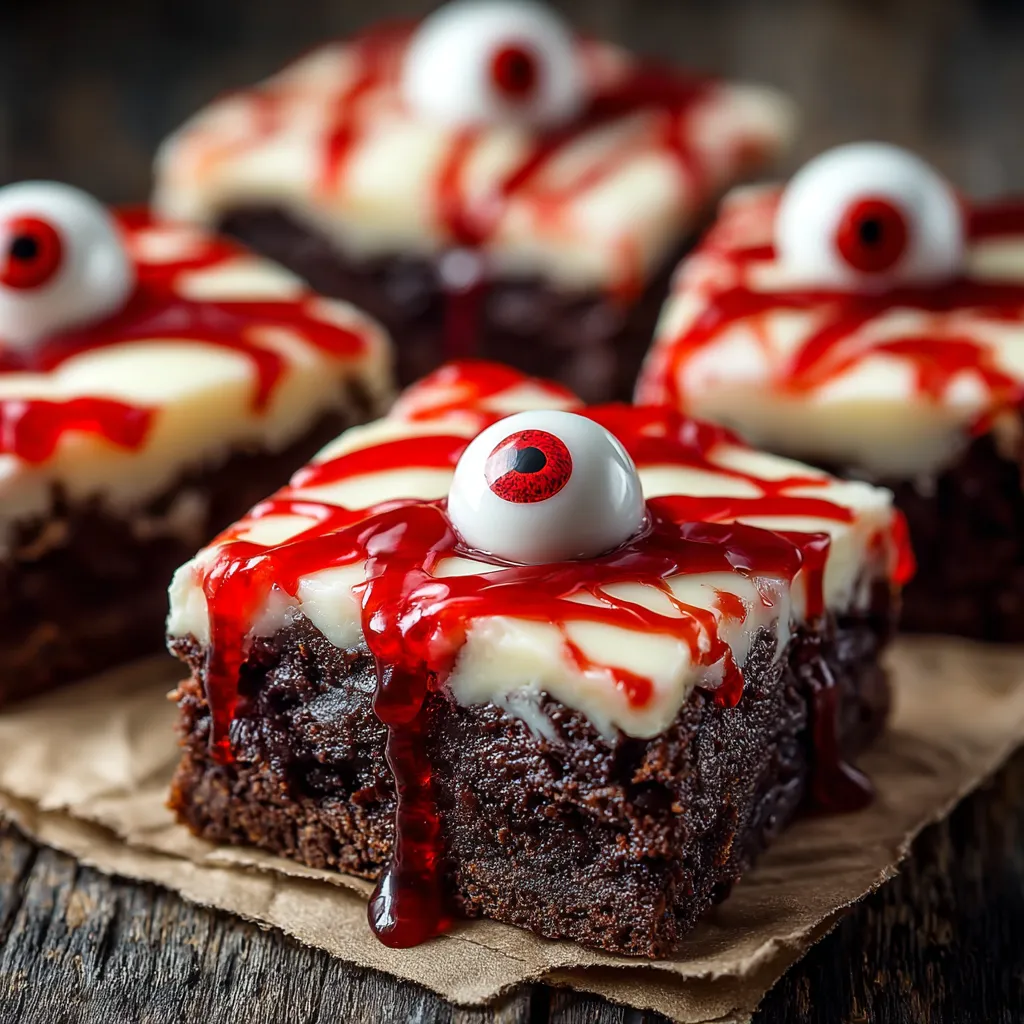
Halloween is the perfect excuse to get creative in the kitchen—and nothing captures spooky fun better than these Eyeball Brownies. They start with a rich, fudgy chocolate base and get topped with a smooth layer of melted white chocolate. Then comes the fun part: decorating with candy eyeballs and red gel icing to create that creepy, bloodshot effect. The result? A dessert that’s equal parts eerie, playful, and irresistibly delicious.
If you’re hosting a Halloween party, bringing treats to a school event, or just planning a movie night with the family, these brownies are guaranteed to be the star of your table. They’re easy enough for kids to help decorate and make a fantastic make-ahead dessert that tastes even better the next day.
Ingredients
For the Brownie Base
- 1 box of your favorite brownie mix (choose a fudgy-style mix for a denser texture)
- 2 large eggs
- 120 milliliters vegetable oil
- 60 milliliters water
For the Topping
- 150 grams white chocolate chips (or white baking bars, chopped)
- Candy eyeballs (found in most baking or craft stores)
- Red gel icing for decoration
Instructions
1. Prepare the Brownie Batter
Preheat your oven according to the brownie mix instructions, usually around 175°C (350°F). In a large mixing bowl, combine the brownie mix, eggs, oil, and water. Stir gently until the ingredients come together. Avoid overmixing—this keeps your brownies soft and chewy rather than cakey.
2. Bake and Cool
Line your baking pan (around 20 x 20 cm) with parchment paper or lightly grease it. Pour the batter evenly into the pan and bake according to the package directions. When done, a toothpick inserted into the center should come out mostly clean with just a few moist crumbs.
Let the brownies cool completely before adding the topping. This step is crucial—if they’re warm, the white chocolate will melt unevenly.
3. Melt the White Chocolate
Add white chocolate chips to a microwave-safe bowl. Heat in short 15-second bursts, stirring between each interval until completely smooth. You can also melt it gently over a double boiler if preferred.
4. Spread the Topping
Pour the melted white chocolate over the cooled brownie layer. Use an offset spatula to spread it evenly to the edges, creating a smooth, glossy surface.
5. Add the Eyeballs and Red Veins
While the chocolate is still soft, press candy eyeballs into the surface. Arrange them randomly for a chaotic look or neatly in rows for a more organized design.
Next, take your red gel icing and pipe squiggly, thin lines radiating from each eyeball to mimic bloodshot veins. Don’t worry about perfection—the more irregular, the creepier they look.
6. Let Set and Slice
Allow the topping to set at room temperature (or refrigerate for 20 minutes if you’re in a hurry). Once firm, lift the brownies out of the pan using the parchment paper and place them on a cutting board. Slice into squares or bars using a clean, sharp knife.
Tips
- Choose the right mix: Always go for a “fudgy” brownie mix rather than “cake-like” for the best chewy texture.
- Use parchment paper: This helps you lift the brownies out cleanly for perfect edges.
- Cool completely before topping: White chocolate spreads best on a cool surface.
- Decorate quickly: Add the candy eyes before the chocolate hardens so they stick properly.
- For a flavor twist: Add a teaspoon of instant coffee granules to the brownie mix for deeper chocolate flavor.
FAQs
How can I keep the brownies from sticking to the pan?
Lining the pan with parchment paper and lightly greasing it ensures the brownies lift out easily without breaking.
Can I make my own brownie batter instead of using a mix?
Absolutely! If you prefer homemade brownies, just follow your favorite recipe for a 20×20 cm pan. The toppings will work the same way.
What can I use instead of candy eyeballs?
If you can’t find candy eyes, use mini marshmallows with chocolate chips pressed into the center, or small fondant circles.
Can I prepare these ahead of time?
Yes! You can bake the brownies and add the white chocolate layer up to two days in advance. For best presentation, decorate with eyes and red gel on the day of serving.
Do they need to be refrigerated?
Not necessarily. Store them in an airtight container at room temperature for up to three days. If it’s warm where you live, refrigeration will help the chocolate layer stay firm.
Can I freeze them?
Yes. Undecorated brownies freeze beautifully for up to two months. Thaw overnight at room temperature, then decorate just before serving.
Final Thoughts
Eyeball Brownies are the perfect mix of spooky and sweet—ideal for anyone looking to make Halloween desserts that wow both kids and adults. The chewy brownie base gives you that satisfying chocolate bite, while the white chocolate topping and creepy decorations turn them into edible art.
Whether you serve them on a haunted dessert table, pack them into treat bags, or let everyone decorate their own, these brownies bring Halloween spirit to every bite. Simple, festive, and absolutely delicious—this is one recipe you’ll want to resurrect every October.