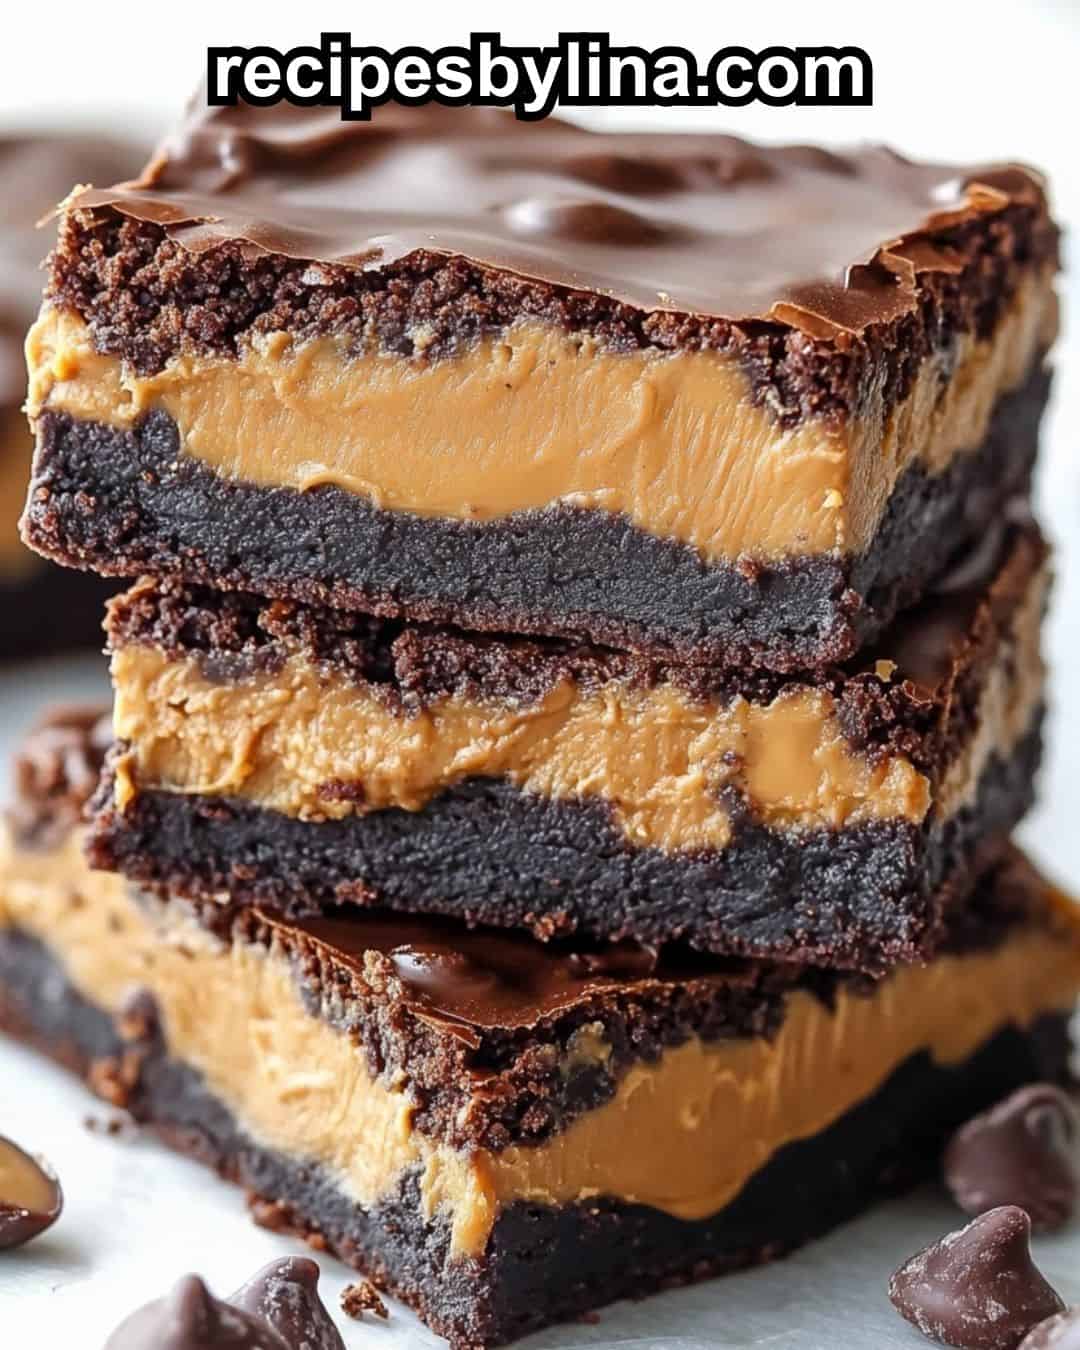
These Fudgy Brownies with Peanut Butter are an irresistible combination of rich, chocolatey brownie layers and creamy peanut butter filling. With each bite, you’ll enjoy the perfect balance of flavors that chocolate and peanut butter lovers crave. Perfect for dessert or a snack, these brownies are sure to become a family favorite.
Ingredients:
For the Brownies:
- 1 cup unsalted butter, melted
- 1 ½ cups granulated sugar
- 1 cup cocoa powder
- 1 teaspoon vanilla extract
- 4 large eggs
- 1 cup all-purpose flour
- ½ teaspoon salt
For the Peanut Butter Layer:
- 1 cup creamy peanut butter
- ½ cup powdered sugar
- 2 tablespoons unsalted butter, softened
For the Chocolate Topping:
- 1 cup semi-sweet chocolate chips
- 1 tablespoon unsalted butter
Step-by-Step Instructions:
1. Prepare the Brownies:
Preheat the oven to 350°F (175°C). Grease a 9×13-inch baking pan and line it with parchment paper, leaving an overhang for easy removal later.
In a large bowl, whisk together the melted butter and granulated sugar. Add the cocoa powder and vanilla extract, stirring to combine.
Beat in the eggs, one at a time, mixing well after each addition.
Gradually add the flour and salt, stirring just until combined.
Pour half of the brownie batter into the prepared pan and smooth it into an even layer. Set the remaining batter aside.
2. Make the Peanut Butter Layer:
In a medium bowl, combine the creamy peanut butter, powdered sugar, and softened butter. Mix until smooth and creamy.
Spread the peanut butter mixture evenly over the brownie layer in the pan.
3. Add the Second Brownie Layer:
Pour the remaining brownie batter over the peanut butter layer, spreading it gently to cover the peanut butter completely.
4. Bake the Brownies:
Bake in the preheated oven for 25-30 minutes, or until a toothpick inserted into the center comes out clean or with a few moist crumbs.
Let the brownies cool completely in the pan before adding the chocolate topping.
5. Prepare the Chocolate Topping:
In a microwave-safe bowl, melt the semi-sweet chocolate chips and butter together in 30-second intervals, stirring after each until smooth.
6. Top the Brownies:
Once the brownies have cooled, spread the melted chocolate mixture evenly over the top.
Refrigerate the brownies for 1-2 hours, or until the chocolate topping has set.
7. Cut and Serve:
Once the chocolate has set, lift the brownies out of the pan using the parchment overhang. Cut them into squares and enjoy the delicious chocolate-peanut butter goodness!
Tips for Fudgy Brownies with Peanut Butter:
- Storage:
Store these brownies in an airtight container at room temperature for up to 3 days, or refrigerate for up to 1 week for a chilled treat. - Freeze for Later:
You can also freeze the brownies in an airtight container for up to 3 months. Just thaw them in the refrigerator overnight before serving. - Customization:
For extra crunch, add a handful of chopped peanuts or peanut butter chips to the peanut butter layer.
FAQs About Fudgy Brownies with Peanut Butter:
Can I use natural peanut butter?
Yes, but make sure it’s well-stirred and smooth to avoid any oily separation in the filling.
How do I make these brownies gluten-free?
You can easily substitute the all-purpose flour with a 1:1 gluten-free flour blend to make gluten-free brownies.
Can I use dark chocolate instead of semi-sweet?
Absolutely! If you prefer a more intense chocolate flavor, feel free to use dark chocolate chips for the topping.
Do I need to refrigerate these brownies?
It’s not required, but chilling the brownies can make the layers more distinct and the chocolate topping firmer.
These Fudgy Brownies with Peanut Butter are a decadent dessert that pairs the richness of chocolate with the creaminess of peanut butter. Perfect for a special occasion or just to satisfy a sweet tooth, these brownies will have everyone asking for seconds!