What’s the big deal about grilled corn?
Okay, so you’ve probably had boiled corn a million times, but grilled corn? That’s where the magic happens. Something about that fire and smoke transforms boring old corn into this sweet, smoky, slightly charred piece of heaven. I’m talking about corn that actually has FLAVOR – not just bland kernels swimming in butter. Once you try grilled corn, you’ll never go back to that mushy boiled stuff again.
Why You’ll Love These Recipes
Here’s why grilled corn is about to become your summer obsession:
- The char gives it this amazing smoky-sweet flavor that you literally cannot get any other way.
- It’s ridiculously easy – like, even easier than boiling water easy.
- You can flavor it a thousand different ways (I’m giving you my top favorites below).
- It looks impressive but requires zero actual cooking skills.
- Perfect for cookouts, camping, or just Tuesday night dinner when you want something special.
- Kids who normally won’t touch vegetables will devour this stuff.
- It’s naturally gluten-free, vegetarian, and can easily be made vegan.
The Basics You’ll Need
For Perfect Grilled Corn:
- Fresh corn on the cob (as many ears as you want – I usually do 1-2 per person)
- Your grill (gas or charcoal both work great)
- Some kind of fat (butter, olive oil, mayo – yeah, mayo!)
- Salt (the good flaky stuff if you have it)
- Whatever seasonings make your heart happy
Pro Shopping Tips:
- Look for corn with bright green husks that aren’t dried out
- The silk should be golden, not brown or black
- Give it a gentle squeeze – you should feel plump kernels
- Don’t shuck it at the store (those husks protect the kernels)
- Buy it the day you plan to grill it if possible
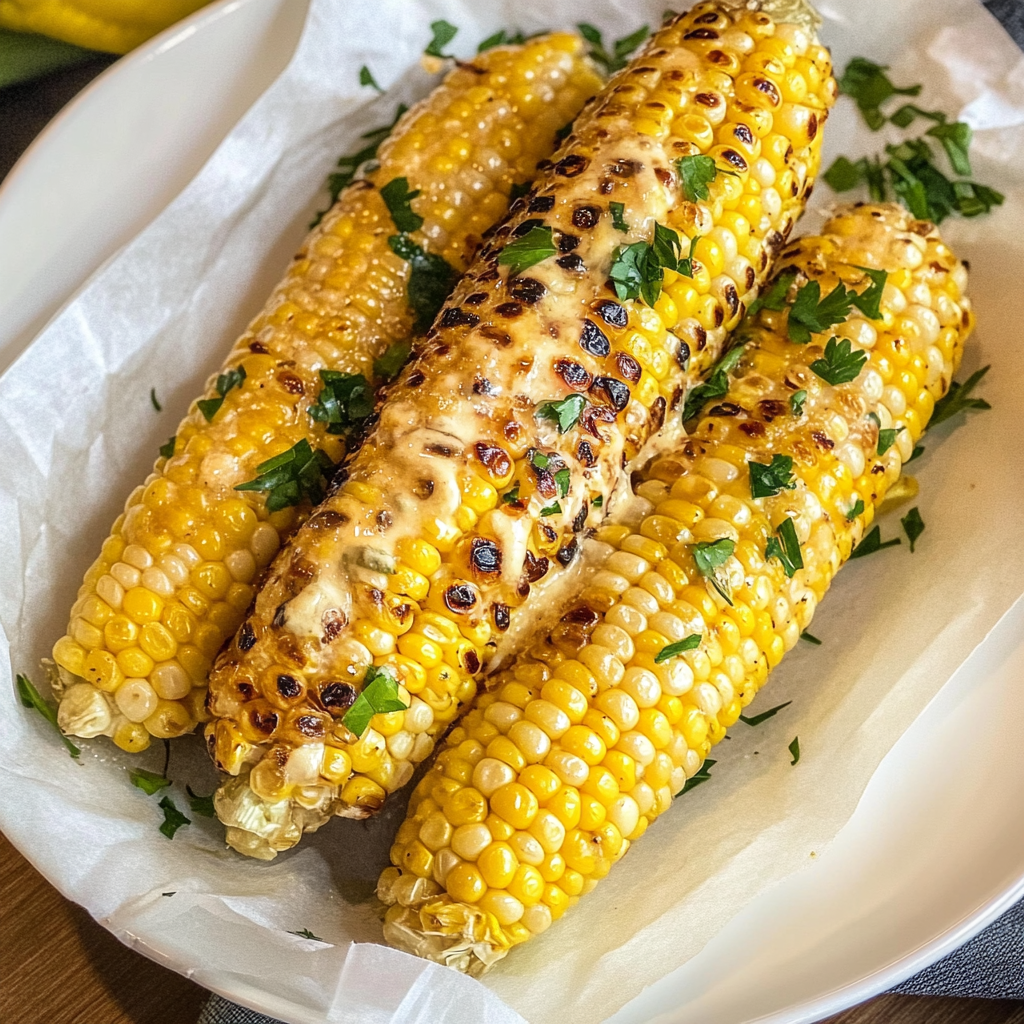
Method 1: Classic Butter & Salt (The Gateway Drug)
What You Need:
- 6 ears fresh corn
- 4 tablespoons butter, softened
- 1 teaspoon salt (or to taste)
- Black pepper if you’re feeling fancy
Let’s Do This:
- Fire up your grill to medium-high heat (about 400°F if you have a thermometer, or when you can hold your hand over the grates for 3-4 seconds).
- Peel back the husks but DON’T remove them completely – just pull them down like you’re peeling a banana. Remove all that annoying silk (seriously, get every strand).
- Pull the husks back up over the corn. If they won’t stay, tie them with kitchen twine or just leave them pulled back.
- Soak the whole ears in cold water for 10-15 minutes. This prevents the husks from totally burning up.
- Grill for 15-20 minutes, turning every 5 minutes or so. You want some nice char marks on the kernels.
- Pull them off, carefully remove the husks (they’ll be HOT), slather with butter, and hit with salt and pepper.
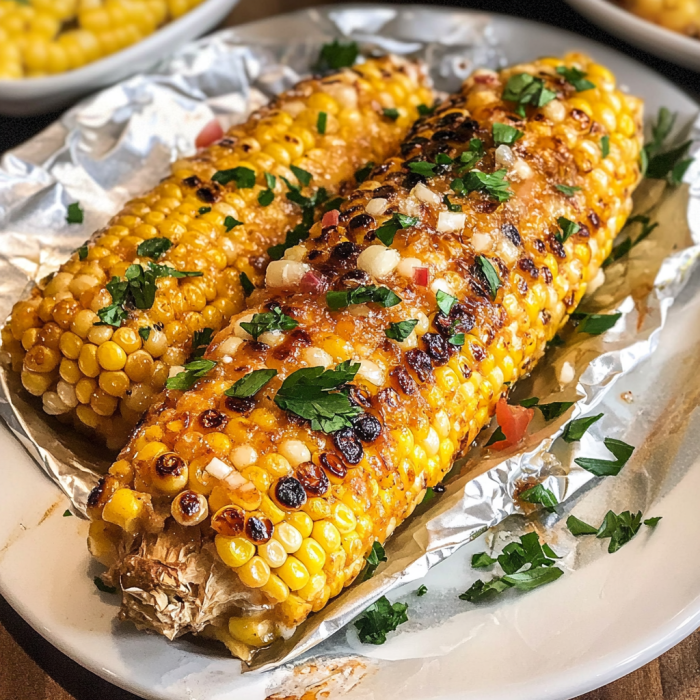
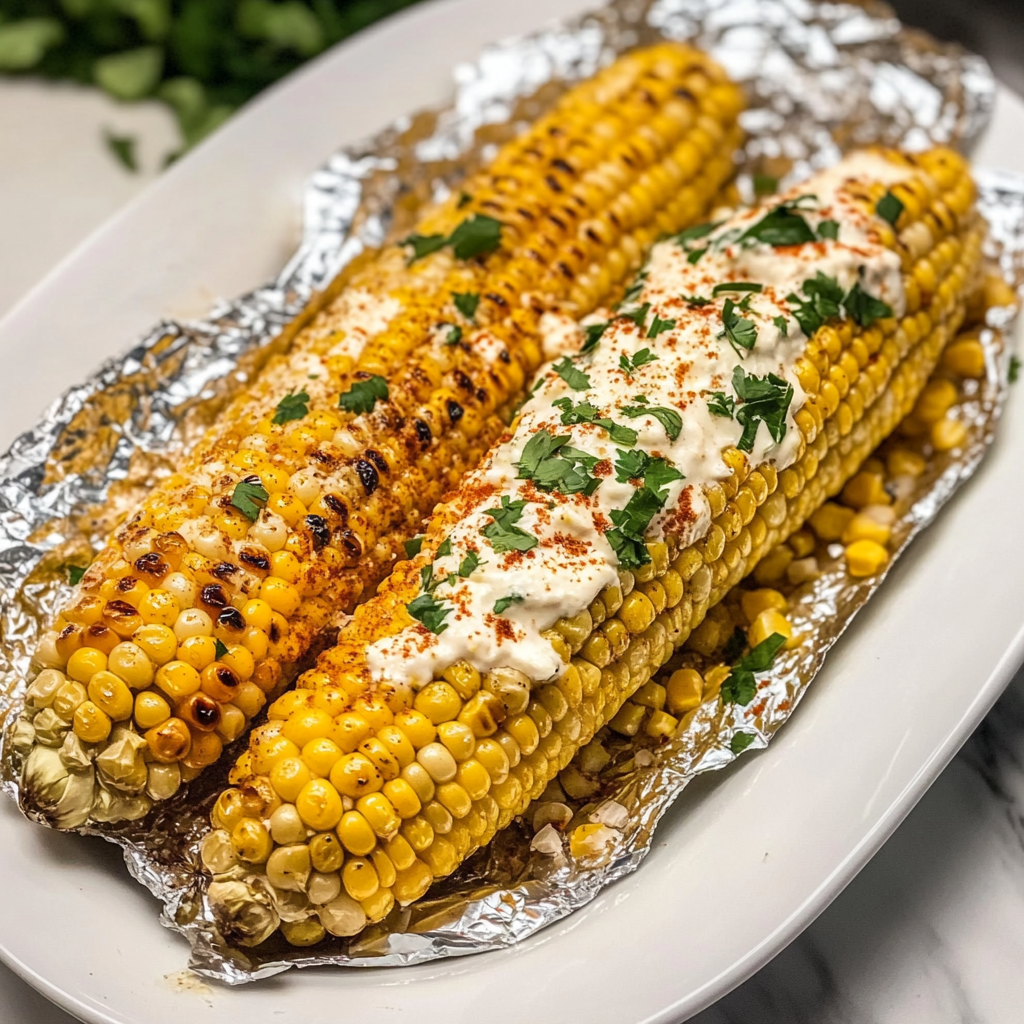
Method 2: Mexican Street Corn (Elote Style)
What You Need:
- 6 ears corn (prepped same as above)
- 1/2 cup mayonnaise (don’t judge – it’s amazing)
- 1/2 cup sour cream
- 1/2 cup crumbled cotija cheese (or feta if you can’t find it)
- 2 teaspoons chili powder
- 1/2 teaspoon smoked paprika
- 2 limes, cut into wedges
- Cilantro for garnish
- Hot sauce (optional but recommended)
Let’s Do This:
- Grill the corn exactly like Method #1.
- While it’s grilling, mix the mayo and sour cream in a bowl.
- Once the corn is done, brush or slather each ear with the mayo mixture (use a pastry brush or just go wild with a spoon).
- Roll or sprinkle with the crumbled cheese, then dust with chili powder and paprika.
- Squeeze lime juice all over and garnish with cilantro. Add hot sauce if you want to live dangerously.
Method 3: Herb Butter Explosion
What You Need:
- 6 ears corn
- 1/2 cup butter, softened
- 3 cloves garlic, minced (or 1 teaspoon garlic powder if you’re lazy)
- 2 tablespoons fresh herbs (basil, parsley, chives – whatever you’ve got)
- 1/2 teaspoon salt
- 1/4 teaspoon black pepper
- Zest of 1 lemon
Let’s Do This:
- Mix all the butter ingredients in a bowl until well combined. You can make this hours ahead and just leave it on the counter.
- Grill the corn using Method #1.
- While it’s still hot, slather with your fancy herb butter. The heat will melt it perfectly and all those herbs will smell incredible.
Method 4: Spicy Asian-Inspired
What You Need:
- 6 ears corn
- 3 tablespoons soy sauce
- 2 tablespoons honey
- 1 tablespoon sesame oil
- 1 teaspoon sriracha (or more if you’re brave)
- 1 tablespoon rice vinegar
- 2 green onions, chopped
- 1 tablespoon sesame seeds
- Lime wedges
Let’s Do This:
- Mix everything except the green onions and sesame seeds in a small bowl to make your glaze.
- Grill the corn, but during the last 5 minutes, start brushing with your glaze every couple of minutes.
- Once done, hit it with the green onions and sesame seeds, and serve with lime wedges.
Method 5: Parmesan Truffle (Fancy AF)
What You Need:
- 6 ears corn
- 1/2 cup butter, softened
- 1/2 cup freshly grated Parmesan (none of that powdered stuff)
- 1 teaspoon truffle oil (a little goes a LONG way)
- 2 tablespoons fresh parsley, chopped
- Salt and pepper to taste
Let’s Do This:
- Mix the butter, truffle oil, and half the Parmesan in a bowl.
- Grill your corn per Method #1.
- Slather with the truffle butter, then roll in the remaining Parmesan and parsley.
- Prepare to feel fancy.
Pro Tips for Grilling Success
- Husk or no husk? I like keeping the husks on for the first cook – they steam the corn and prevent burning. But if you want more char, remove them completely and grill naked corn.
- The water soak is crucial if you’re keeping husks on. Dry husks = fire hazard.
- Don’t overthink the turning. Every 4-5 minutes is fine. You want char marks, not charcoal.
- Test for doneness by piercing a kernel with a knife. It should be tender but still have a little bite.
- Prep your toppings ahead because hot corn waits for no one.
Serving Ideas
- Stick some popsicle sticks in the ends for easy holding (game changer for parties).
- Cut the kernels off and make a killer corn salad with any of these flavor combinations.
- Serve alongside grilled meats, fish, or even as the main event with a big salad.
- These are perfect for camping – just wrap in foil with your seasonings and throw them on the fire.
- Make corn holders from sturdy skewers if you don’t have the fancy corn-on-the-cob holders.
Switch It Up
Once you master the basics, try these crazy variations:
- Everything Bagel Corn: Butter + everything bagel seasoning. Seriously addictive.
- Buffalo Style: Mix butter with hot sauce and blue cheese crumbles.
- Indian-Spiced: Curry powder, turmeric, and a squeeze of lemon.
- Italian Herb: Pesto instead of plain butter, with extra Parmesan.
- Cajun Kick: Cajun seasoning mixed into butter with a splash of hot sauce.
- Sweet & Smoky: Brown butter with smoked salt and a drizzle of honey.
Storage and Reheating
- Leftover grilled corn keeps in the fridge for 3-4 days.
- To reheat, wrap in damp paper towels and microwave for 1-2 minutes, or throw it back on the grill for a few minutes.
- The kernels cut off make amazing additions to salads, tacos, or scrambled eggs.
- You can freeze the kernels for up to 6 months – just blanch them first.
Questions People Actually Ask
Q: Can I grill corn without the husk?
A: Absolutely! Just brush with oil first so it doesn’t stick, and expect more char and less steaming. Some people prefer it this way.
Q: My corn keeps burning before it’s cooked through. Help!
A: Move it to a cooler part of the grill, or wrap it in foil partway through. Your grill might be running too hot.
Q: How do I know when it’s done?
A: The kernels should be bright yellow and tender when pierced. Usually takes 15-20 minutes total with regular turning.
Q: Can I prep this ahead for a party?
A: You can grill the corn a few hours ahead and just reheat it quickly on the grill before serving. The toppings are best applied fresh though.
Q: What if I don’t have a grill?
A: You can totally do this under the broiler! Put corn on a baking sheet about 4 inches from the broiler and turn every few minutes until charred. Or use a grill pan on the stovetop.
Q: Is frozen corn okay for this?
A: Fresh is definitely best, but if frozen corn is all you’ve got, thaw it completely and pat it super dry before grilling. It won’t be quite the same, but still tasty.
Go forth and grill some corn! Your taste buds will thank you, and you’ll probably become the person everyone asks to bring corn to every cookout from now on. You’re welcome.
PrintGrilled Corn on the Cob Recipes
Description
Okay, so you’ve probably had boiled corn a million times, but grilled corn? That’s where the magic happens. Something about that fire and smoke transforms boring old corn into this sweet, smoky, slightly charred piece of heaven. I’m talking about corn that actually has FLAVOR – not just bland kernels swimming in butter. Once you try grilled corn, you’ll never go back to that mushy boiled stuff again.
Ingredients
For Perfect Grilled Corn:
- Fresh corn on the cob (as many ears as you want – I usually do 1-2 per person)
- Your grill (gas or charcoal both work great)
- Some kind of fat (butter, olive oil, mayo – yeah, mayo!)
- Salt (the good flaky stuff if you have it)
- Whatever seasonings make your heart happy
Pro Shopping Tips:
- Look for corn with bright green husks that aren’t dried out
- The silk should be golden, not brown or black
- Give it a gentle squeeze – you should feel plump kernels
- Don’t shuck it at the store (those husks protect the kernels)
- Buy it the day you plan to grill it if possible