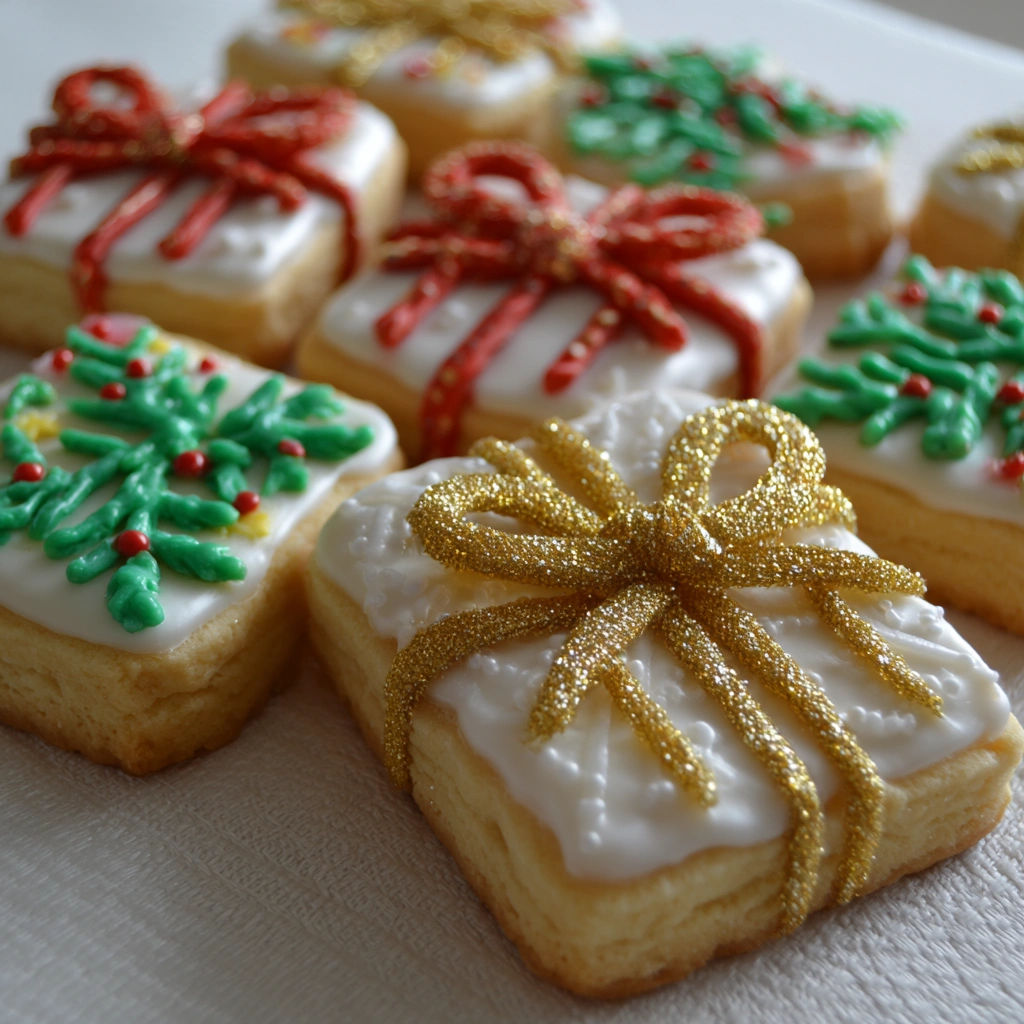
These adorable Christmas Present Cookies turn sugar cookie dough into wrapped-up gift boxes you can eat. Brightly coloured icing “ribbons”, optional sprinkle bows, and the clean lines of the cookie make them perfect for holiday baking, cookie exchanges, gifting, or just adding a festive touch to your dessert spread. They taste as joyful as they look.
Why You’ll Love This Recipe
- They look like tiny holiday presents—fun for kids and adults alike.
- Classic buttery sugar-cookie base that holds shape well and decorates beautifully.
- Colourful icing and simple decoration make them festive—but not overly complicated.
- Make-ahead friendly: dough can be prepared ahead, rolled and chilled, then decorated when ready.
- Ideal for cookie trays, gift boxes, or holiday parties where presentation matters.
Recipe Details
- Prep Time: ~20 minutes (plus chilling)
- Bake Time: ~10-12 minutes per batch
- Total Time: ~≈40-45 minutes active (excluding chilling).
- Yield: ~24 cookies (depending on size)
- Category: Dessert / Cookie
- Method: Oven-baked, decorated sugar cookies
- Diet: Vegetarian (contains dairy & eggs)
- Keywords: Christmas present cookies, sugar cookies, holiday gift cookies, decorated cookies
Ingredients You’ll Need
For the Cookies
- 1 cup (≈ 225 g) unsalted butter, softened
- ¾ cup (≈ 150 g) granulated sugar
- Zest of 1 small orange or ½ lemon for subtle flavour (optional)
- 1 large egg (room temperature)
- 1 tsp vanilla extract
- 2 ¼ cups (≈ 280 g) all-purpose flour
- ½ tsp baking powder
- ¼ tsp salt
For the Decoration
- Royal icing or sugar-cookie icing; divided into colours (for ribbons)
- Gel food colouring (red, green, gold, silver etc.)
- Tiny sprinkle “bows” or edible pearls for finishing
- Optional: edible glitter for extra sparkle
Instructions
1. Make the Cookie Dough
Pre-heat your oven to 350 °F (≈ 175 °C). Line two large baking sheets with parchment paper.
In a large bowl, beat the softened butter and sugar until light and fluffy (~2-3 minutes). Add the egg, vanilla extract (and zest, if using) and beat until smooth.
In a separate bowl, whisk together the flour, baking powder and salt. Gradually add the dry ingredients to the wet, mixing on low just until combined. Do not over-mix.
2. Chill & Roll Out
Form the dough into a disk, wrap in plastic and chill in the fridge for ~30 minutes (or up to 2 hours).
On a lightly floured surface, roll the dough out to ~⅛-inch (3 mm) thickness. Using a square cookie cutter (approx. 2½″ / 6 cm) cut out cookies. Place about 1″ (2.5 cm) apart on the prepared baking sheets.
3. Bake
Bake for 10–12 minutes, or until the cookie edges are just beginning to turn golden. Remove from oven and let cookies rest on the sheet for 2 minutes, then transfer to a wire rack to cool completely before decorating.
4. Decorate to Look Like Presents
Once cookies are fully cooled:
- Prepare your coloured icing: divide into separate bowls, add gel colour to achieve bright red, green, gold or silver ribbons.
- Pipe horizontal and vertical lines across each cookie to mimic ribbon bands wrapped around a present.
- On top, pipe a “bow” shape with icing or place decorative sprinkle bows or pearls.
- If desired, sprinkle a tiny dusting of edible glitter before the icing sets for sparkle.
Allow icing to set fully (ideally 2–3 hours) before packaging or serving.
5. Serve & Share
Arrange the present cookies on a festive platter or stack gently in a gift box. These make beautiful edible gifts or party treats.
You Must Know
- Using softened butter and room-temperature egg creates a smooth dough that rolls well and holds shape.
- Chilling the dough is important to prevent cookies from spreading and losing the neat “present” shape.
- Wait until cookies are completely cooled before decorating—warm cookies will cause icing to slide or lose definition.
- Choose a smooth icing that pipes cleanly. If icing is too thick, add a drop of water; if too thin, add more powdered sugar.
- Store decorated cookies at room temperature in a sealed container—humidity or refrigeration may damage the icing designs.
Storage Tips
- Store fully cooled and decorated cookies in an airtight container at room temperature for up to 5 days.
- If you need to make ahead far in advance, store undecorated cookies in airtight container or freezer bag for up to 1 month; decorate after thawing.
- If packing for gifts, separate layers with parchment paper to preserve decoration and prevent stickiness.
Ingredient Substitutions
- Replace half the granulated sugar with light brown sugar for warmer flavour (texture will slightly change).
- For citrus variation, use lemon zest instead of orange.
- For gluten-free version: use a 1:1 gluten-free flour blend and ensure other ingredients are certified gluten-free.
- For vegan friendly: use vegan butter, flax-egg (1 Tbsp ground flax + 3 Tbsp water), and vegan icing.
Serving Suggestions
- Package a set of 4-6 in clear cellophane bags with ribbon for homemade holiday gifts.
- Serve on a dessert table alongside other holiday cookies, chocolates and mini-tarts for variety.
- Pair with a hot mug of cocoa, peppermint latte or mulled cider for a cozy treat.
- Use them as place-settings: write names on the “gift box” top with icing and place at dinner-table settings.
Pro Tips
- Use a cookie scoop to shape dough portions if you roll logs for slice-and-bake.
- For sharp ribbon lines, pipe first then immediately smooth with a toothpick if necessary.
- Warm knife under hot water, wipe dry, use to neatly cut any stray icing lines before setting.
- If piping many cookies, chill trays of decorated cookies for 10 minutes mid-way to help icing set faster.
Frequently Asked Questions
→ Can I make these ahead?
Yes—dough can be chilled or frozen ahead. Decorate the day of and they’ll still look fresh.
→ Why did my cookies spread and lose their shape?
Likely dough too warm or not chilled before baking. Chill dough and ensure oven at correct temp.
→ My icing lines look messy—what can I do?
Ensure icing consistency is correct—too thin will run. Pipe slowly with a fine tip. Chill cookies mid-way if needed.
→ Can I skip the decoration and just make plain sugar cookies?
Of course! The base recipe works beautifully as plain sugar cookies. The decorated “present” design is an added festive touch.
✨ These Christmas Present Cookies are both fun and elegant—a perfect way to turn cookie baking into festive gift-making. Whether you’re offering them to friends, decorating for a party, or stacking them in a tin for later, they’ll bring joy and sweetness in every bite.
Print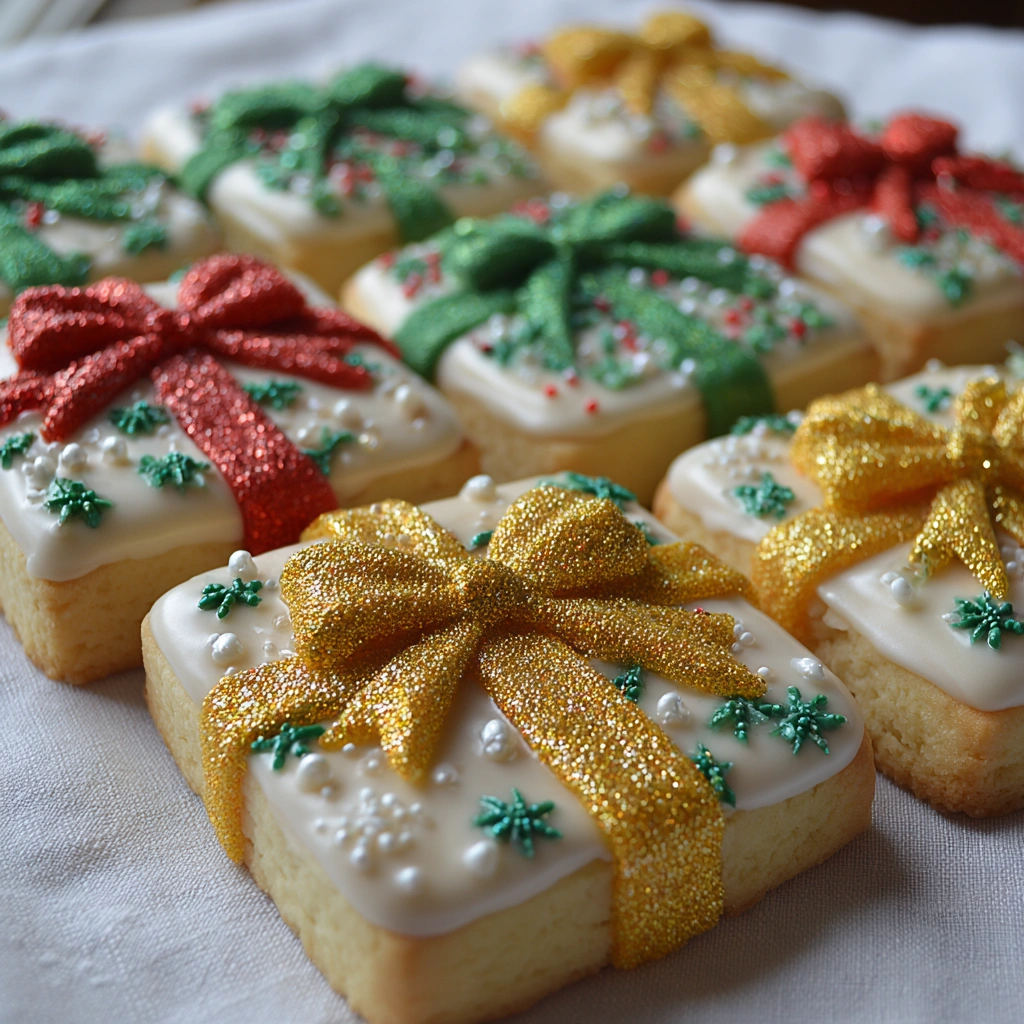
Christmas Present Cookies – The Sweetest Gift to Share
- Total Time: 40–45 minutes
- Yield: 24 cookies 1x
Description
These adorable Christmas Present Cookies turn a classic sugar-cookie dough into irresistible edible gifts. Each cookie is shaped like a tiny wrapped present, complete with colourful piped “ribbons,” sprinkle bows and festive decorations. They’re perfect for cookie exchanges, gifting, party trays, or simply adding holiday cheer to your table. With their buttery flavour and crisp edges, they’re as delicious as they are beautiful — and simple enough for beginner decorators.
Ingredients
For the Cookies
-
1 cup (≈ 225 g) unsalted butter, softened
-
¾ cup (≈ 150 g) granulated sugar
-
Zest of 1 small orange or ½ lemon (optional, for subtle flavour)
-
1 large egg, room temperature
-
1 tsp vanilla extract
-
2 ¼ cups (≈ 280 g) all-purpose flour
-
½ tsp baking powder
-
¼ tsp salt
For the Decoration
-
Royal icing or sugar-cookie icing (divided into colours)
-
Gel food colouring (red, green, gold, silver, etc.)
-
Tiny sprinkle bows or edible pearls
-
Optional: edible glitter for sparkle
Instructions
1. Make the Cookie Dough
-
Preheat oven to 350°F (≈175°C). Line baking sheets with parchment.
-
Beat softened butter and sugar until light and fluffy (2–3 minutes).
-
Add egg, vanilla, and optional citrus zest; beat until smooth.
-
In a separate bowl, whisk flour, baking powder and salt.
-
Add dry ingredients to wet on low speed until just combined (don’t over-mix).
2. Chill & Roll Out
-
Shape dough into a disk, wrap and chill ~30 minutes (or up to 2 hours).
-
Roll dough on a lightly floured surface to ⅛ inch (3 mm) thickness.
-
Cut squares using a 2½″ (6 cm) cutter.
-
Place cookies 1 inch apart on prepared sheets.
3. Bake
-
Bake 10–12 minutes, until edges are just turning golden.
-
Cool on the sheet for 2 minutes, then transfer to a wire rack to cool completely.
4. Decorate to Look Like Presents
-
Divide icing into bowls and tint with gel colours (red, green, gold, silver).
-
Pipe horizontal and vertical lines to mimic wrapped ribbon.
-
Pipe bows on top or add sprinkle bows/pearls.
-
Add edible glitter before icing sets (optional).
-
Allow icing to dry 2–3 hours before packaging.
5. Serve & Share
Arrange on a festive platter, or box them as edible gifts. Perfect for parties, gifting or cookie trays.
Notes
-
Softened butter + room-temperature egg create a smooth dough that rolls easily.
-
Chill the dough to prevent spreading — essential for clean, sharp present shapes.
-
Decorate only when cookies are fully cooled.
-
Adjust icing consistency:
-
Too thick → add a drop of water
-
Too thin → add more powdered sugar
-
-
Store decorated cookies at room temperature; refrigeration may cause colours to bleed.
- Prep Time: 20 minutes
- Cook Time: 10–12 minutes
- Category: Desserts
- Cuisine: American
Nutrition
- Calories: 140kcal
- Sugar: 10g
- Sodium: 45mg
- Protein: 1g
- Cholesterol: 25mg