I learned this recipe from my Italian neighbor Rosa about five years ago, and it’s been in heavy rotation at our house ever since. These chicken cutlets are seriously fool-proof but taste like something you’d get at a nice Italian restaurant. The combination of fresh basil, garlic, and Parmesan creates this amazing aroma that fills the whole house – fair warning, it’ll make everyone hungry!
What Makes These Chicken Cutlets Special
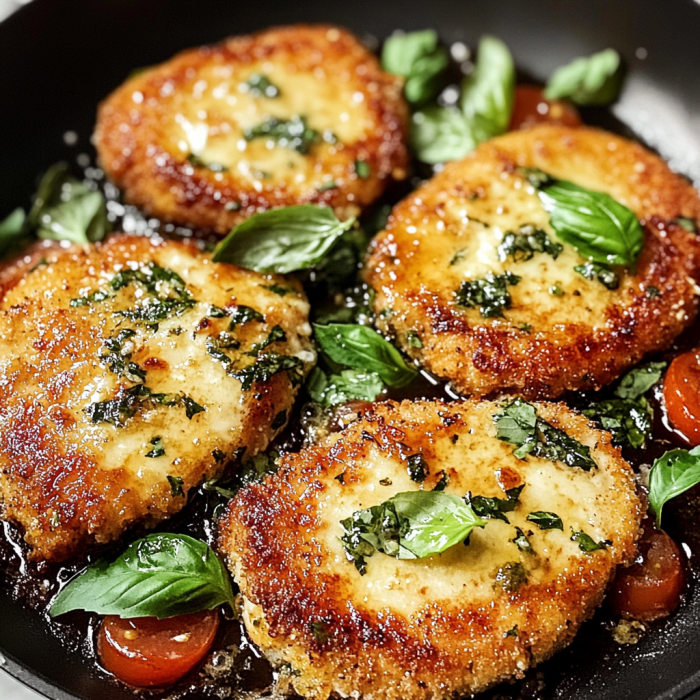
Most chicken cutlet recipes are just, well, chicken with some breadcrumbs. But these have SO much more flavor because we’re infusing the breadcrumbs with fresh basil, garlic, and good Parmesan cheese. The cutlets turn out tender on the inside with this perfect golden crust that has little flecks of green basil throughout.
I make these at least twice a month because:
- They’re ready in about 30 minutes
- My kids actually eat them without complaining (miracle!)
- The ingredients are simple stuff I usually have anyway
- They’re versatile – great on their own, in sandwiches, or on top of pasta
- Leftovers are amazing (if there are any!)
What You’ll Need
For the chicken:
- 4 boneless, skinless chicken breasts (about 1.5-2 pounds total)
- 3/4 cup all-purpose flour
- 2 large eggs
- 2 tablespoons water
- 1/4 teaspoon salt
- 1/4 teaspoon black pepper
For the basil breadcrumb coating:
- 1 1/2 cups plain breadcrumbs (I prefer Panko for extra crunch)
- 1/2 cup fresh basil leaves, chopped (about one big handful)
- 1/3 cup freshly grated Parmesan cheese (please use the real stuff, not the can!)
- 3 garlic cloves, minced or pressed
- 1 teaspoon dried oregano
- 1 teaspoon lemon zest (from about half a lemon)
- 1/2 teaspoon salt
- 1/4 teaspoon black pepper
- 1/4 teaspoon red pepper flakes (optional if you like a tiny kick)
For cooking:
- 1/3 cup olive oil (you might need a little more)
- 2 tablespoons butter
For serving (all optional but recommended!):
- Lemon wedges
- Fresh basil leaves
- Grated Parmesan
Real Talk About Ingredients
The fresher your basil, the better these will taste. I grow basil in the summer and these cutlets are NEXT LEVEL with just-picked herbs. In winter, store-bought works fine too.
For the breadcrumbs, I honestly prefer Panko because they make a crispier coating. If you only have regular breadcrumbs, that’s totally fine – I’ve made them both ways countless times.
Please, please use real Parmesan cheese that you grate yourself, not the pre-grated stuff in the shaker can. It makes a huge difference! If you want to splurge, Parmigiano-Reggiano is amazing in this recipe.
Let’s Make These Beauties
Prep the chicken:
- First thing – put your chicken breasts on a cutting board and place your hand flat on top of one. Using a sharp knife, carefully slice horizontally through the breast to create two thinner pieces. Repeat with all breasts. You’ll end up with 8 thin pieces.
- Now for the fun part – put the chicken pieces between two sheets of plastic wrap and pound them to about 1/4 inch thickness. I use a meat mallet, but a heavy rolling pin or even a heavy pan works too. This is great stress relief, just saying!
- Once all your pieces are pounded thin, sprinkle both sides with a little salt and pepper.
Set up your breading station:
- Grab three shallow dishes or plates. Put the flour in the first dish.
- In the second dish, whisk together the eggs and water until well blended.
- For the third dish, mix together the breadcrumbs, chopped basil, Parmesan, garlic, oregano, lemon zest, salt, pepper, and red pepper flakes if using. Use your fingers to really mix it well and break up any clumps.
Bread the chicken:
- Using one hand for dry ingredients and one for wet (trust me, this keeps your fingers from becoming a breadcrumb disaster), dredge each chicken piece first in the flour, shaking off the excess.
- Then dip it in the egg mixture, letting any extra drip off.
- Finally, press it into the basil breadcrumb mixture, making sure both sides are well coated. Press firmly so the breadcrumbs really stick.
- Place the breaded cutlets on a plate or baking sheet. I like to let them sit for about 5-10 minutes if I have time – this helps the coating stick better during cooking.
Cook those cutlets:
- In a large skillet (the bigger the better), heat the olive oil and butter over medium-high heat until the butter is melted and the oil starts to shimmer.
- Add the chicken cutlets – don’t crowd the pan! I usually cook 2-3 at a time depending on the size of my skillet.
- Cook for about 3-4 minutes on the first side until golden brown and crispy. Flip carefully with tongs and cook another 2-3 minutes on the other side.
- Transfer to a paper towel-lined plate to drain any excess oil. Keep the cooked cutlets warm in a 200°F oven while you cook the remaining batches, adding a little more oil if needed between batches.
Serving Suggestions
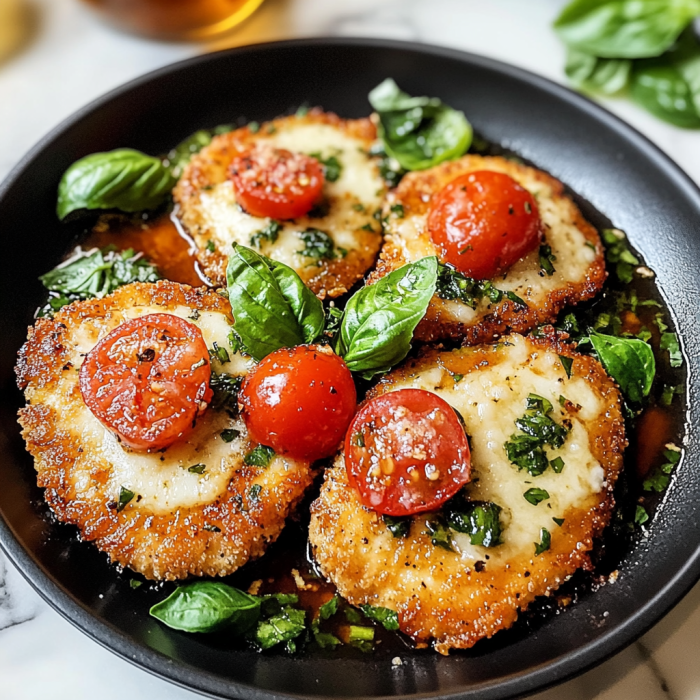
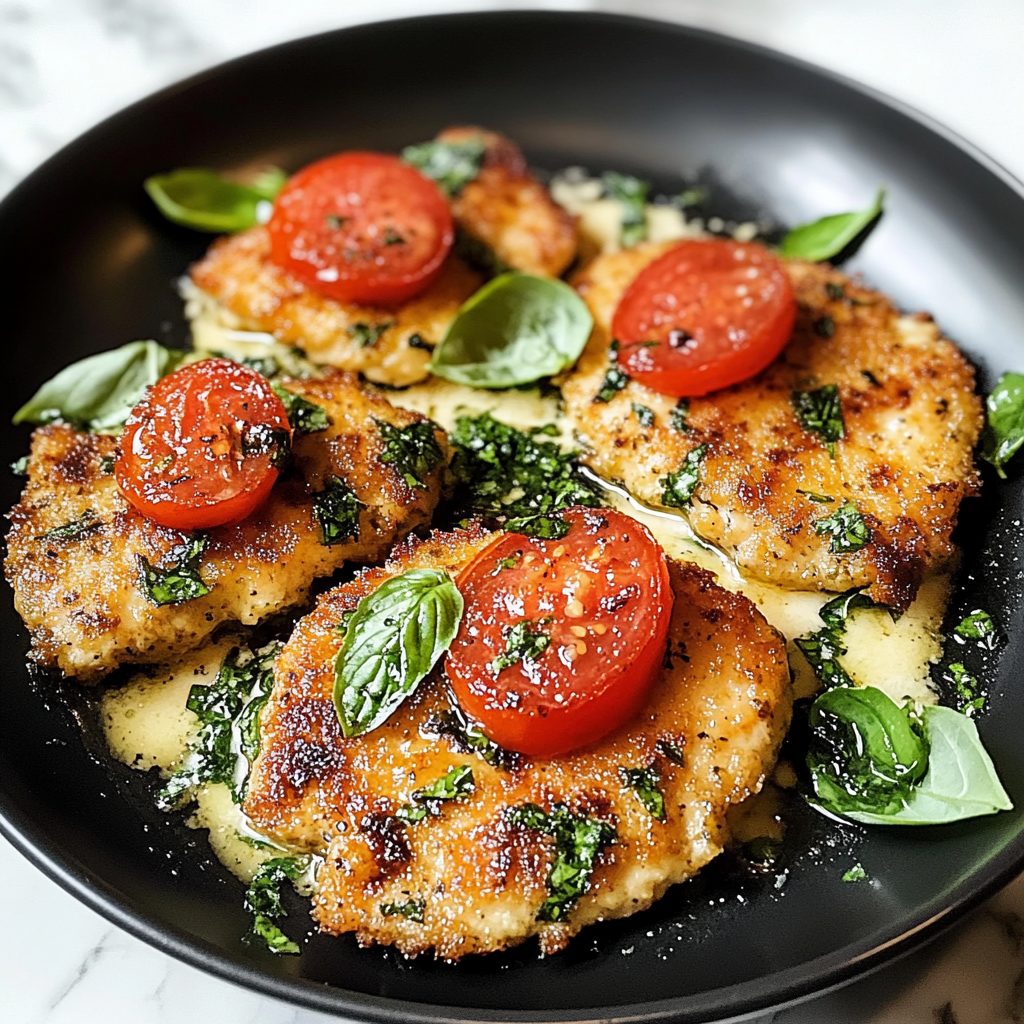
My favorite way to serve these is simply with a squeeze of fresh lemon juice, a sprinkle of extra Parmesan, and maybe some fresh basil leaves on top.
For a complete meal:
- Serve with spaghetti tossed in marinara sauce for a classic Italian-American dinner
- Add a simple arugula salad dressed with lemon and olive oil
- Make Italian-style sandwiches with ciabatta, some mayo, roasted red peppers, and provolone cheese
- Cut into strips and toss with Caesar salad for an awesome chicken Caesar
- Top with a slice of mozzarella and pop under the broiler for a minute for a quick chicken parm
These cutlets are super versatile! We often make extra because they’re just as good the next day.
My Best Tips For Success
After making these about a hundred times, I’ve learned a few things:
- Don’t skip pounding the chicken thin! This is what makes them cook quickly and evenly.
- If your garlic is starting to turn green/sprout, don’t use it – it’ll make the coating bitter.
- The pan needs to be hot before adding the chicken, but not smoking hot or the breadcrumbs will burn before the chicken cooks.
- If your breadcrumb coating starts to look too dark too quickly, lower the heat a bit.
- Don’t flip the cutlets more than once if possible – let that crust develop before turning.
- Serve them right away while they’re hot and crispy! Like most fried foods, they’re best fresh from the pan.
Storage & Leftovers
If you somehow have leftovers (which rarely happens at my house), store them in an airtight container in the fridge for up to 3 days.
To reheat without losing the crispy texture, put them on a baking sheet in a 350°F oven for about 10 minutes. The microwave works too but they’ll be softer.
Cold leftovers make an amazing sandwich for lunch the next day! Just put them between good bread with some mayo, lettuce, and tomato. So good!
Common Questions I Get When I Share This Recipe
“Can I bake these instead of frying?” Yes, but they won’t be quite as crispy. If you want to bake them, spray a baking sheet with cooking spray, place the breaded cutlets on it, spray the tops lightly with olive oil cooking spray, and bake at 425°F for about 15-20 minutes, flipping halfway.
“Can I make these ahead for a dinner party?” You can bread them up to 4 hours ahead and keep them covered in the refrigerator until ready to cook. I wouldn’t cook them too far in advance though – they’re best fresh.
“My breadcrumbs aren’t sticking well. What am I doing wrong?” Make sure you’re patting the chicken dry before starting, and really press the breadcrumbs onto the chicken. Letting them sit for 5-10 minutes before cooking also helps.
“Can I use dried basil instead of fresh?” In a pinch, yes, but use just 1 tablespoon of dried basil instead. The flavor won’t be as bright and fresh though, so I really recommend fresh when possible.
“My chicken is cooking too fast on the outside but still raw inside!” Your heat is probably too high. Also, make sure you’ve pounded the chicken to an even thickness so it cooks evenly.
“What can I serve with these that’s not pasta?” We love them with roasted potatoes, a caprese salad, or even just a big green salad and some crusty bread.
“Can I freeze these?” Yes! Freeze them after cooking and cooling completely. Separate layers with parchment paper. Reheat from frozen in a 350°F oven for about 20 minutes.
PrintItalian Basil Chicken Cutlets: My Go-To Weeknight Dinner
Description
I learned this recipe from my Italian neighbor Rosa about five years ago, and it’s been in heavy rotation at our house ever since. These chicken cutlets are seriously fool-proof but taste like something you’d get at a nice Italian restaurant. The combination of fresh basil, garlic, and Parmesan creates this amazing aroma that fills the whole house – fair warning, it’ll make everyone hungry!
Ingredients
For the chicken:
- 4 boneless, skinless chicken breasts (about 1.5–2 pounds total)
- 3/4 cup all-purpose flour
- 2 large eggs
- 2 tablespoons water
- 1/4 teaspoon salt
- 1/4 teaspoon black pepper
For the basil breadcrumb coating:
- 1 1/2 cups plain breadcrumbs (I prefer Panko for extra crunch)
- 1/2 cup fresh basil leaves, chopped (about one big handful)
- 1/3 cup freshly grated Parmesan cheese (please use the real stuff, not the can!)
- 3 garlic cloves, minced or pressed
- 1 teaspoon dried oregano
- 1 teaspoon lemon zest (from about half a lemon)
- 1/2 teaspoon salt
- 1/4 teaspoon black pepper
- 1/4 teaspoon red pepper flakes (optional if you like a tiny kick)
For cooking:
- 1/3 cup olive oil (you might need a little more)
- 2 tablespoons butter
For serving (all optional but recommended!):
- Lemon wedges
- Fresh basil leaves
- Grated Parmesan